TECH ARTICLES |
LINKS |
||||||||||||||||||||||
With the stoppin’ part squared away Bill started working on his favorite part, making it go fast!
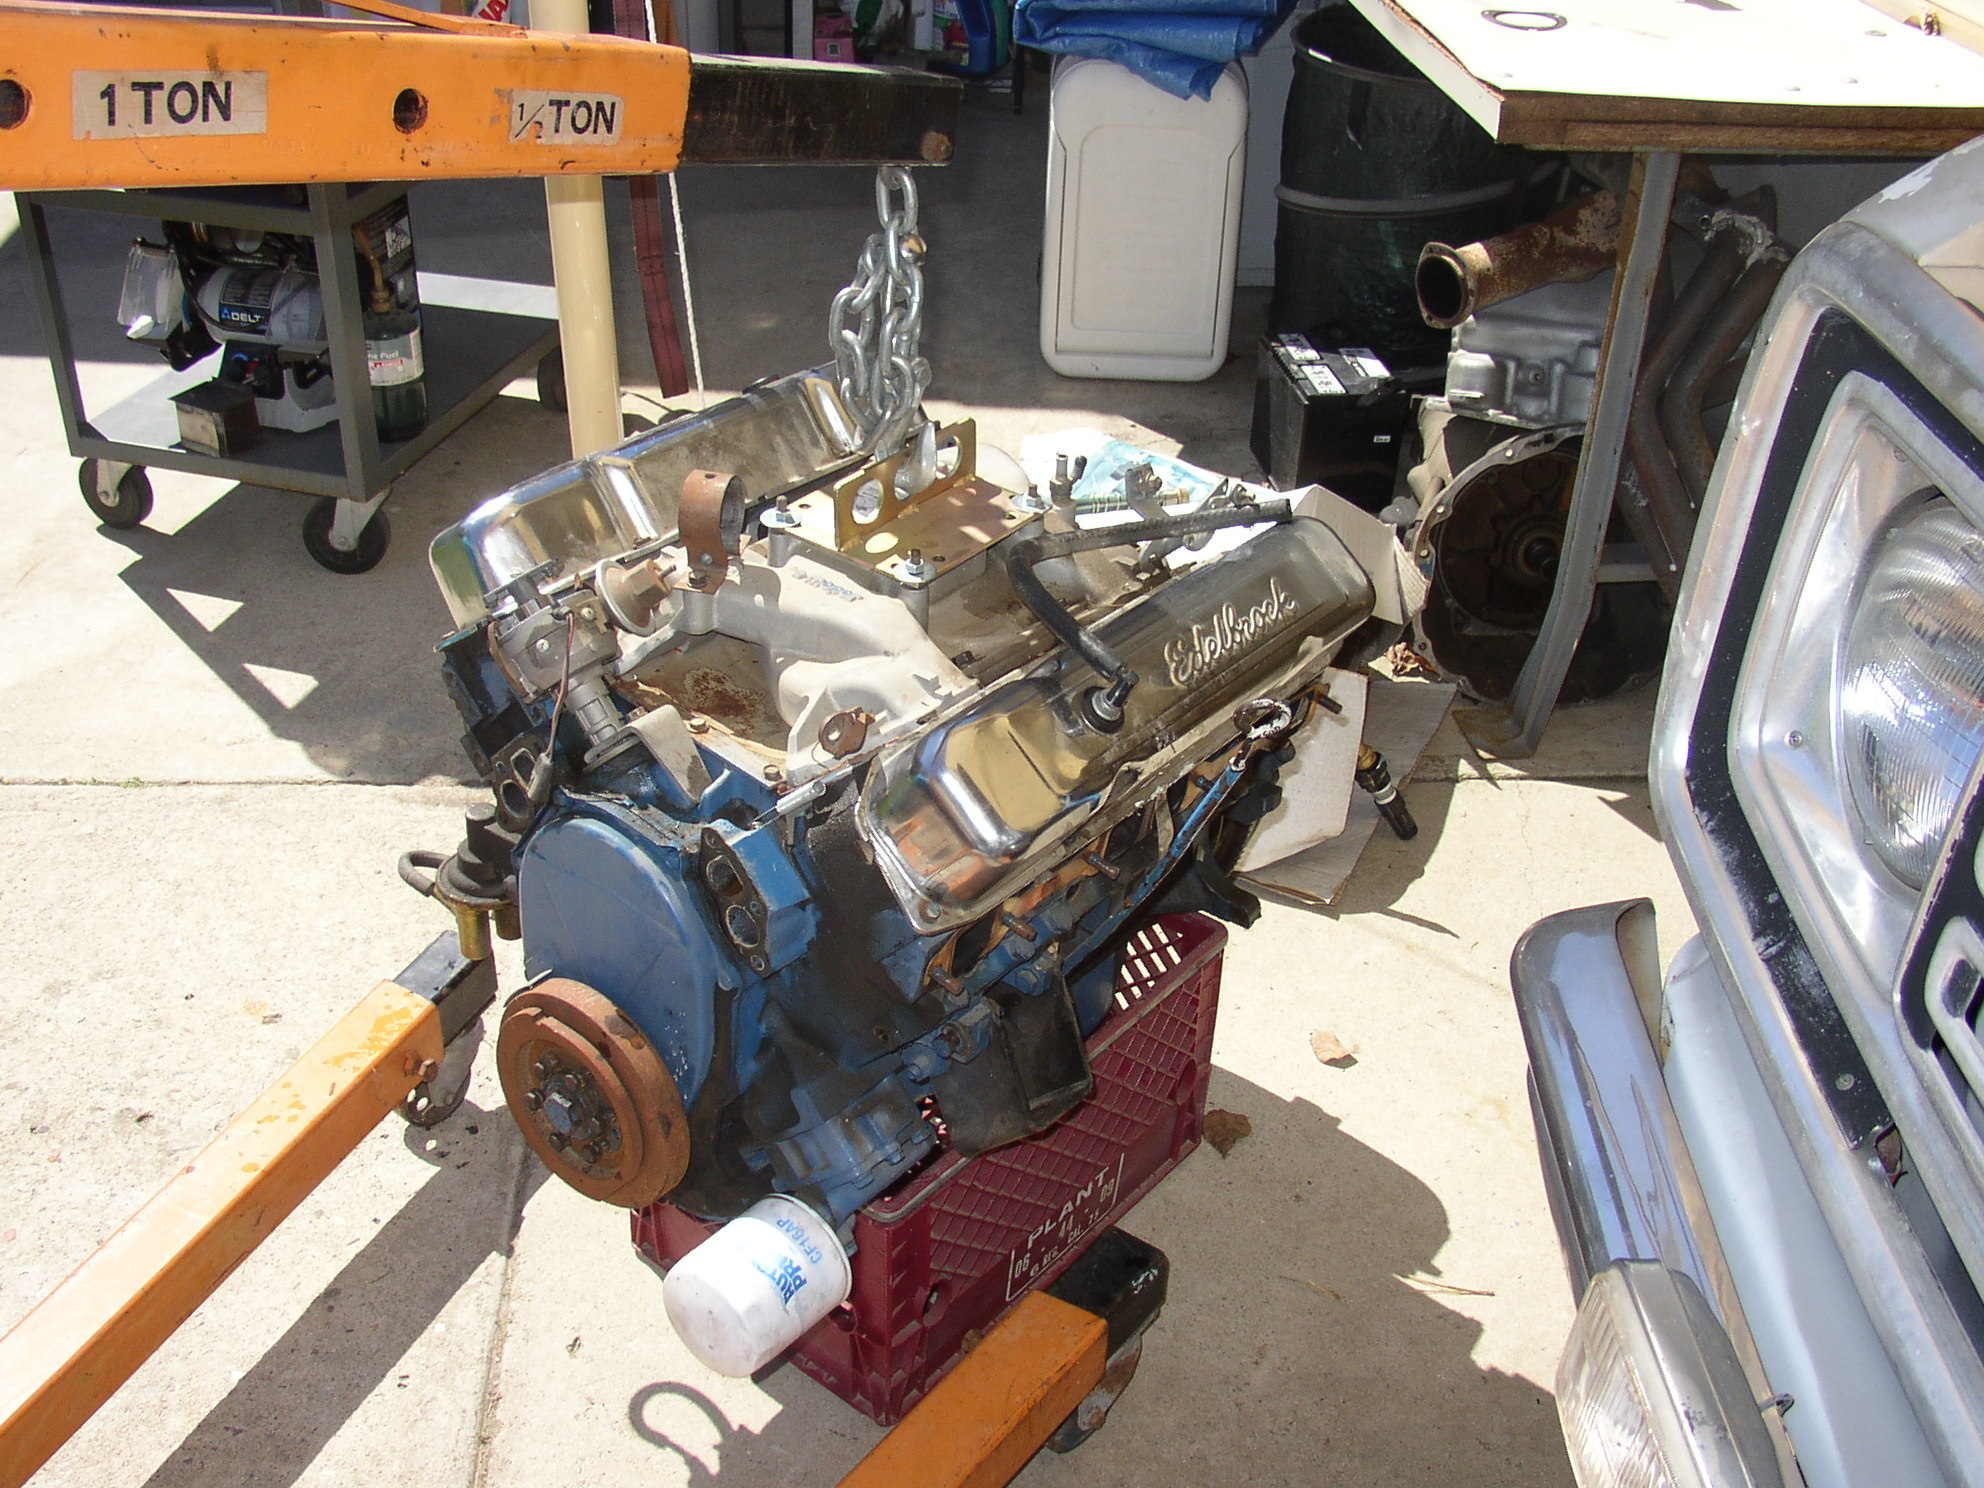
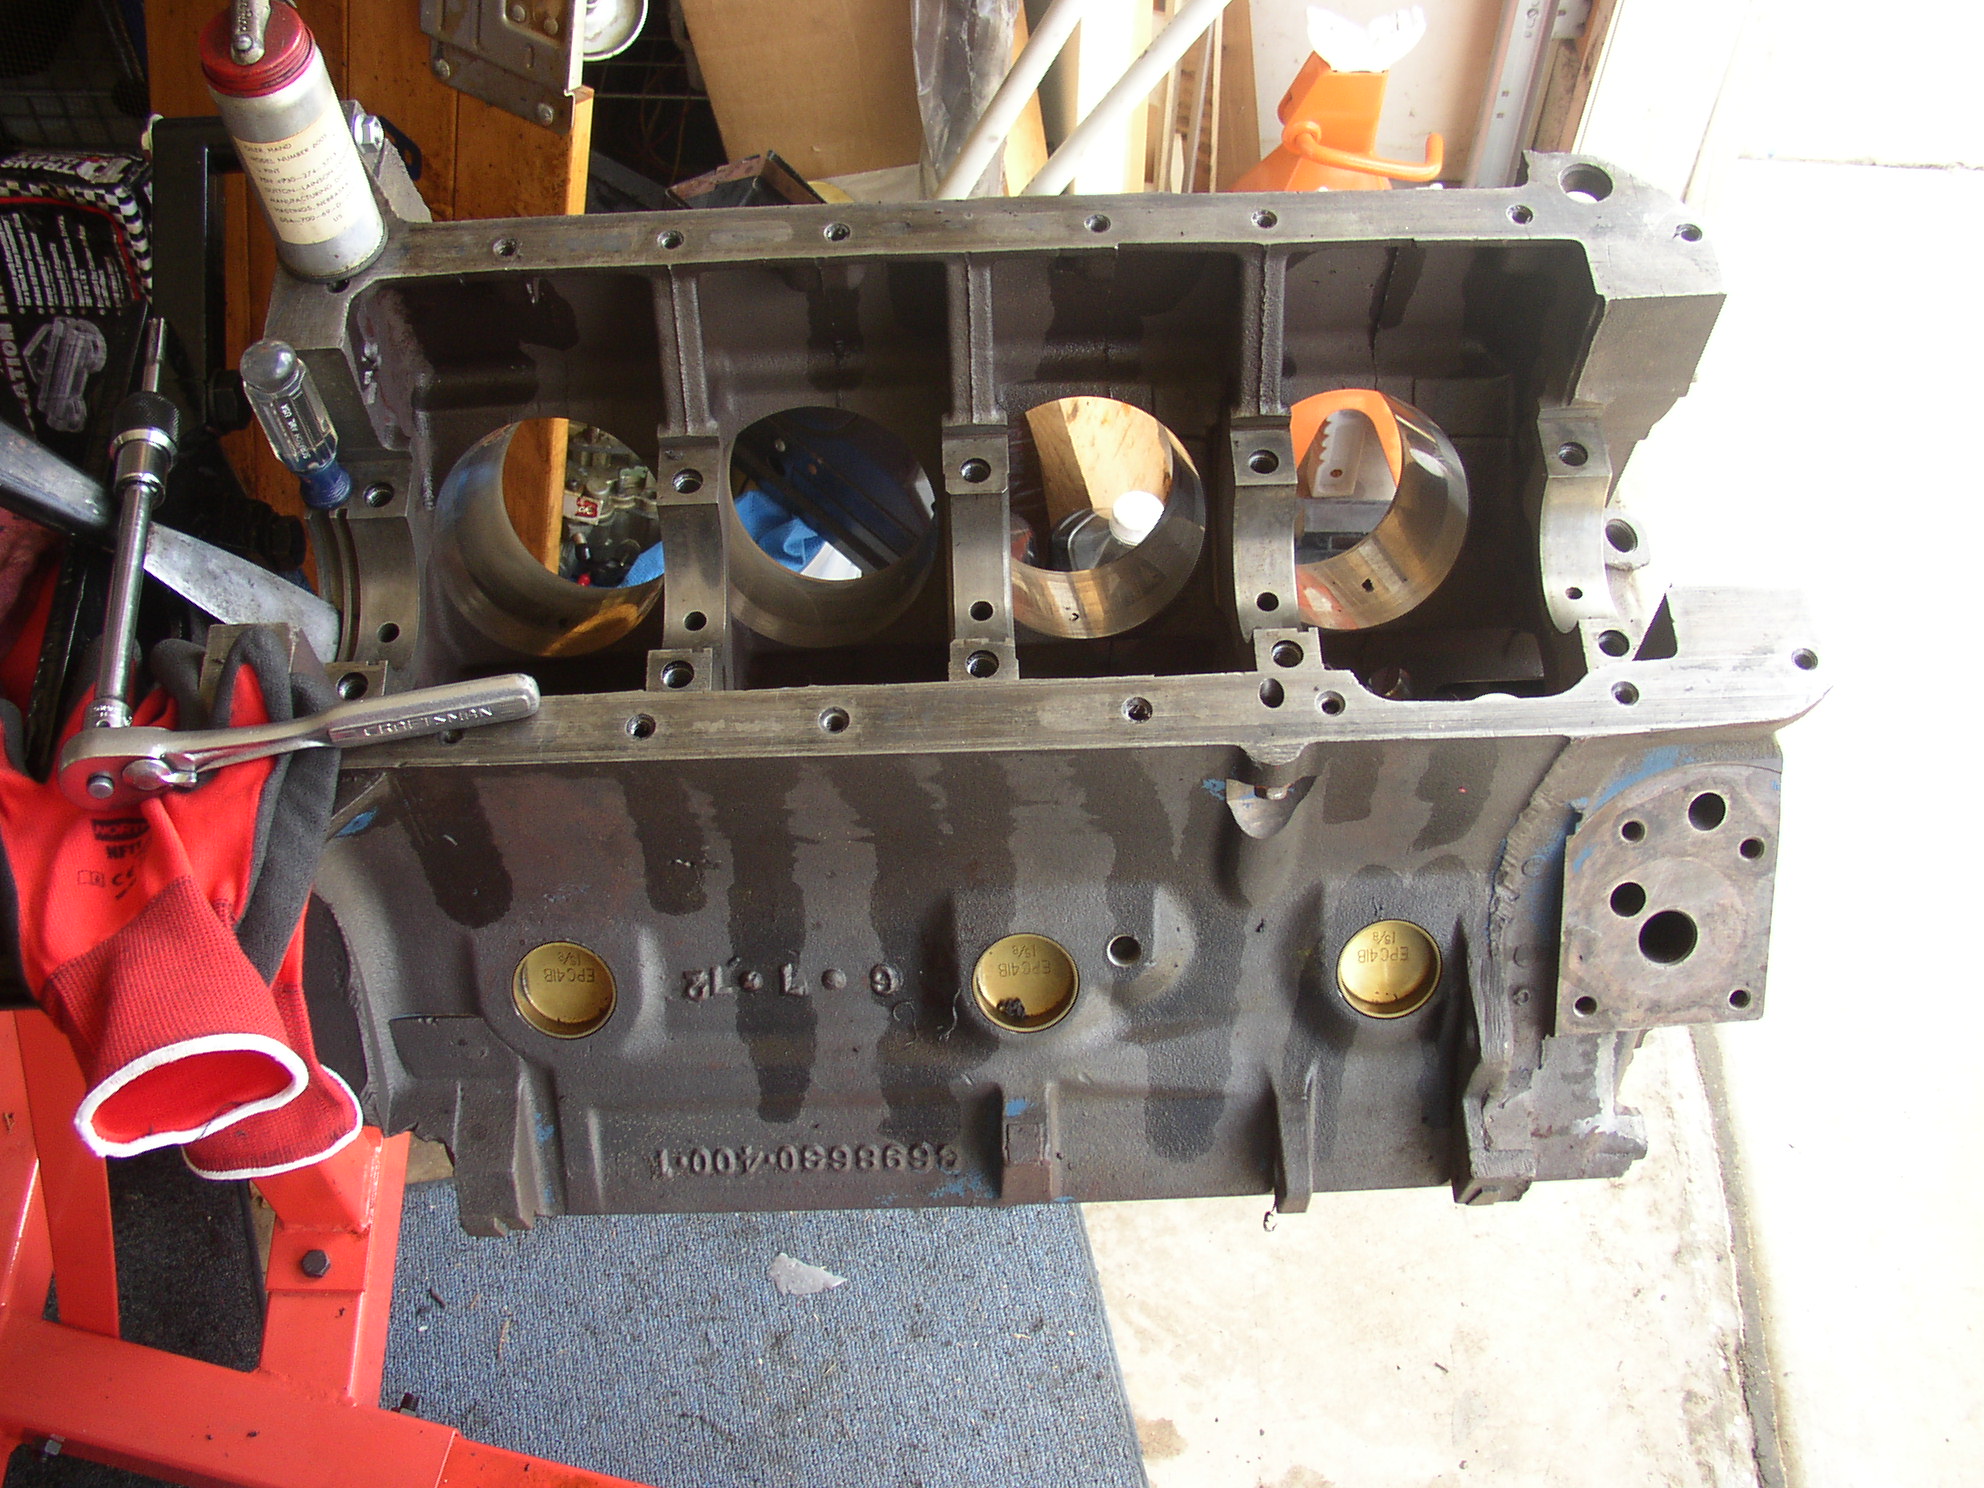
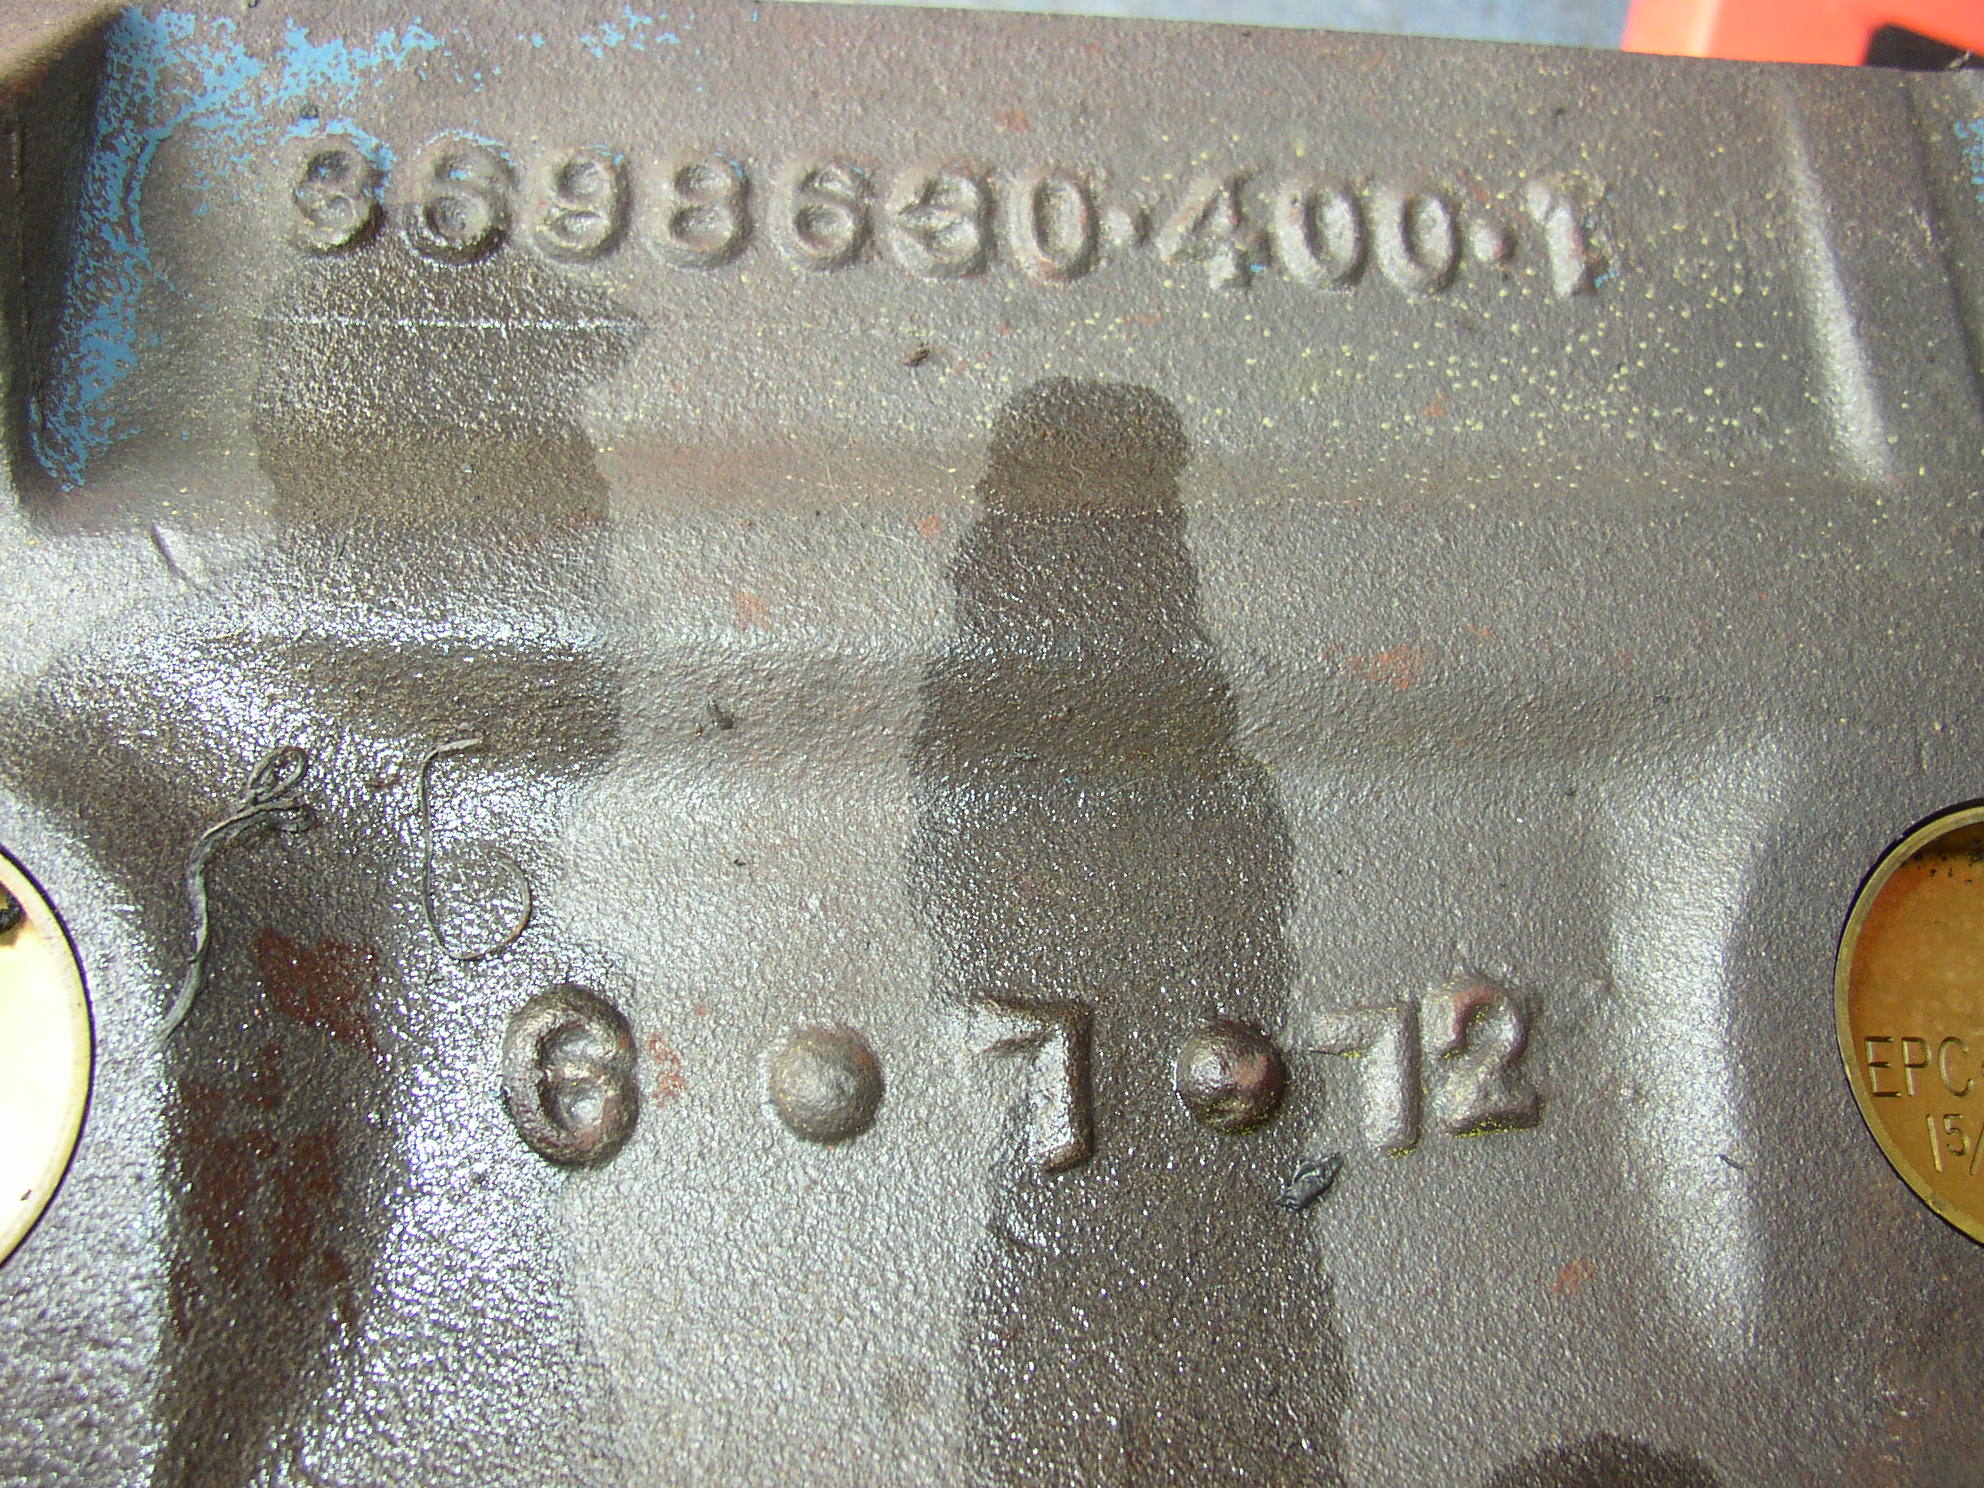
Now this sounds easy, but he discovered he had a dilemma. His original plan was to make his ’71 Dart his street rod/car show driver and find another car to build into a drag car. Now he had two Darts and had to decide which was going to be which… He was already working on a 400 big block for his ’71 Dart. He decided to put this engine in the ’67 and to build a stroked 440 big block for the ’71. He now had a plan! Bill acquired the 400 when he purchased his utility truck, the ‘Ute’. The ‘gentleman’ who sold Bill the Ute told him that the engine was ‘recently rebuilt’ by a ‘professional’ an ran like a scalded rat. He said it was running poorly due to bad gas and a distributor problem. Bill had already decided to pull the 400 for his ’71 and put a ‘warmed up’ 440 in the Ute for towing. Bill pulled the 400 and decided to look it over before he put it in the ’67. Here’s what he found… |
|||||||||||||||||||||||
 |
 |
 |
 |
||||||||||||||||||||
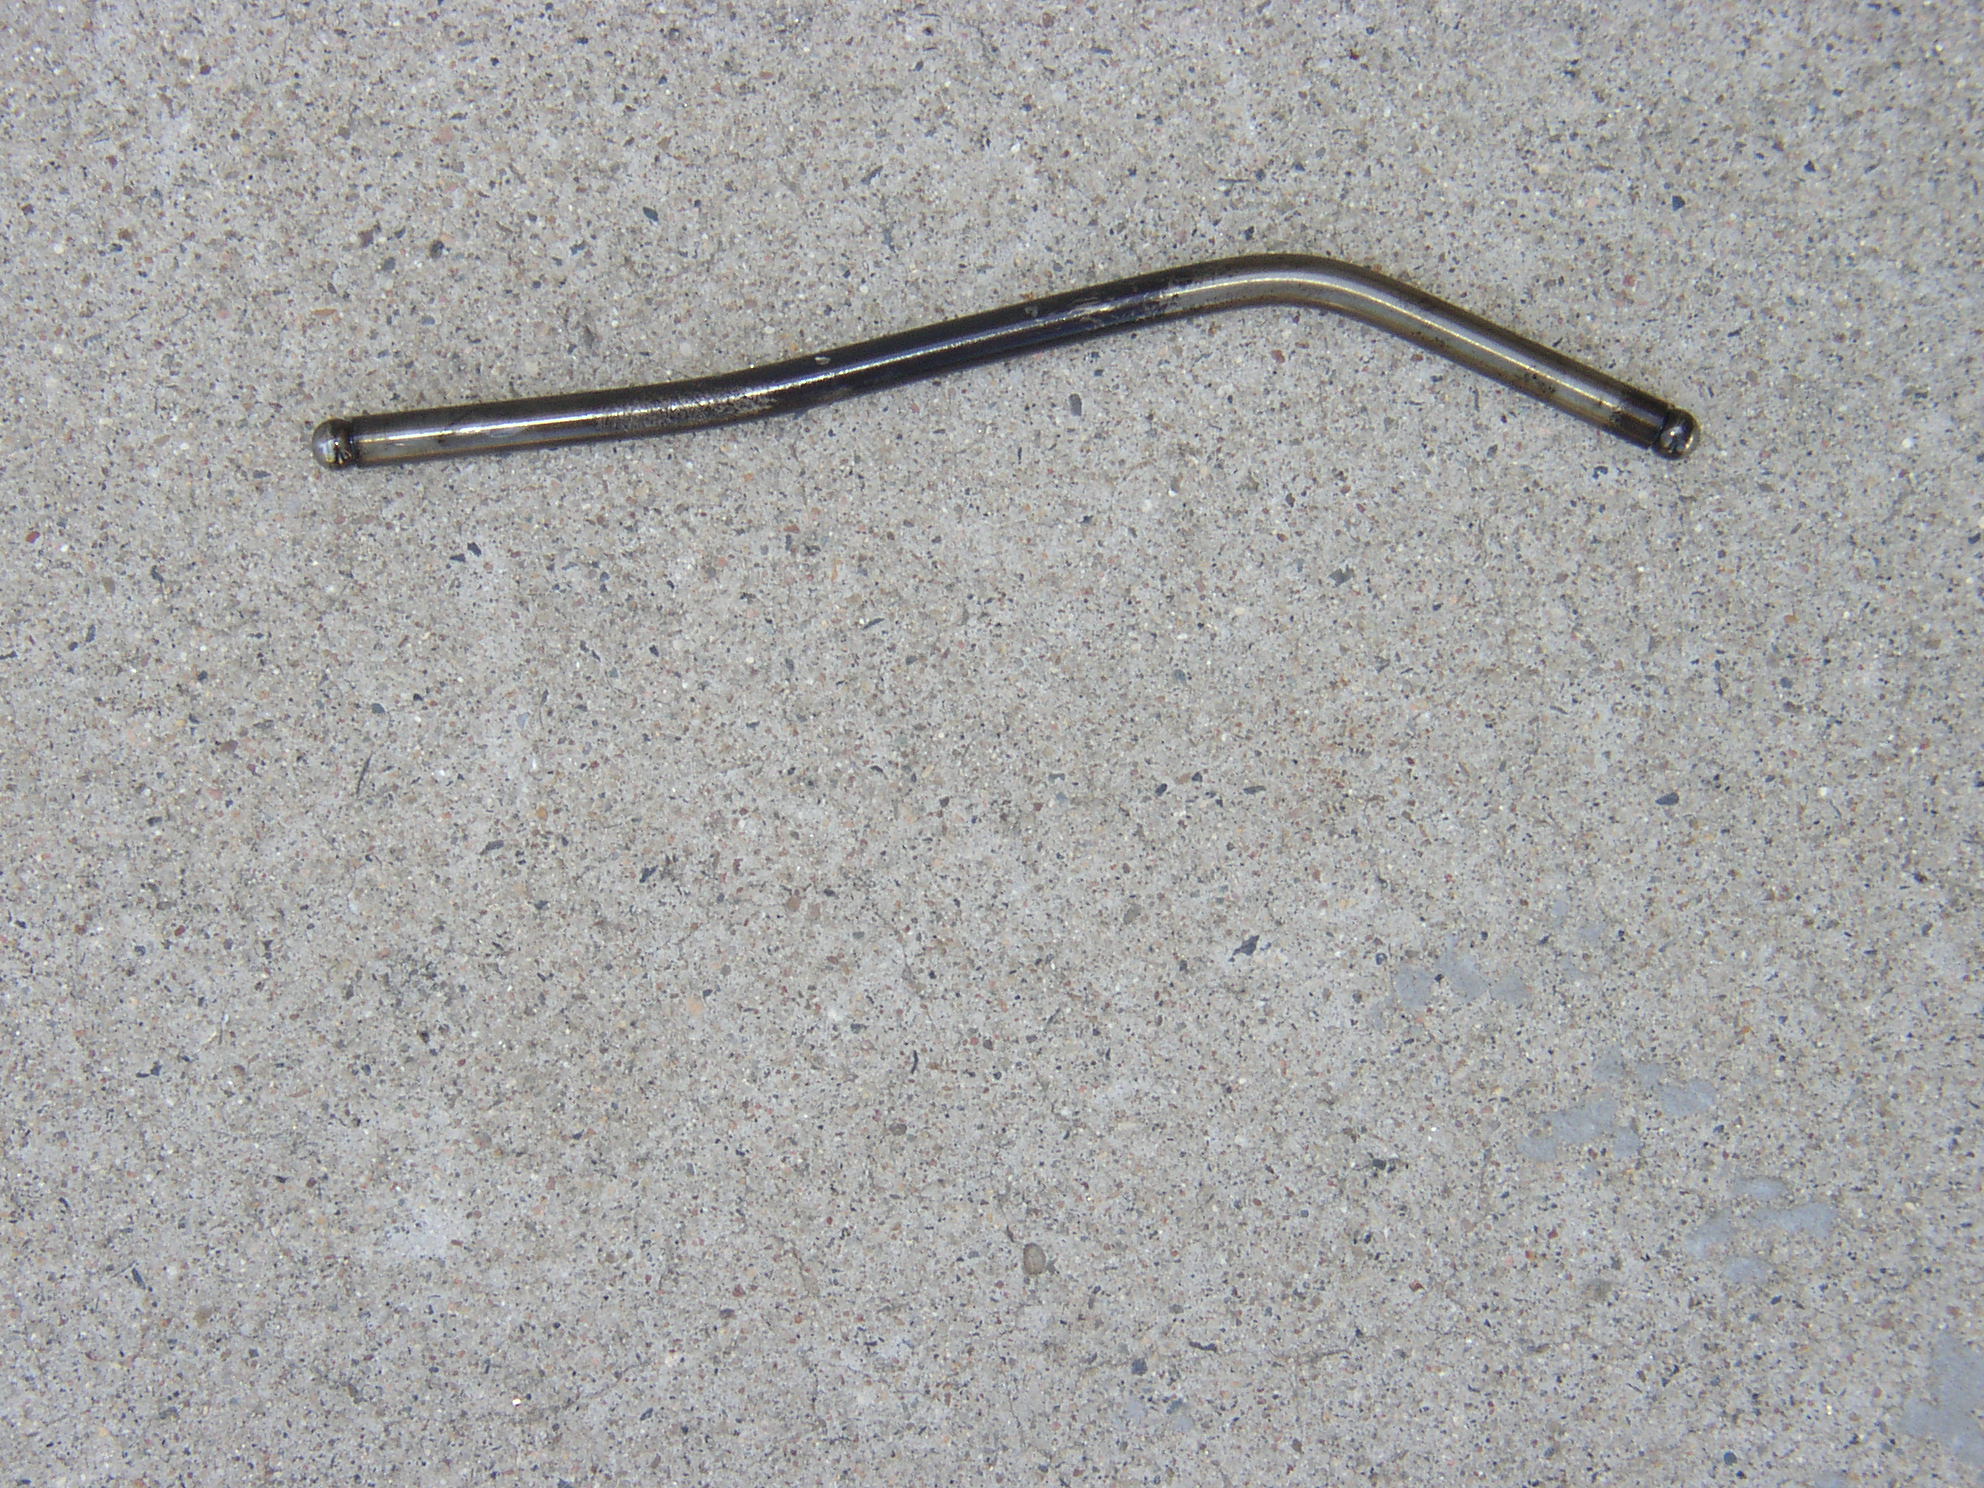
Don't think push rods go there! |
This is one of those new, nifty-difty aerodynamic push rods that are supposed to increase h.p. |
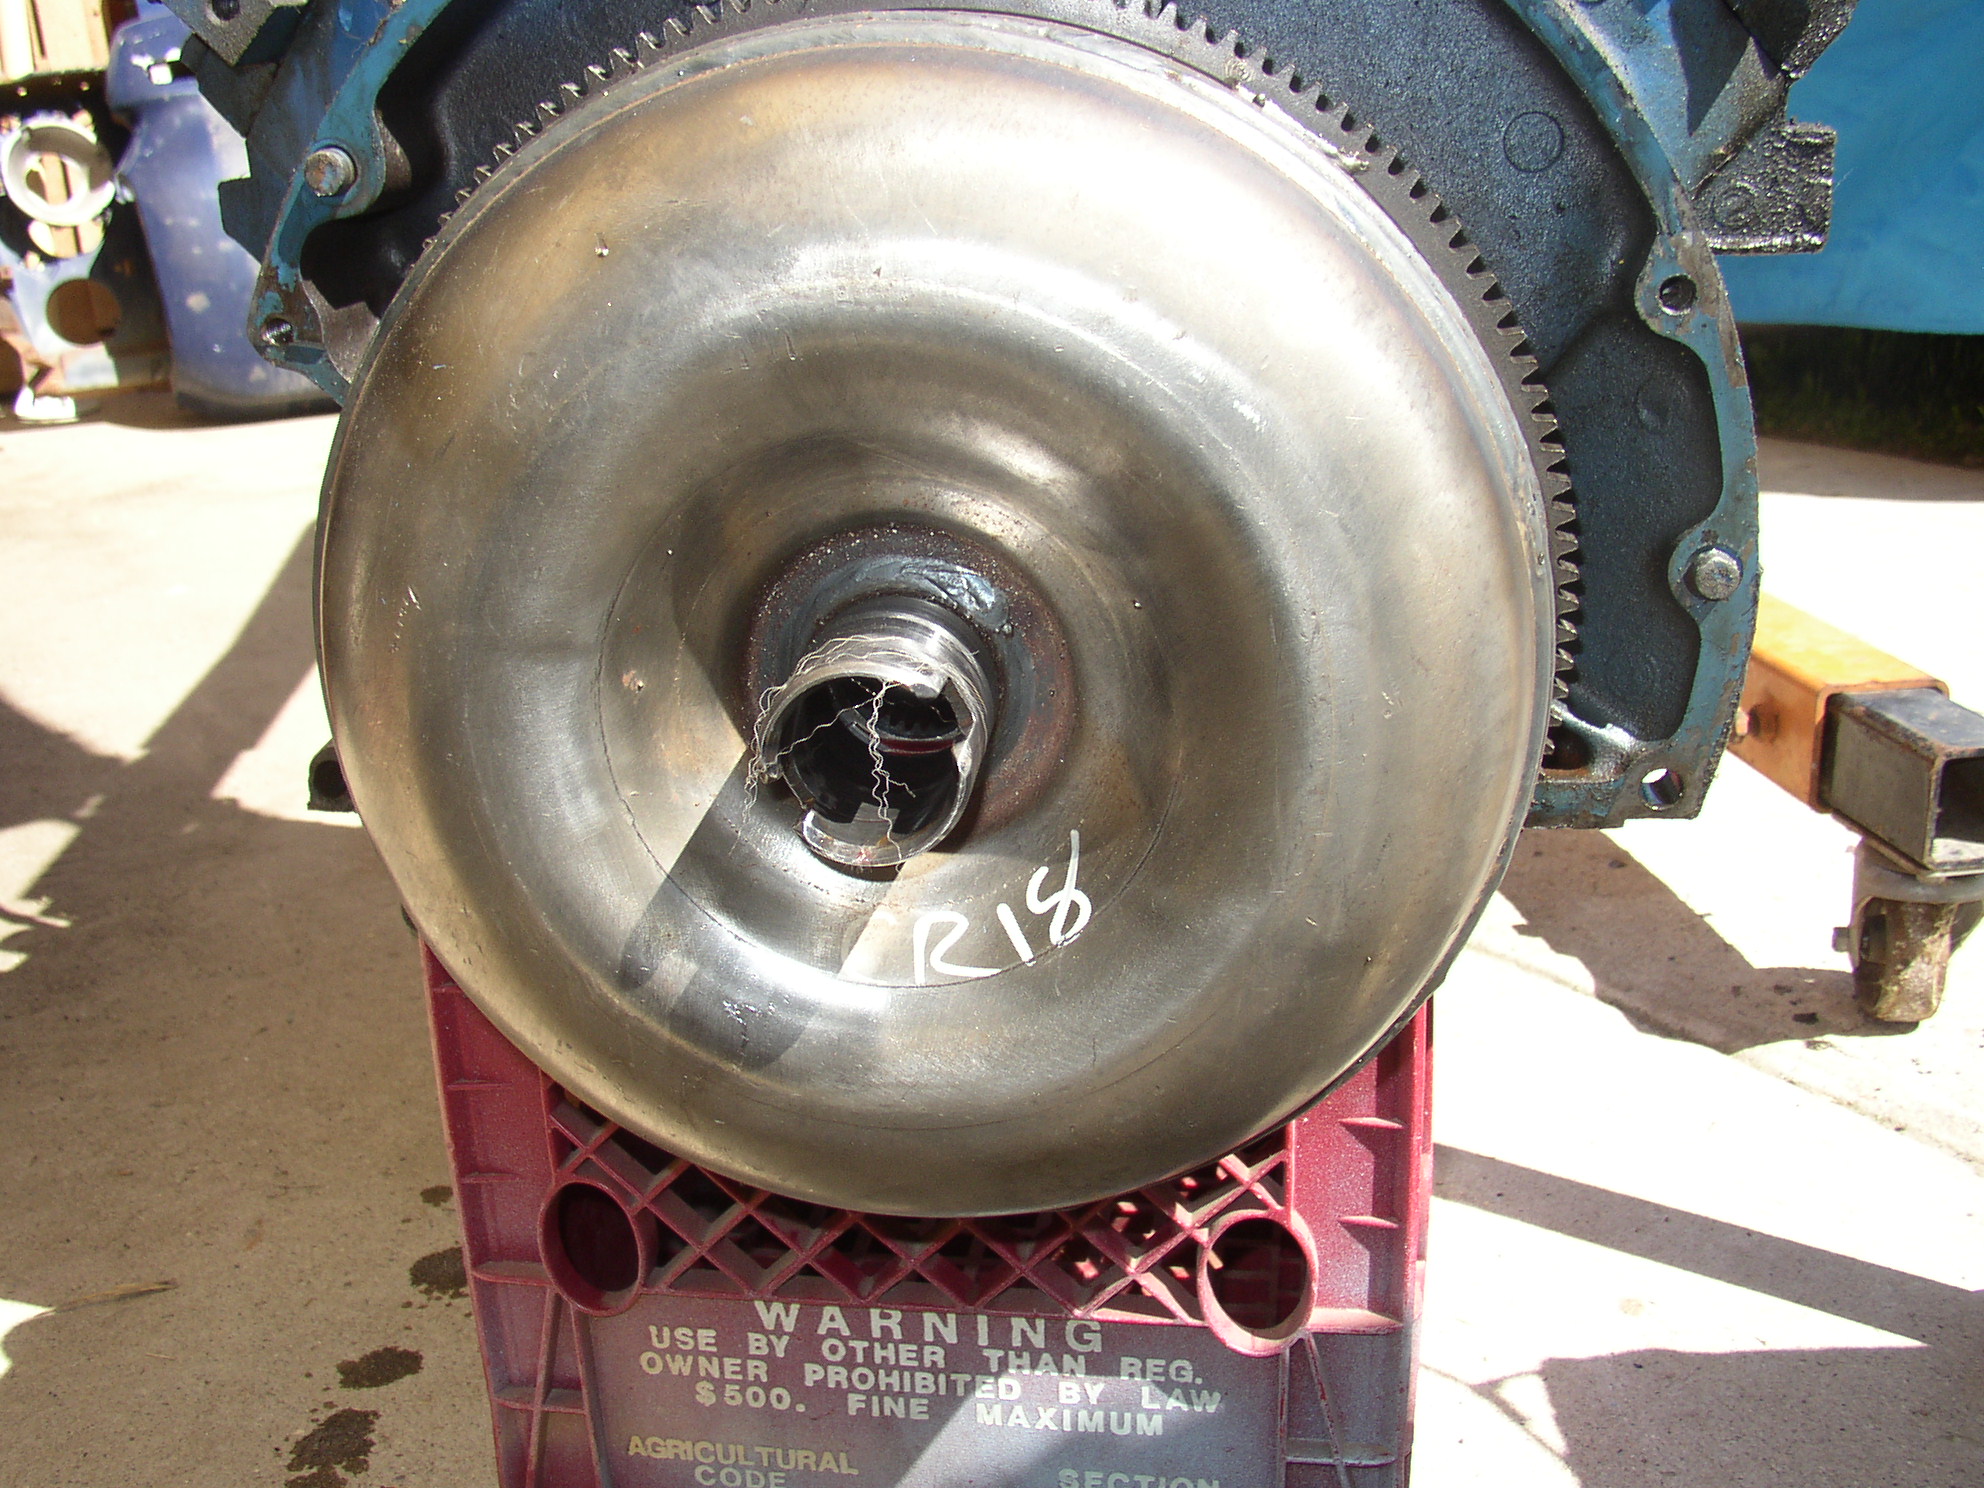
We're still trying to figure out what the white stuff on the end of the torque converter was for... |
|||||||||||||||||||||
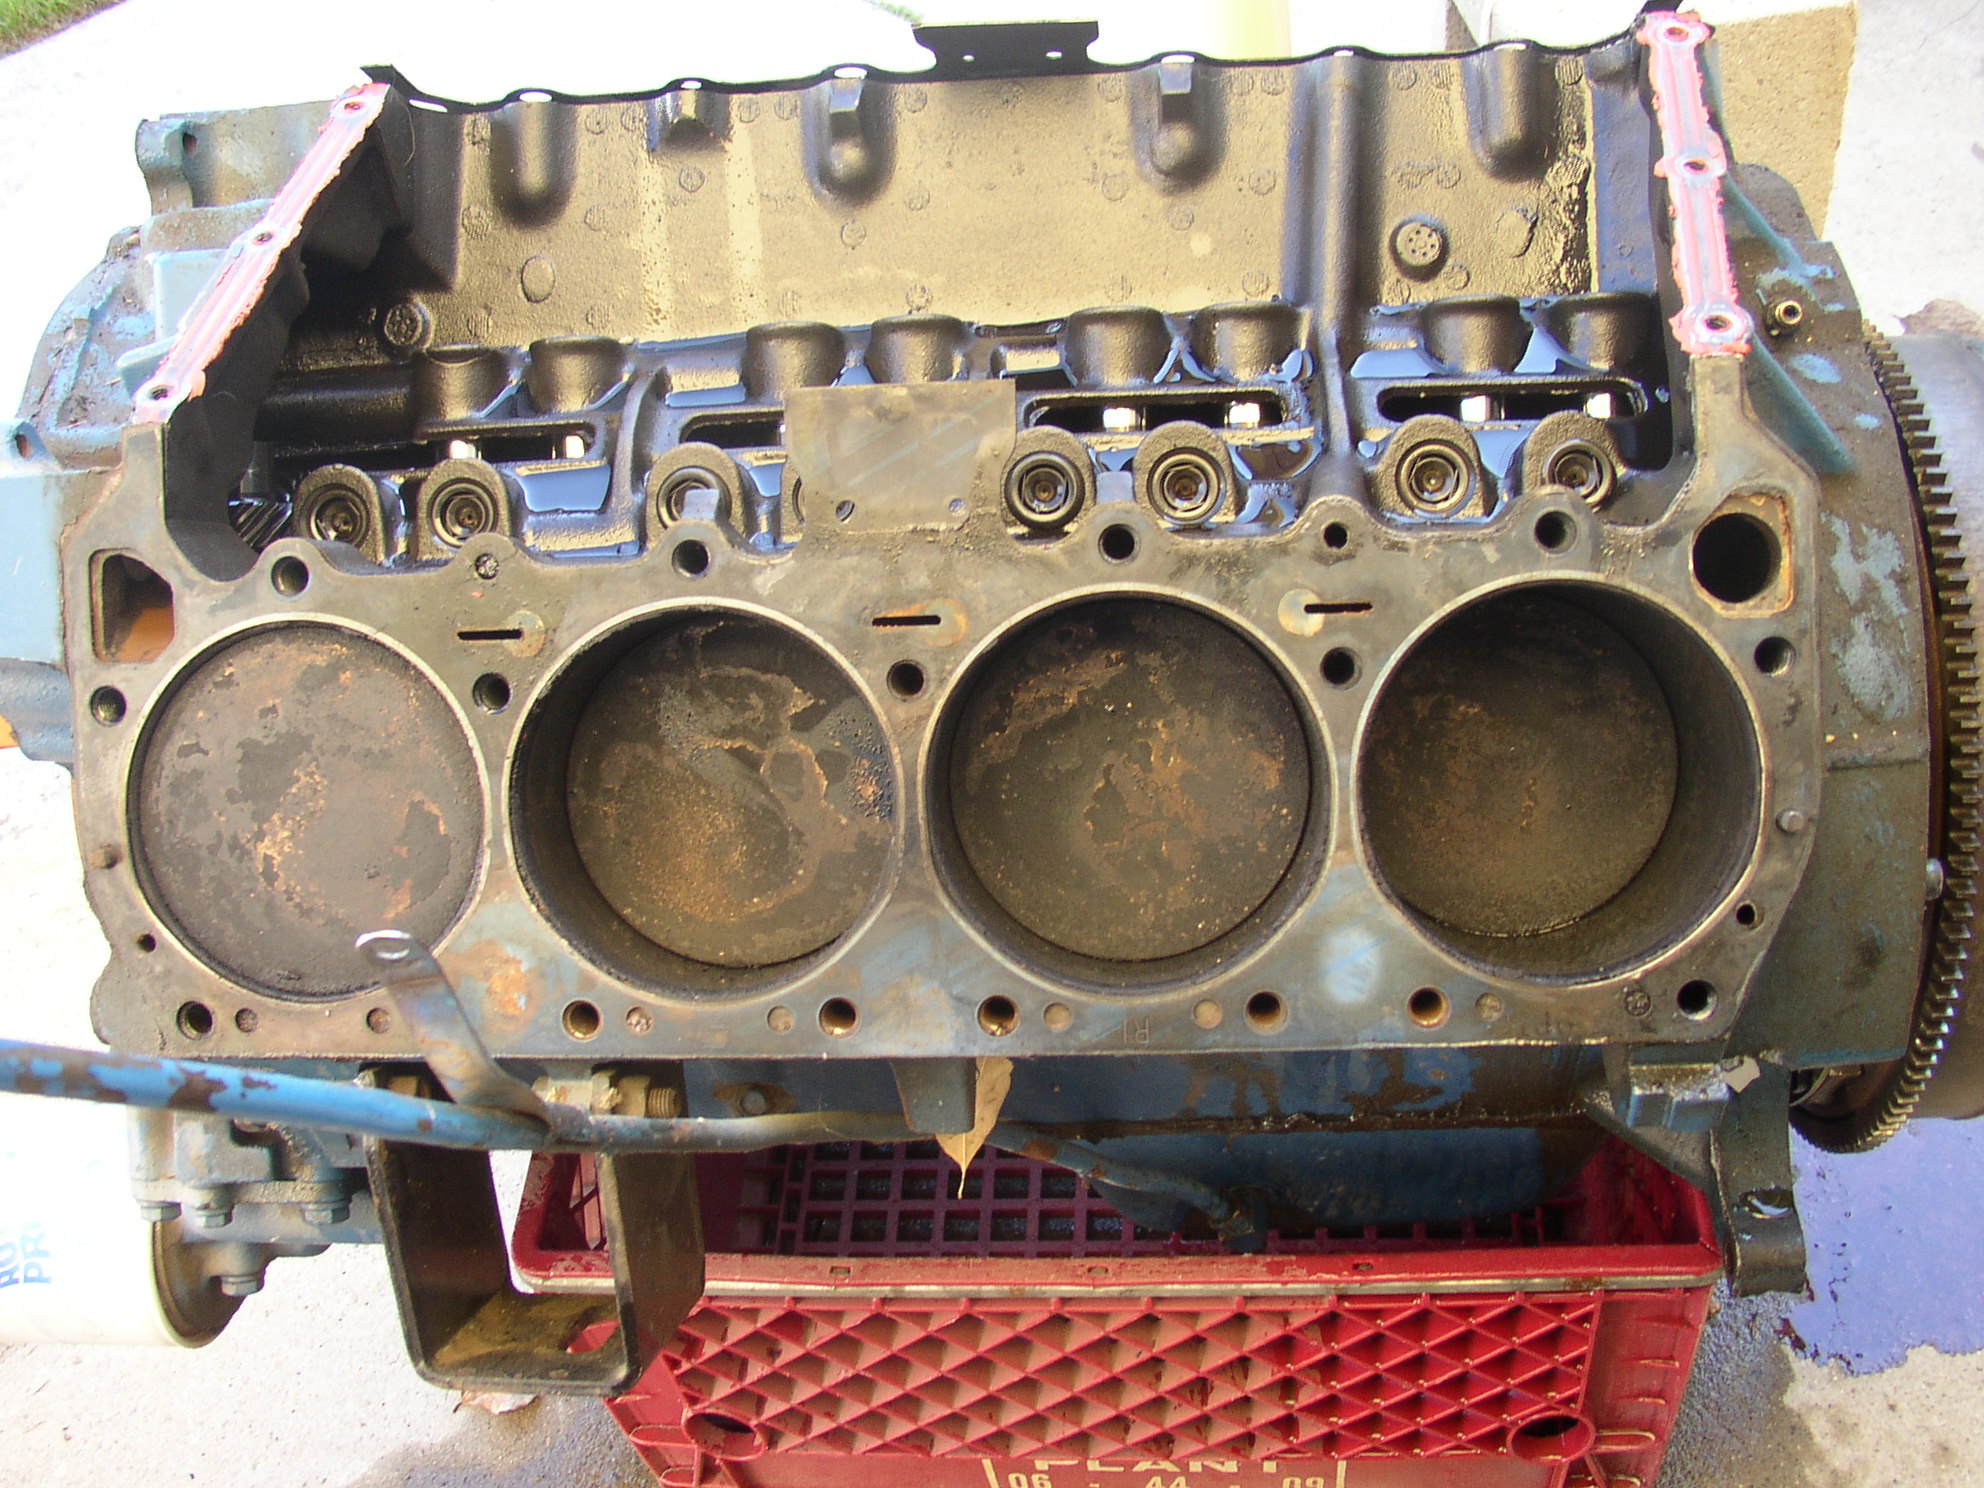
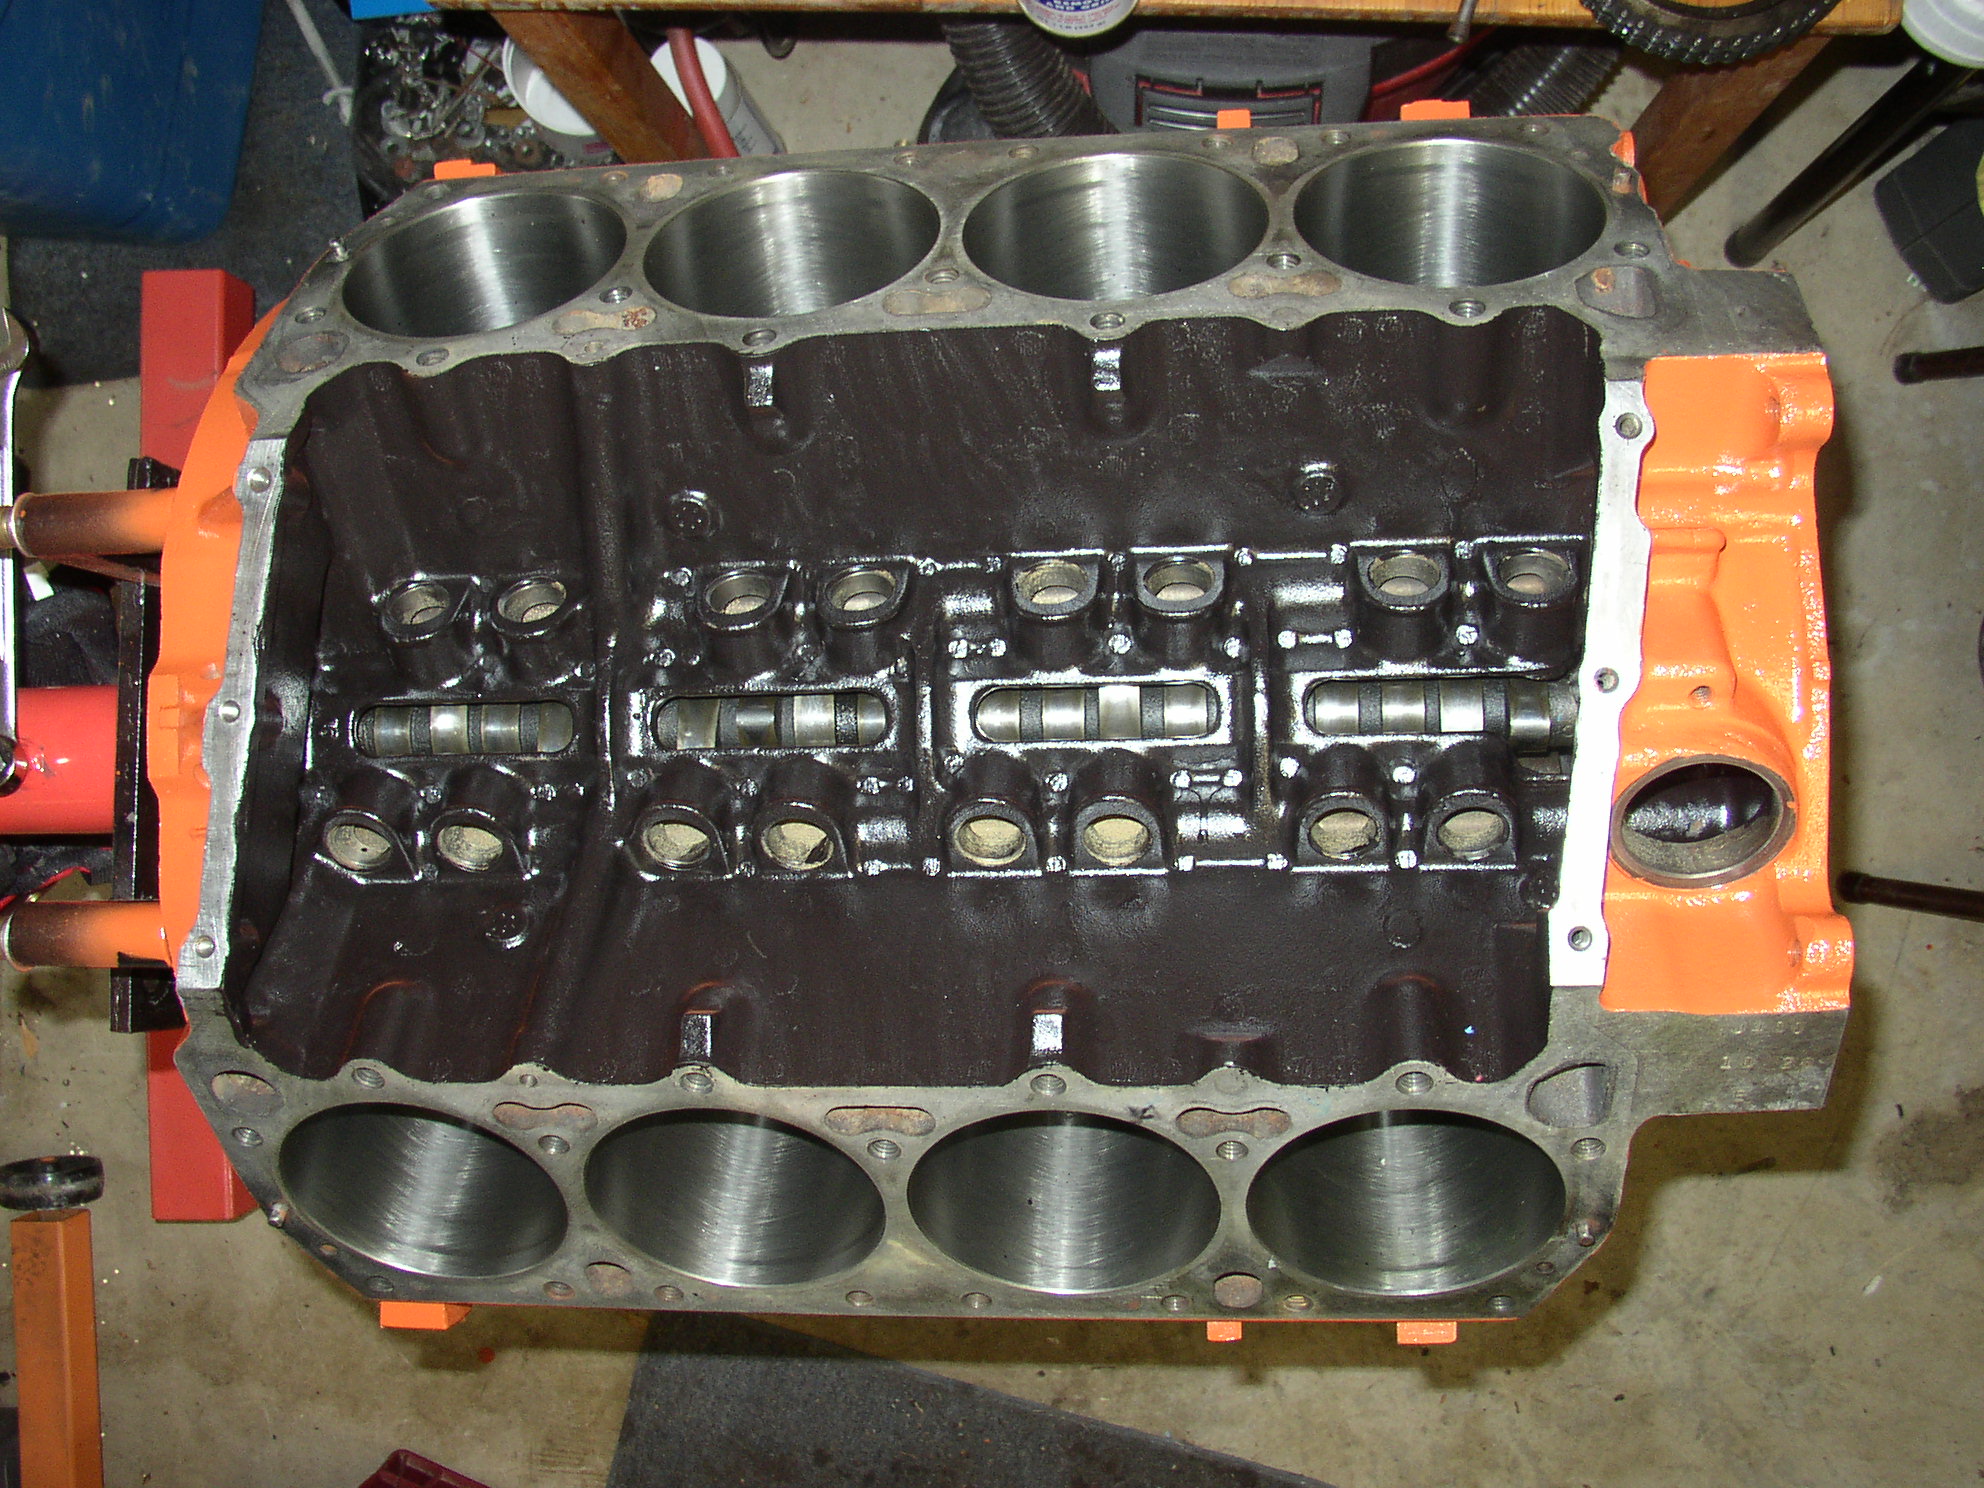
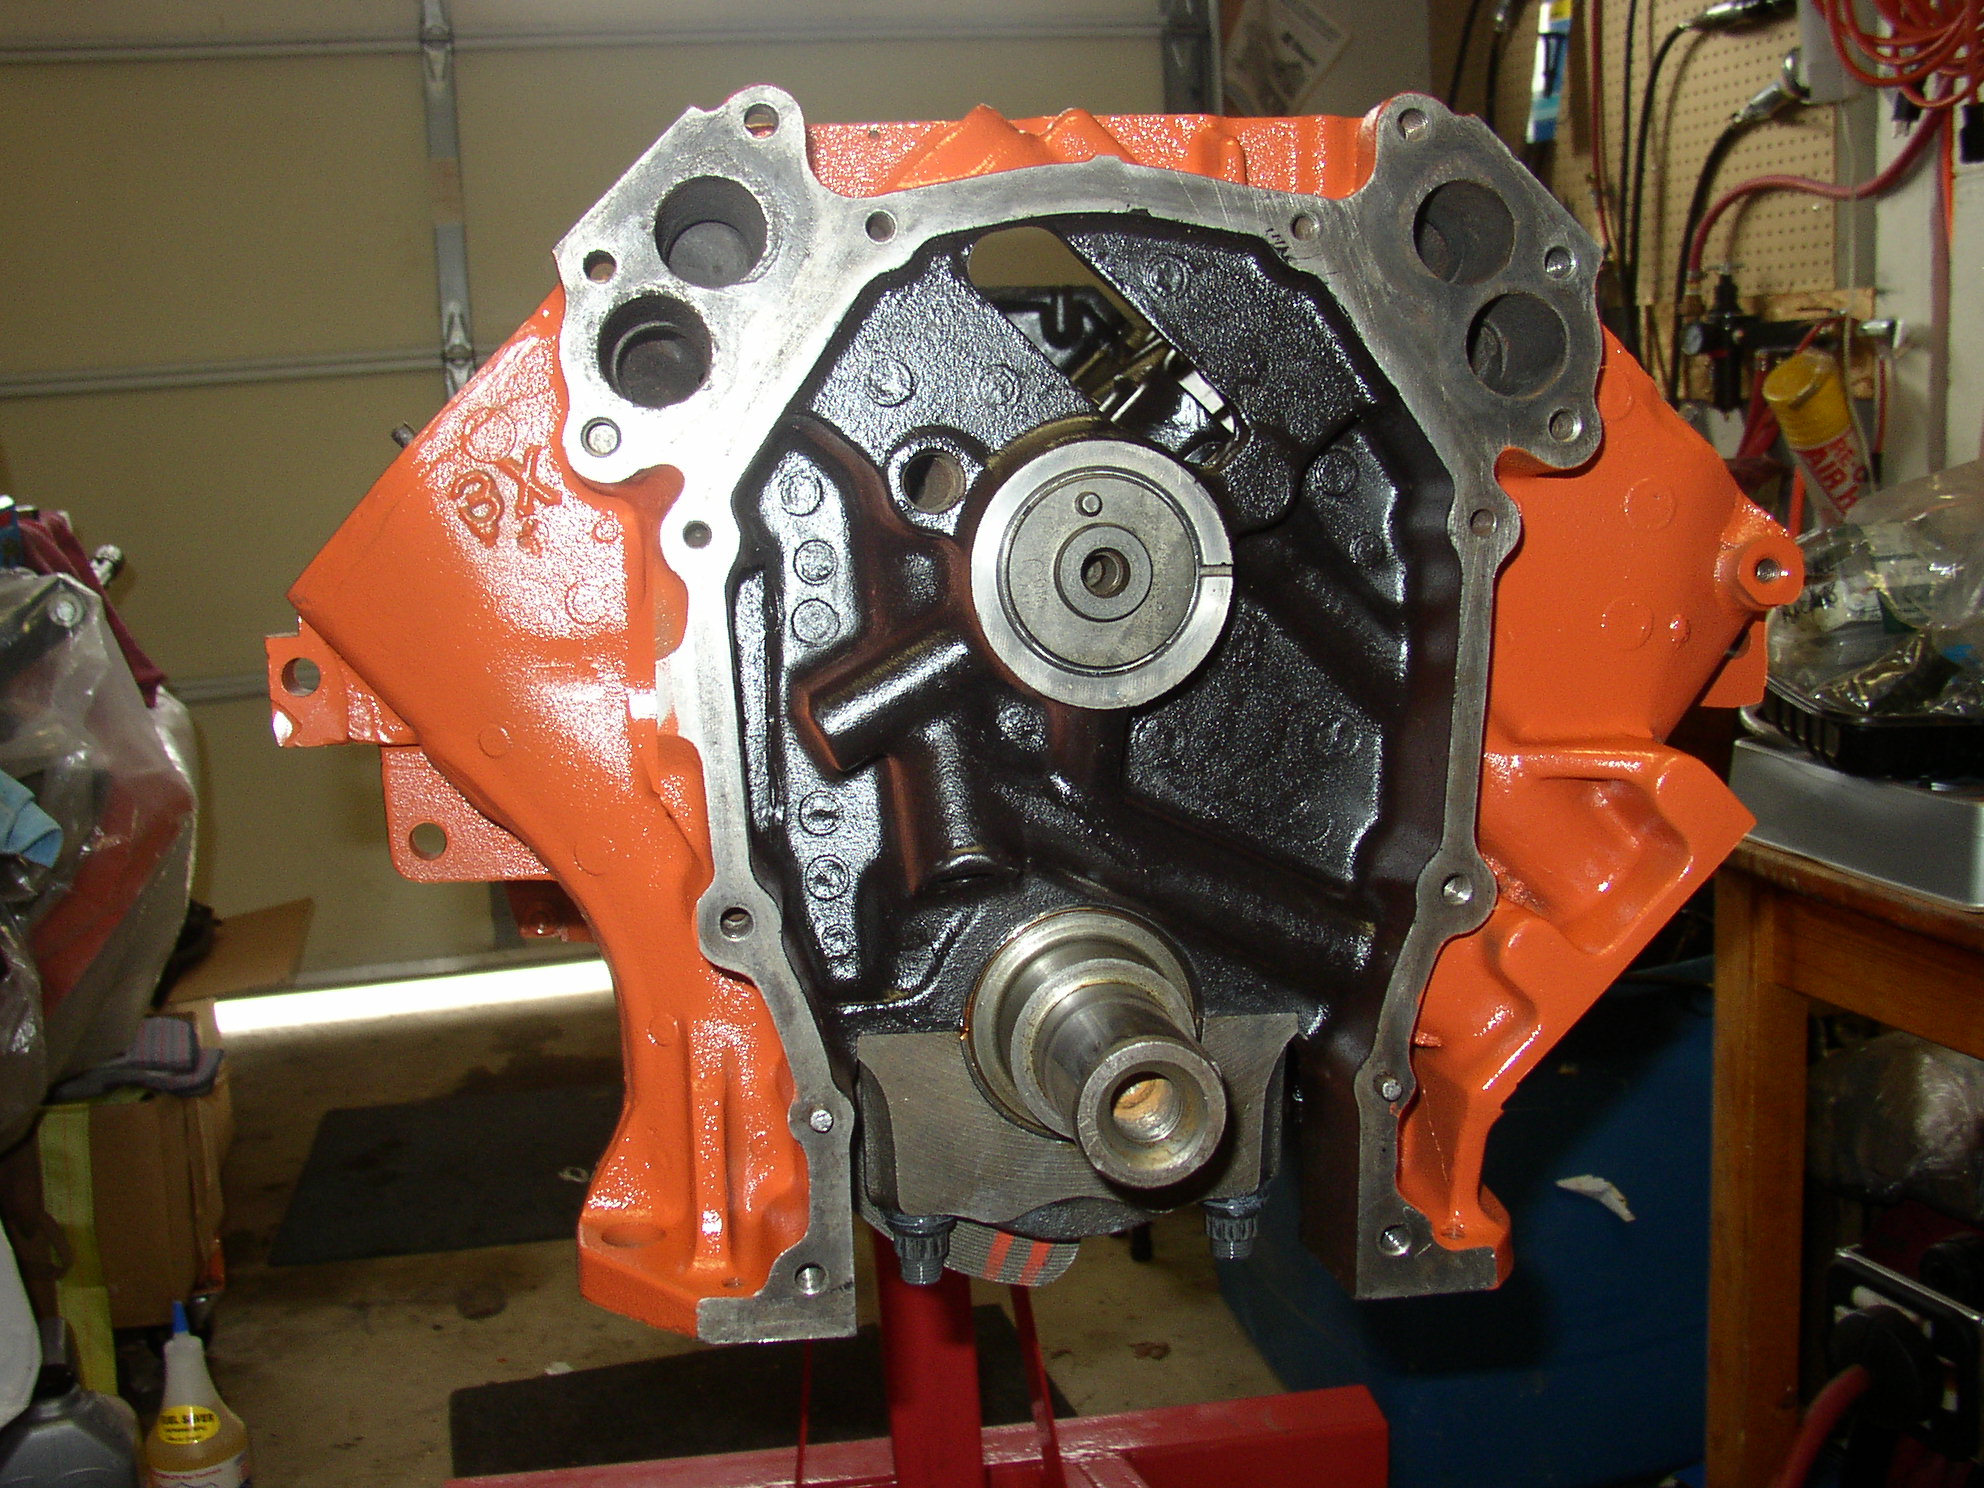
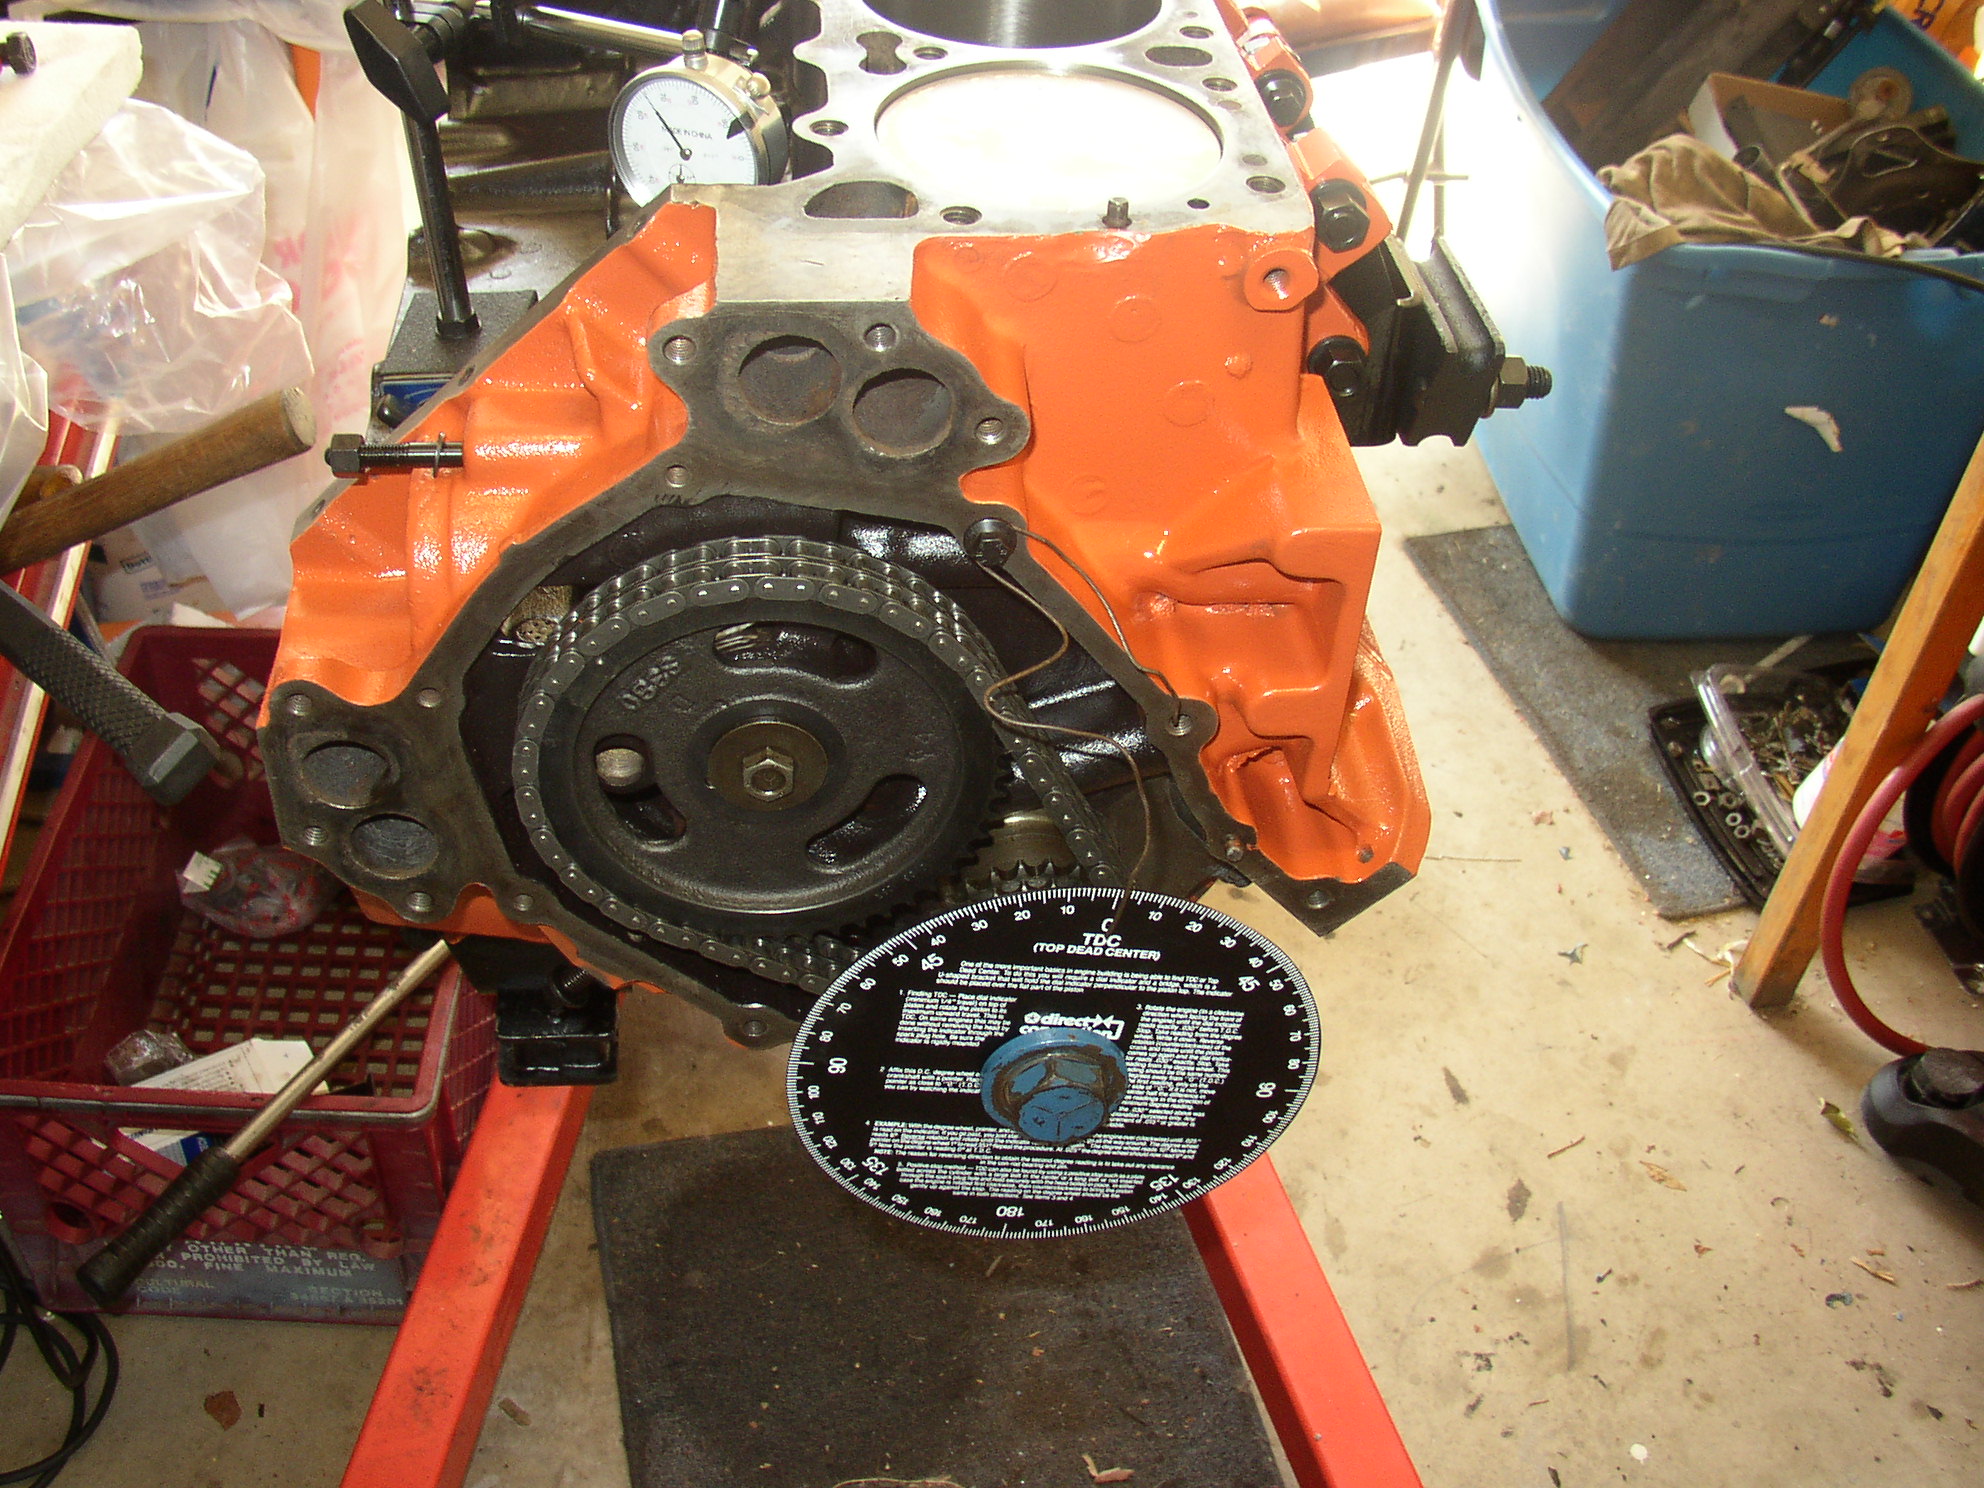
The engine actually looked pretty good when it came out. It was when he started checking timing and valve adjustment that he discovered an ‘issue’…there were two bent push rods. So the check/tuneup/cleanup project quickly became a full on engine rebuild… Ever the optimist, Bill just shook his head and started wrenchin’. Here are some pictures of the engine rebuild… |
|||||||||||||||||||||||
 |
 |
 |
 |
 |
|||||||||||||||||||
 |
 |
||||||||||||||||||||||
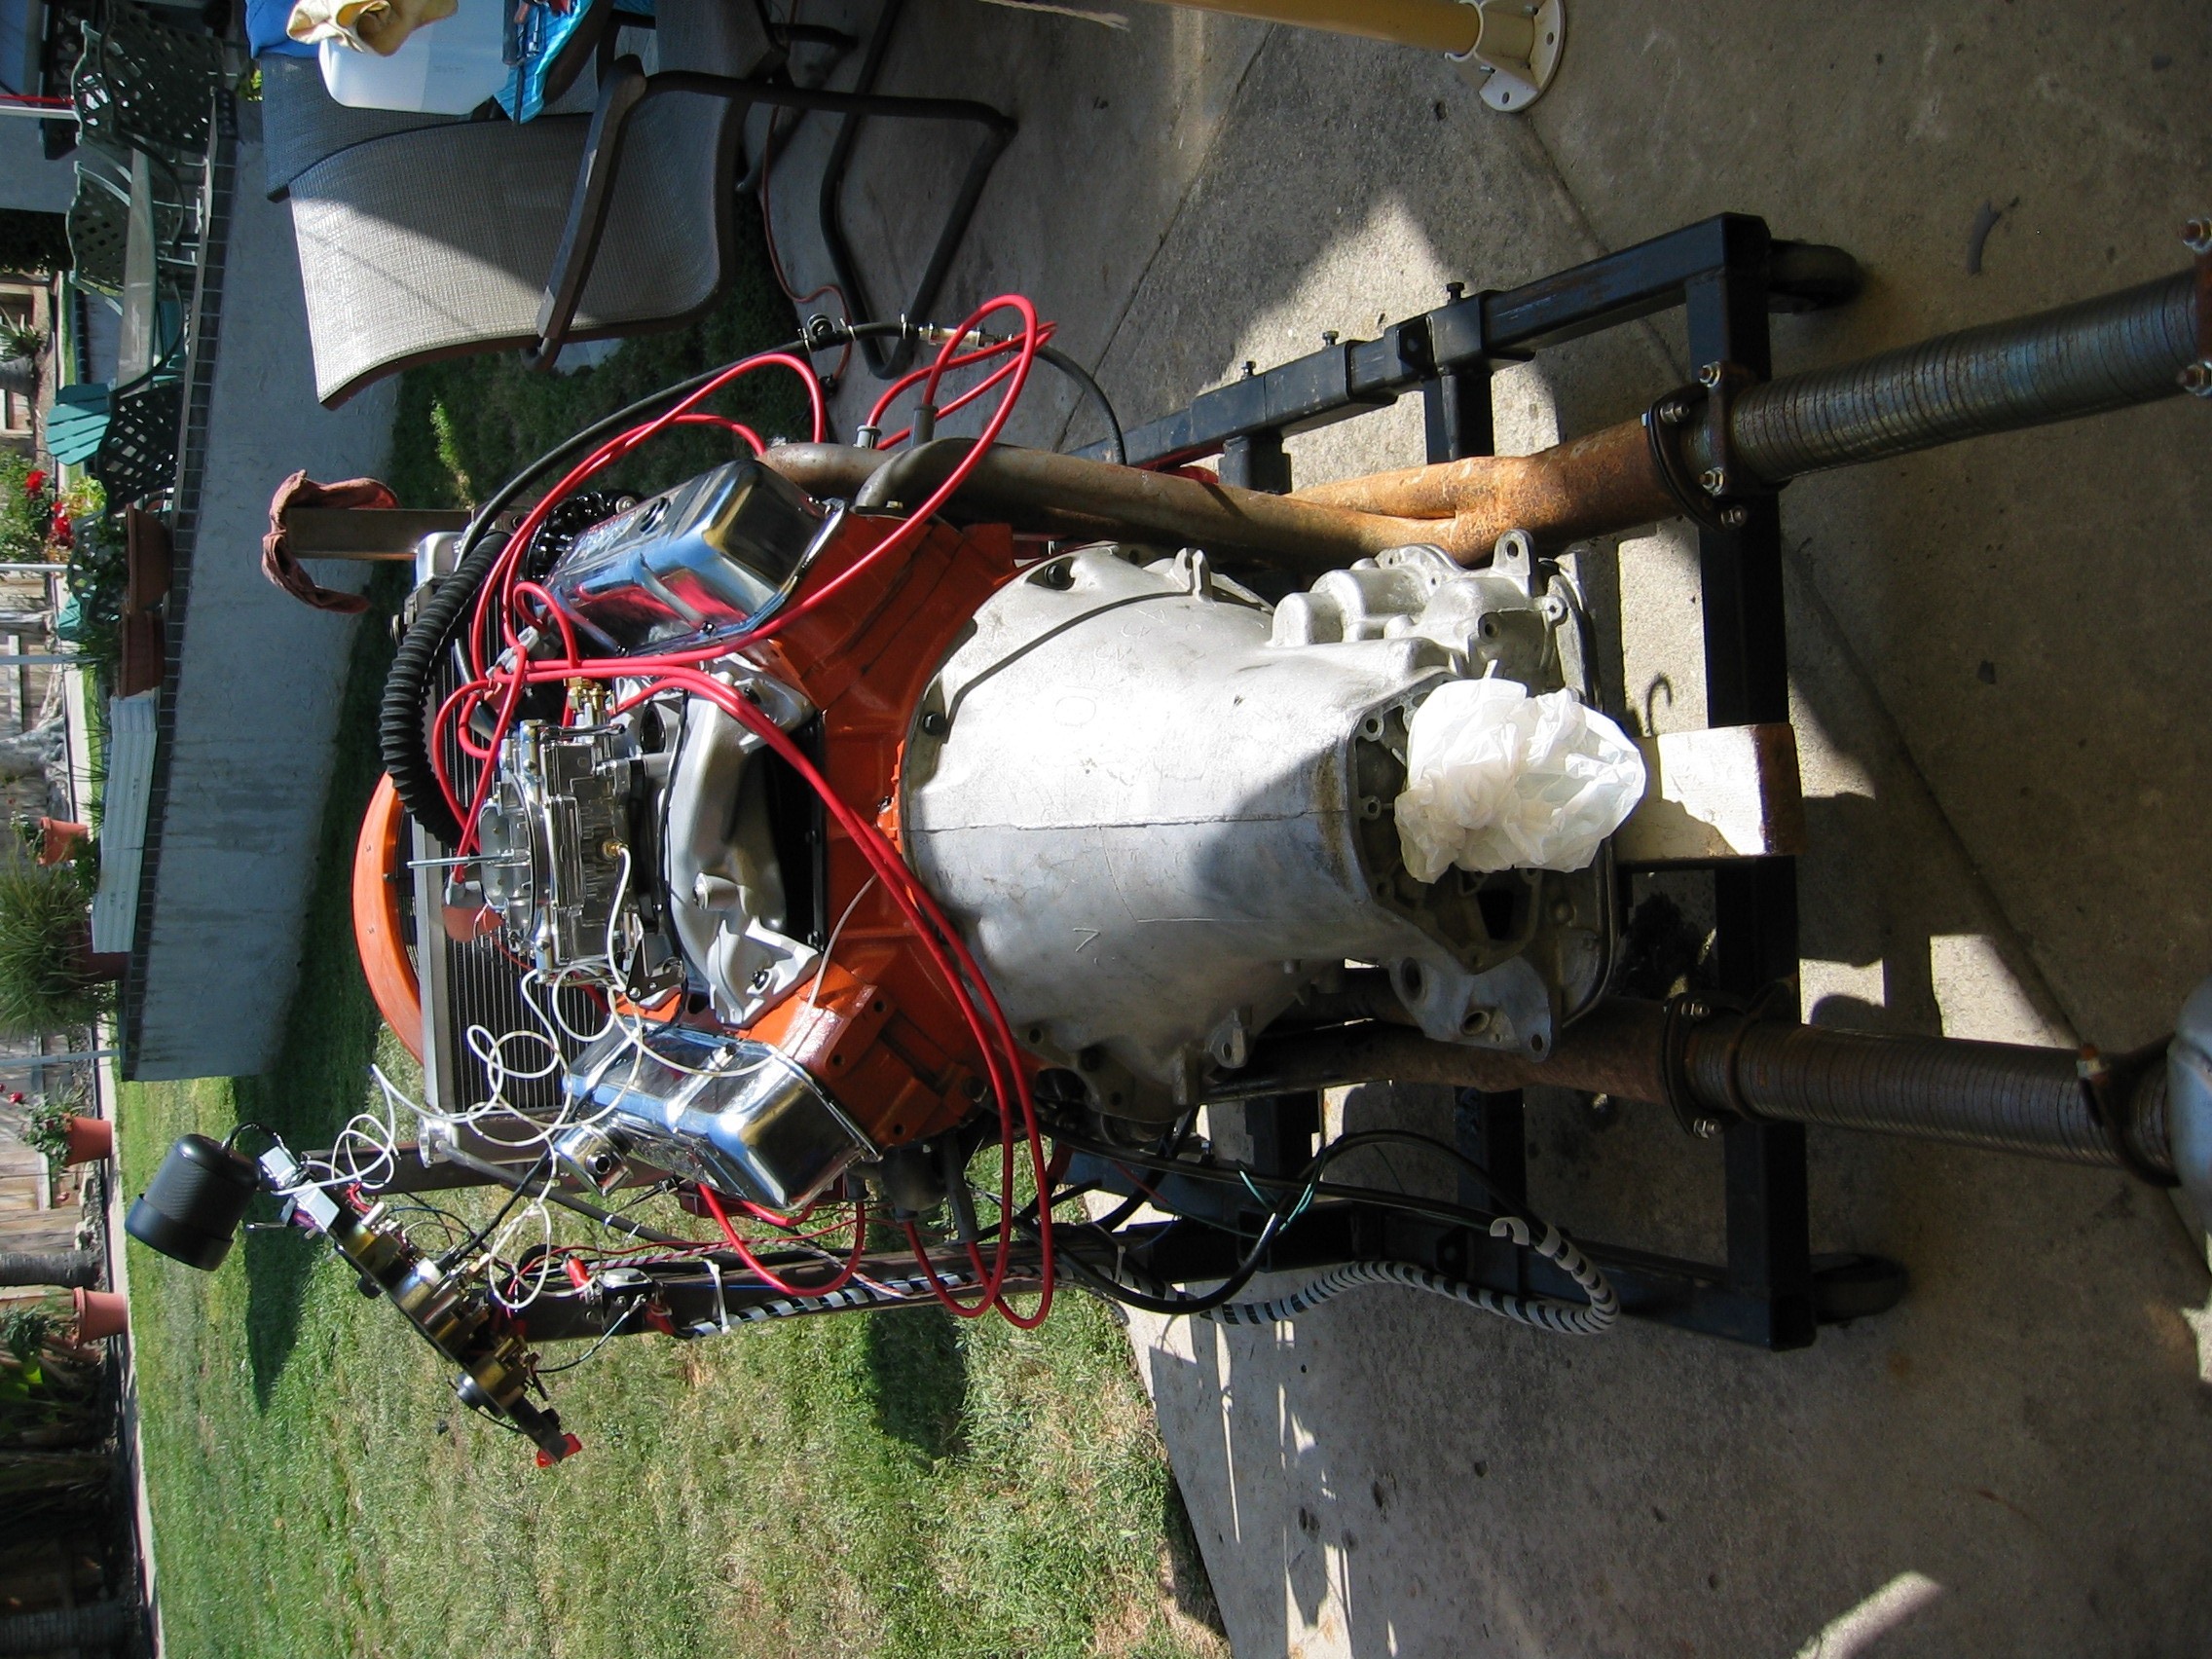
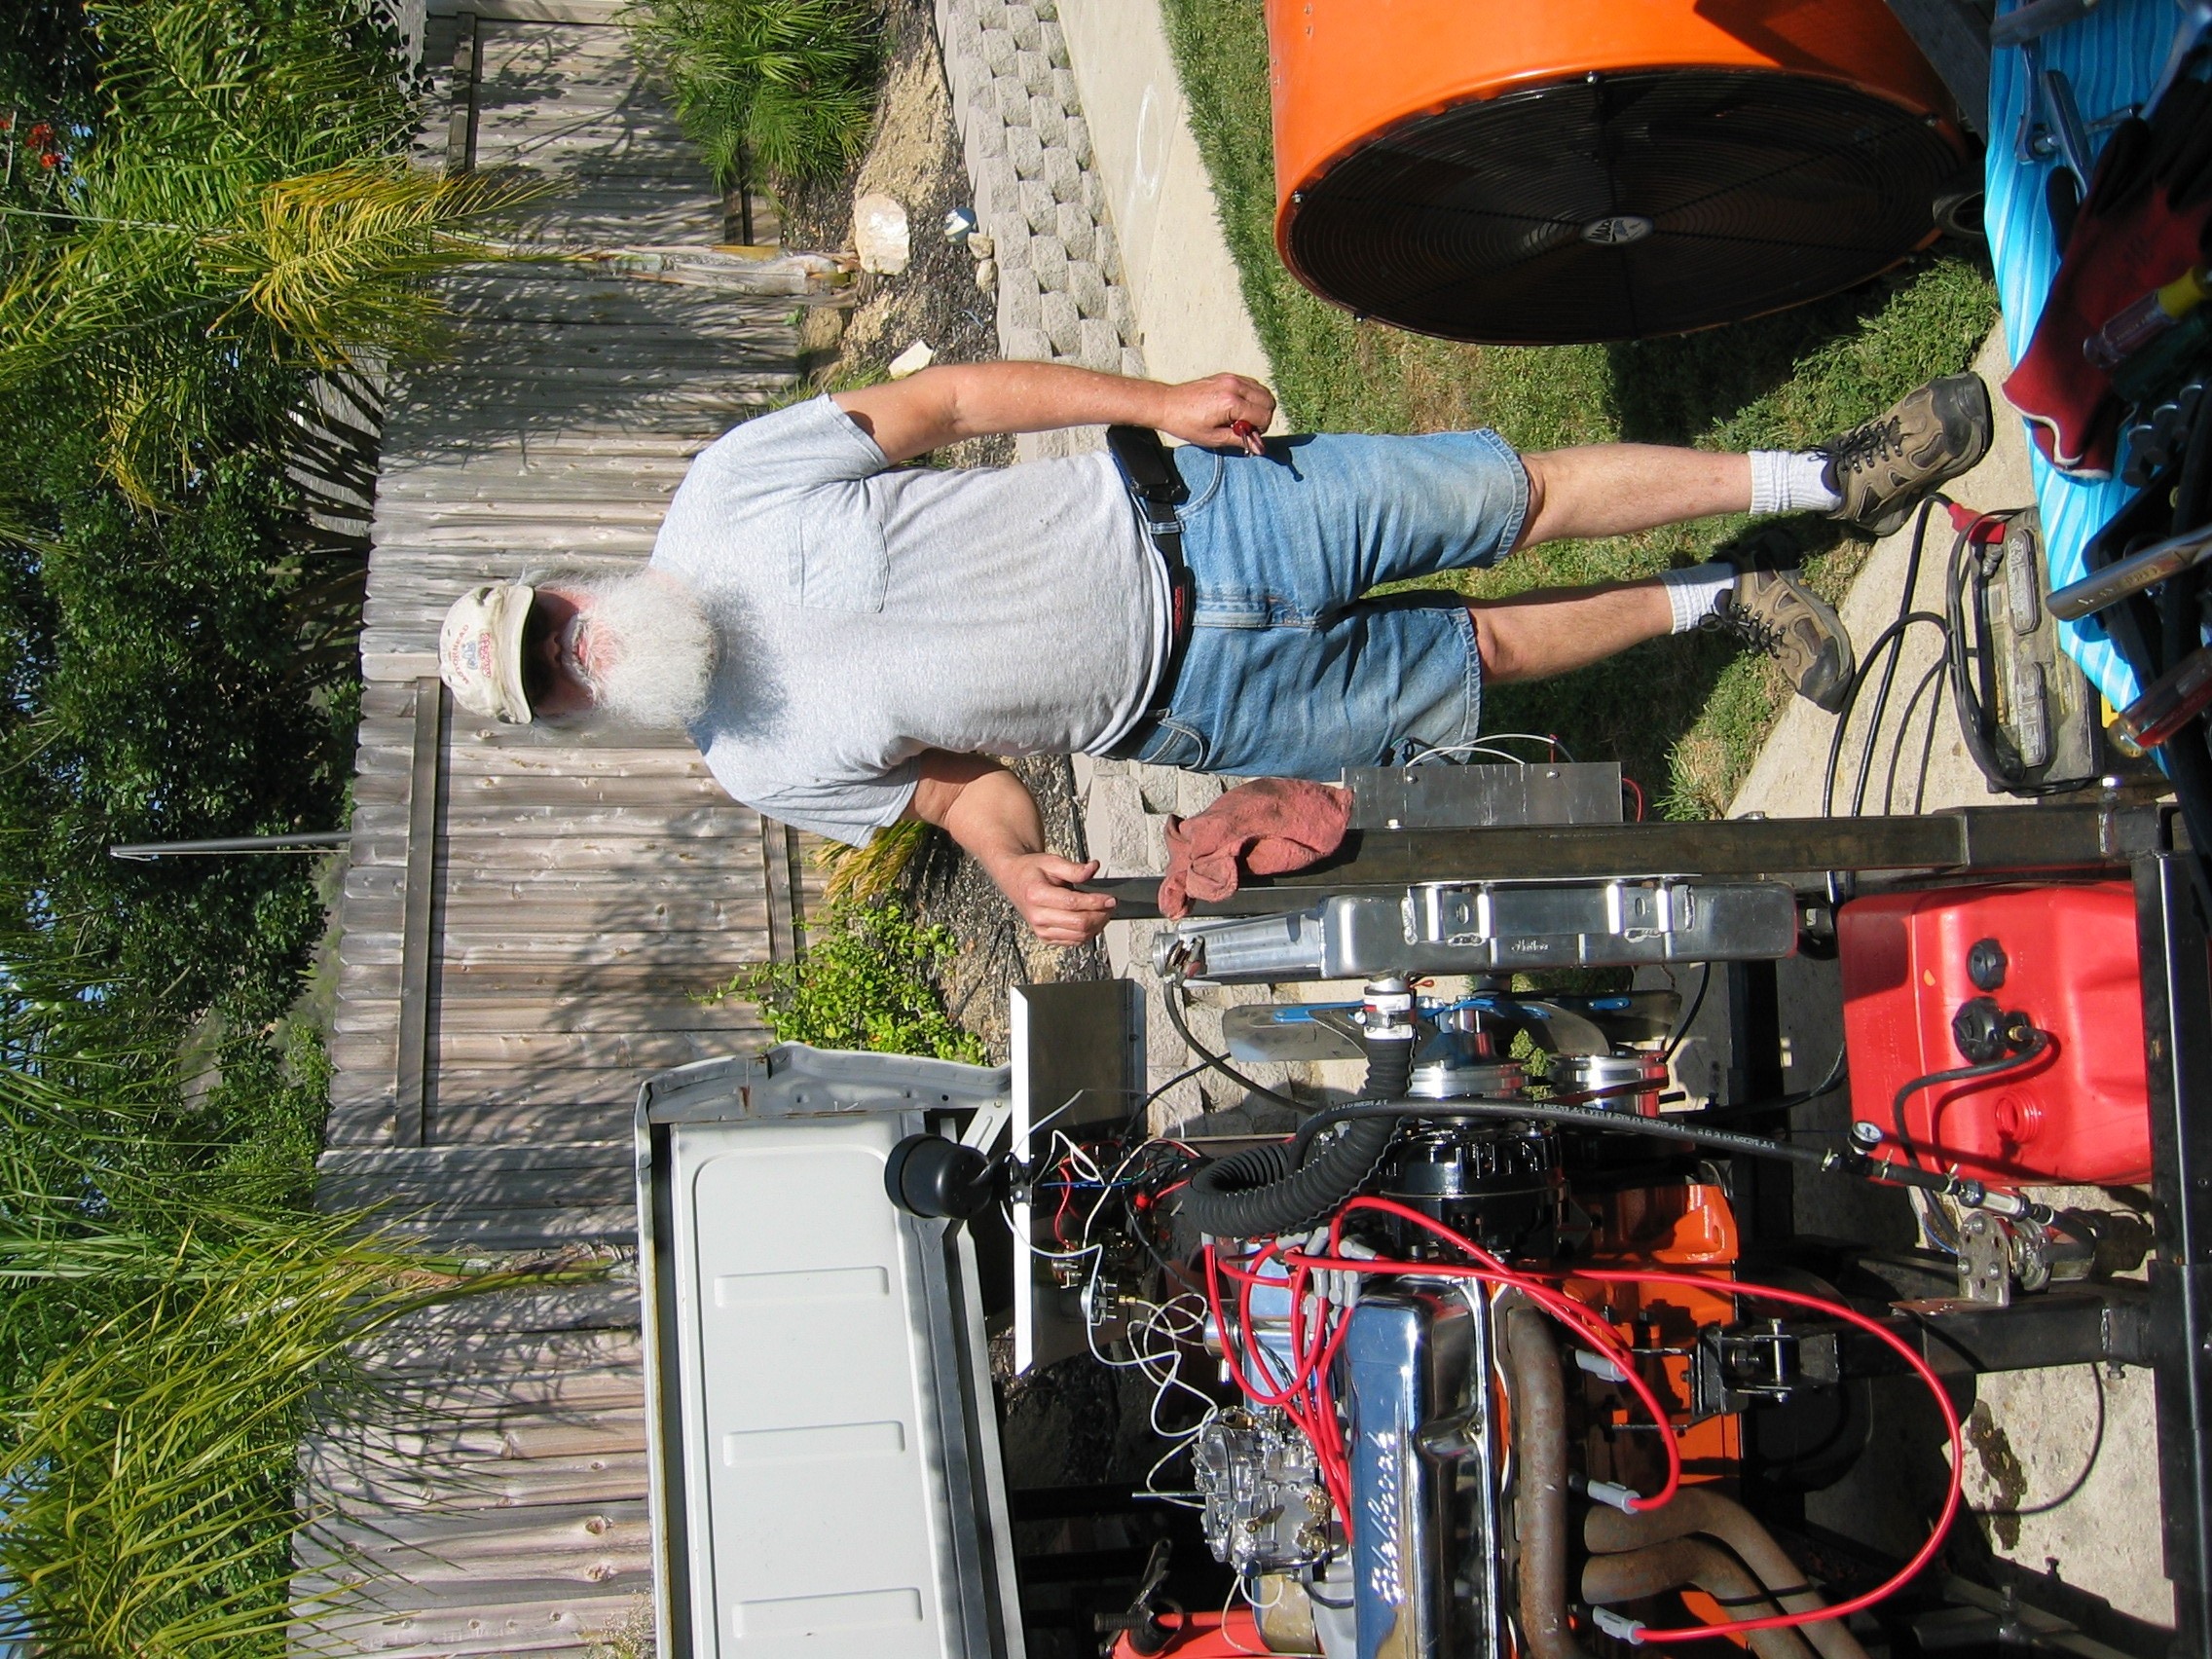
Once he was done with the rebuild it was break in time. Yea baby, this is always fun!
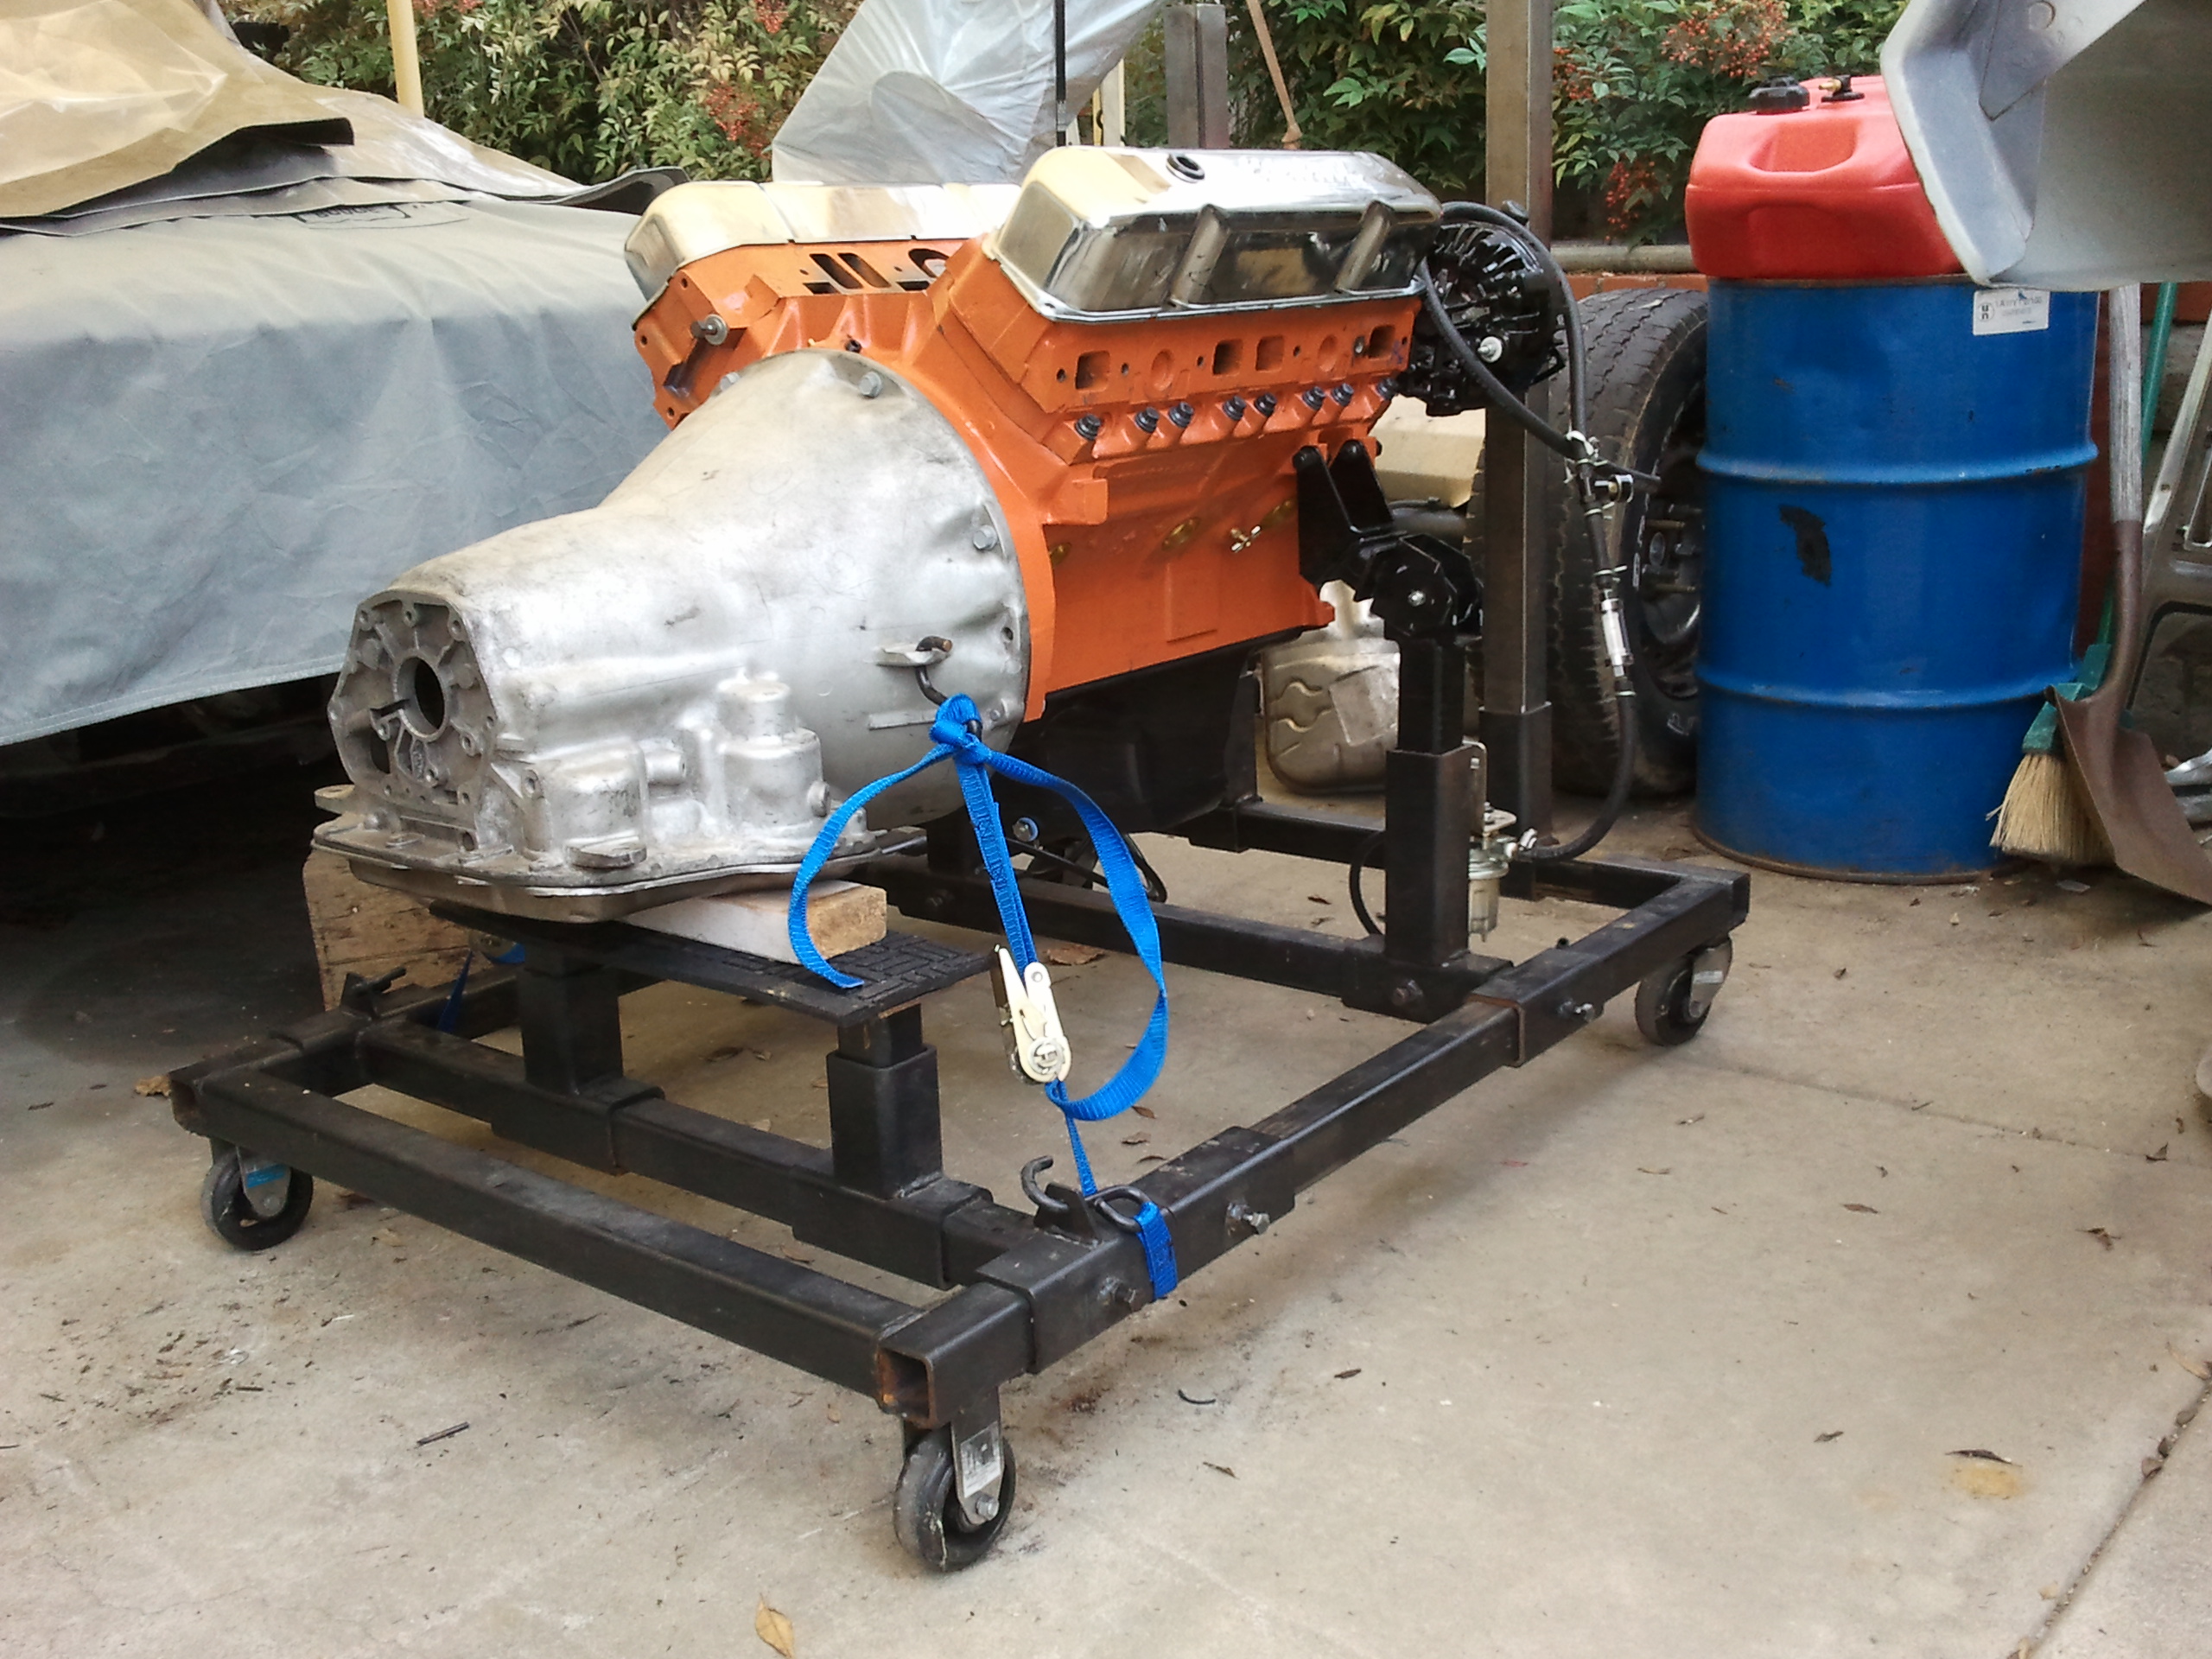
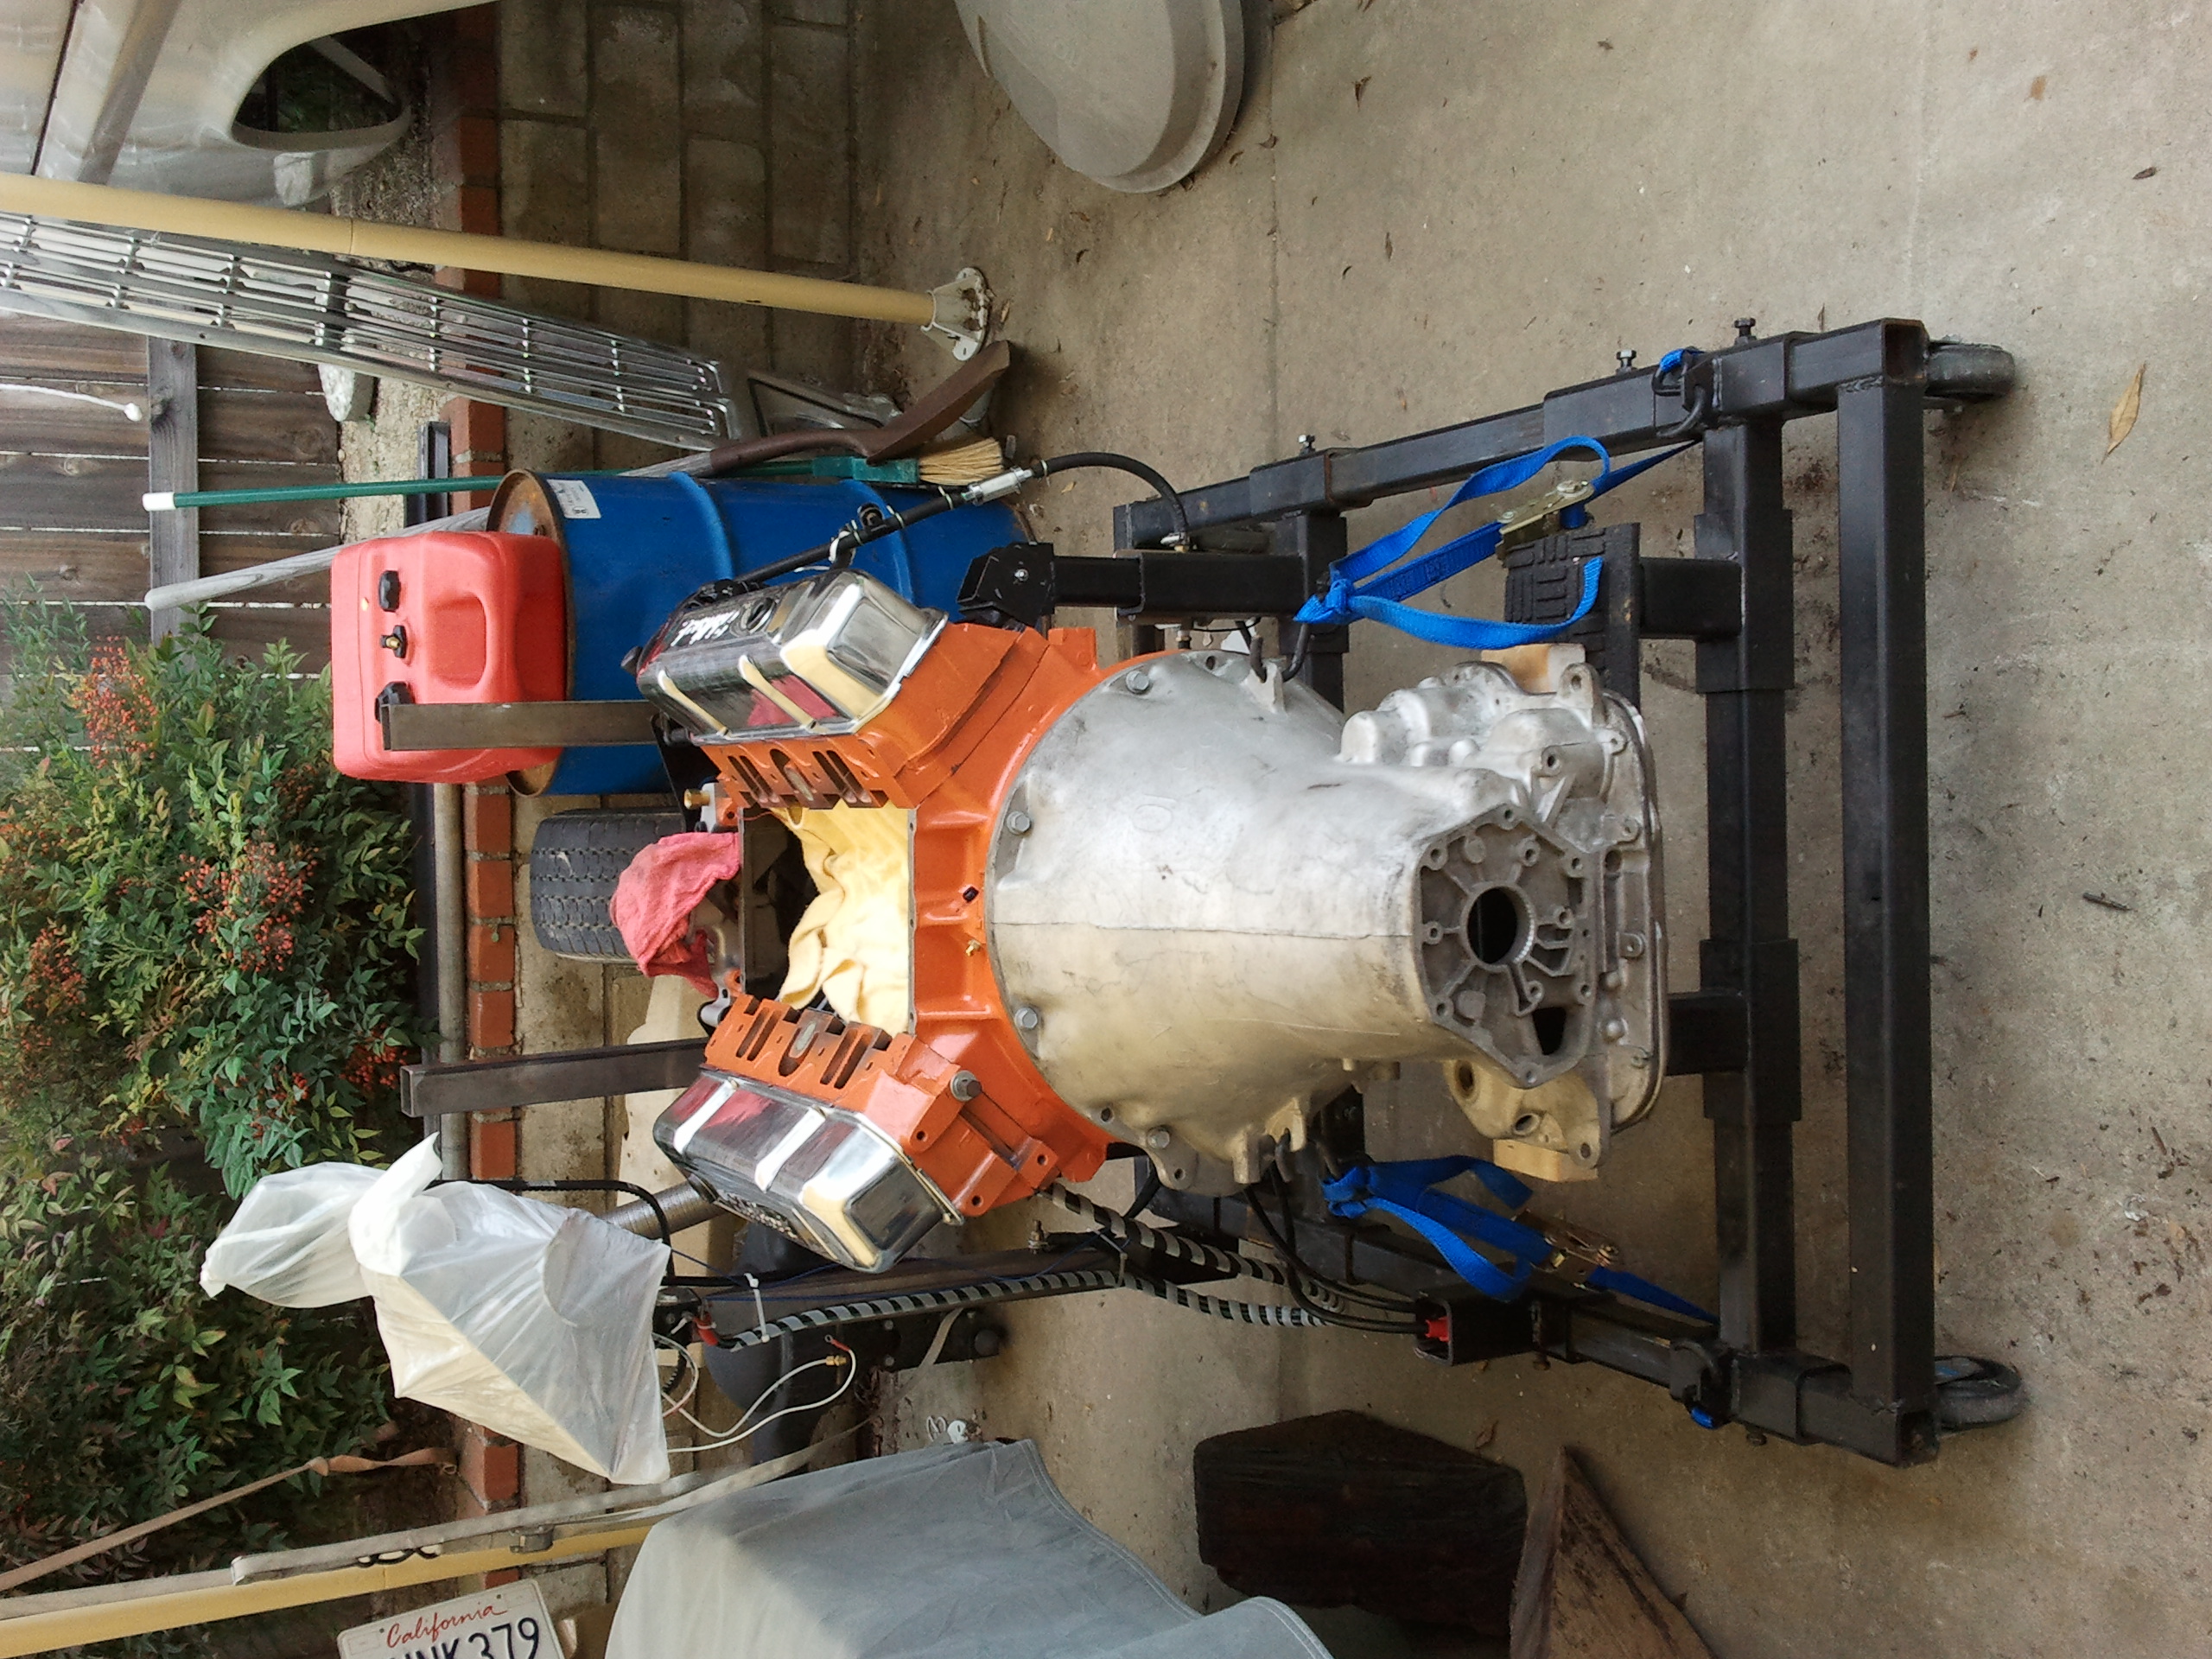
For those that have not yet read Matt’s page, Bill & Matt took the time to build an engine break in stand. With the engine secured to the break in stand, Bill finished assembling it and tweaking the break in stand to work with his engine. |
|||||||||||||||||||||||
 |
 |
 |
 |
 |
|||||||||||||||||||
 |
 |
 |
 |
 |
|||||||||||||||||||
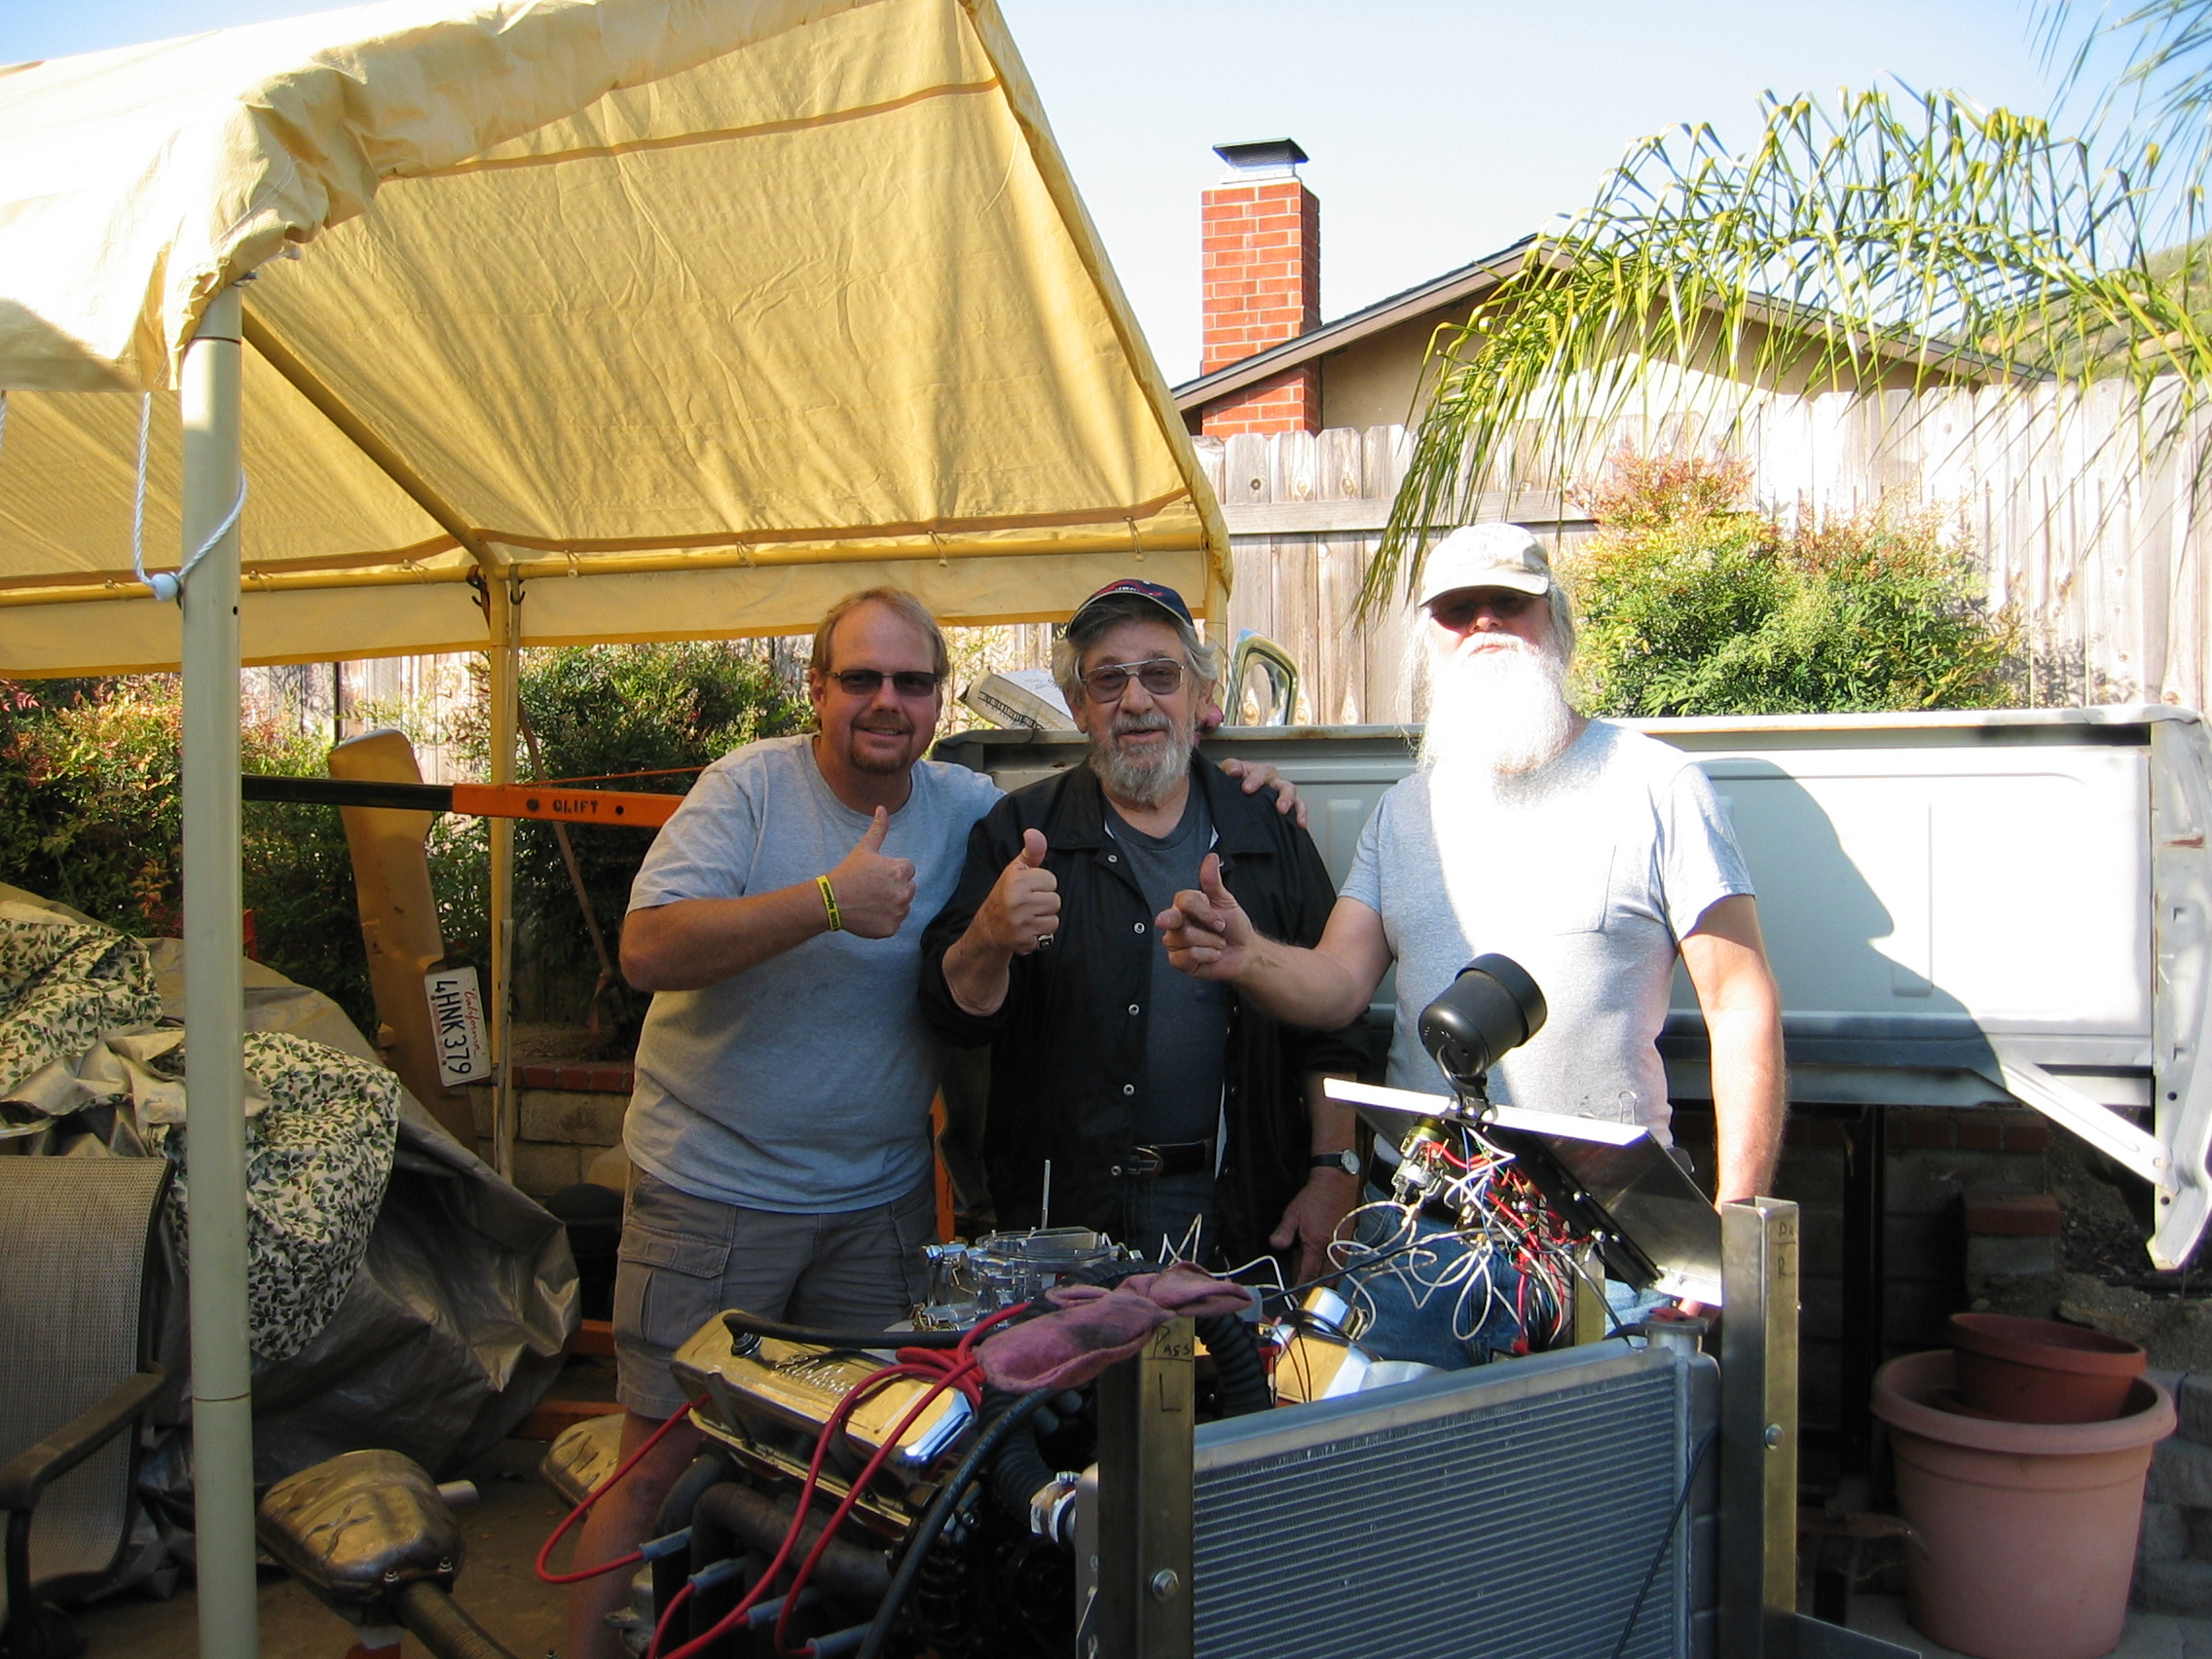
The ‘Break In Crew’ Matt, Hal, Bill and Robin [takin’ the pictures] |
|||||||||||||||||||||||
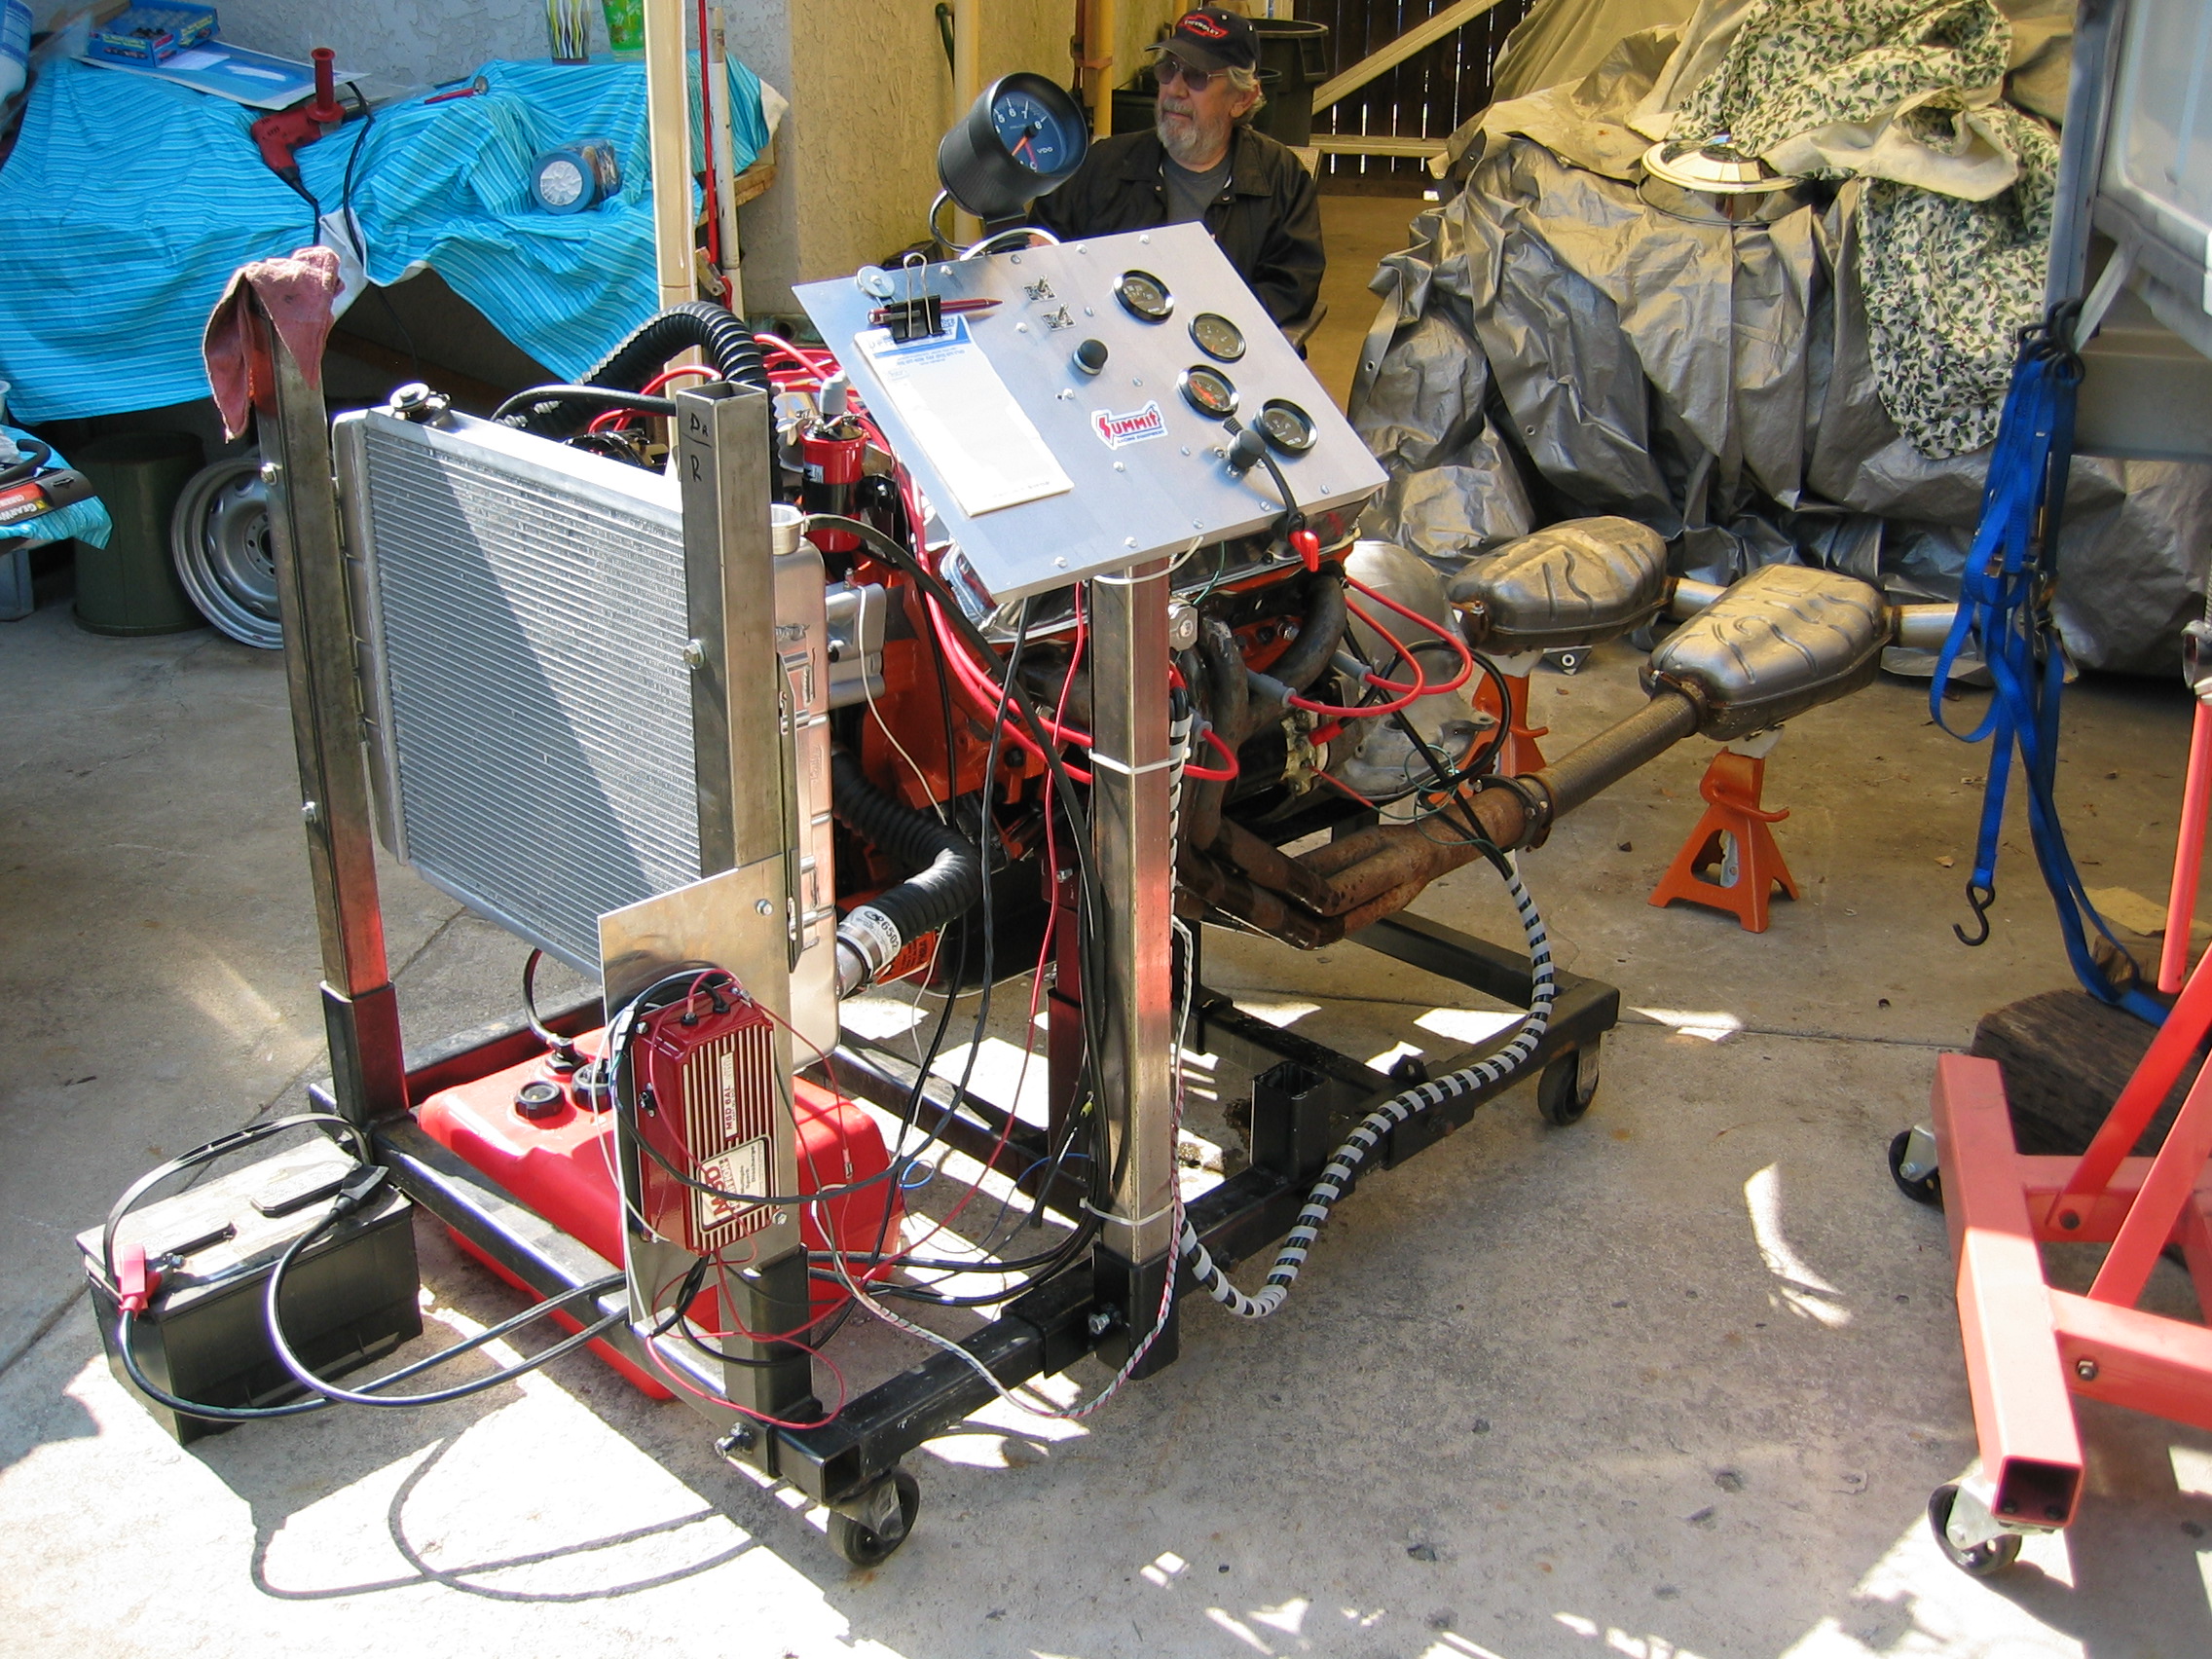
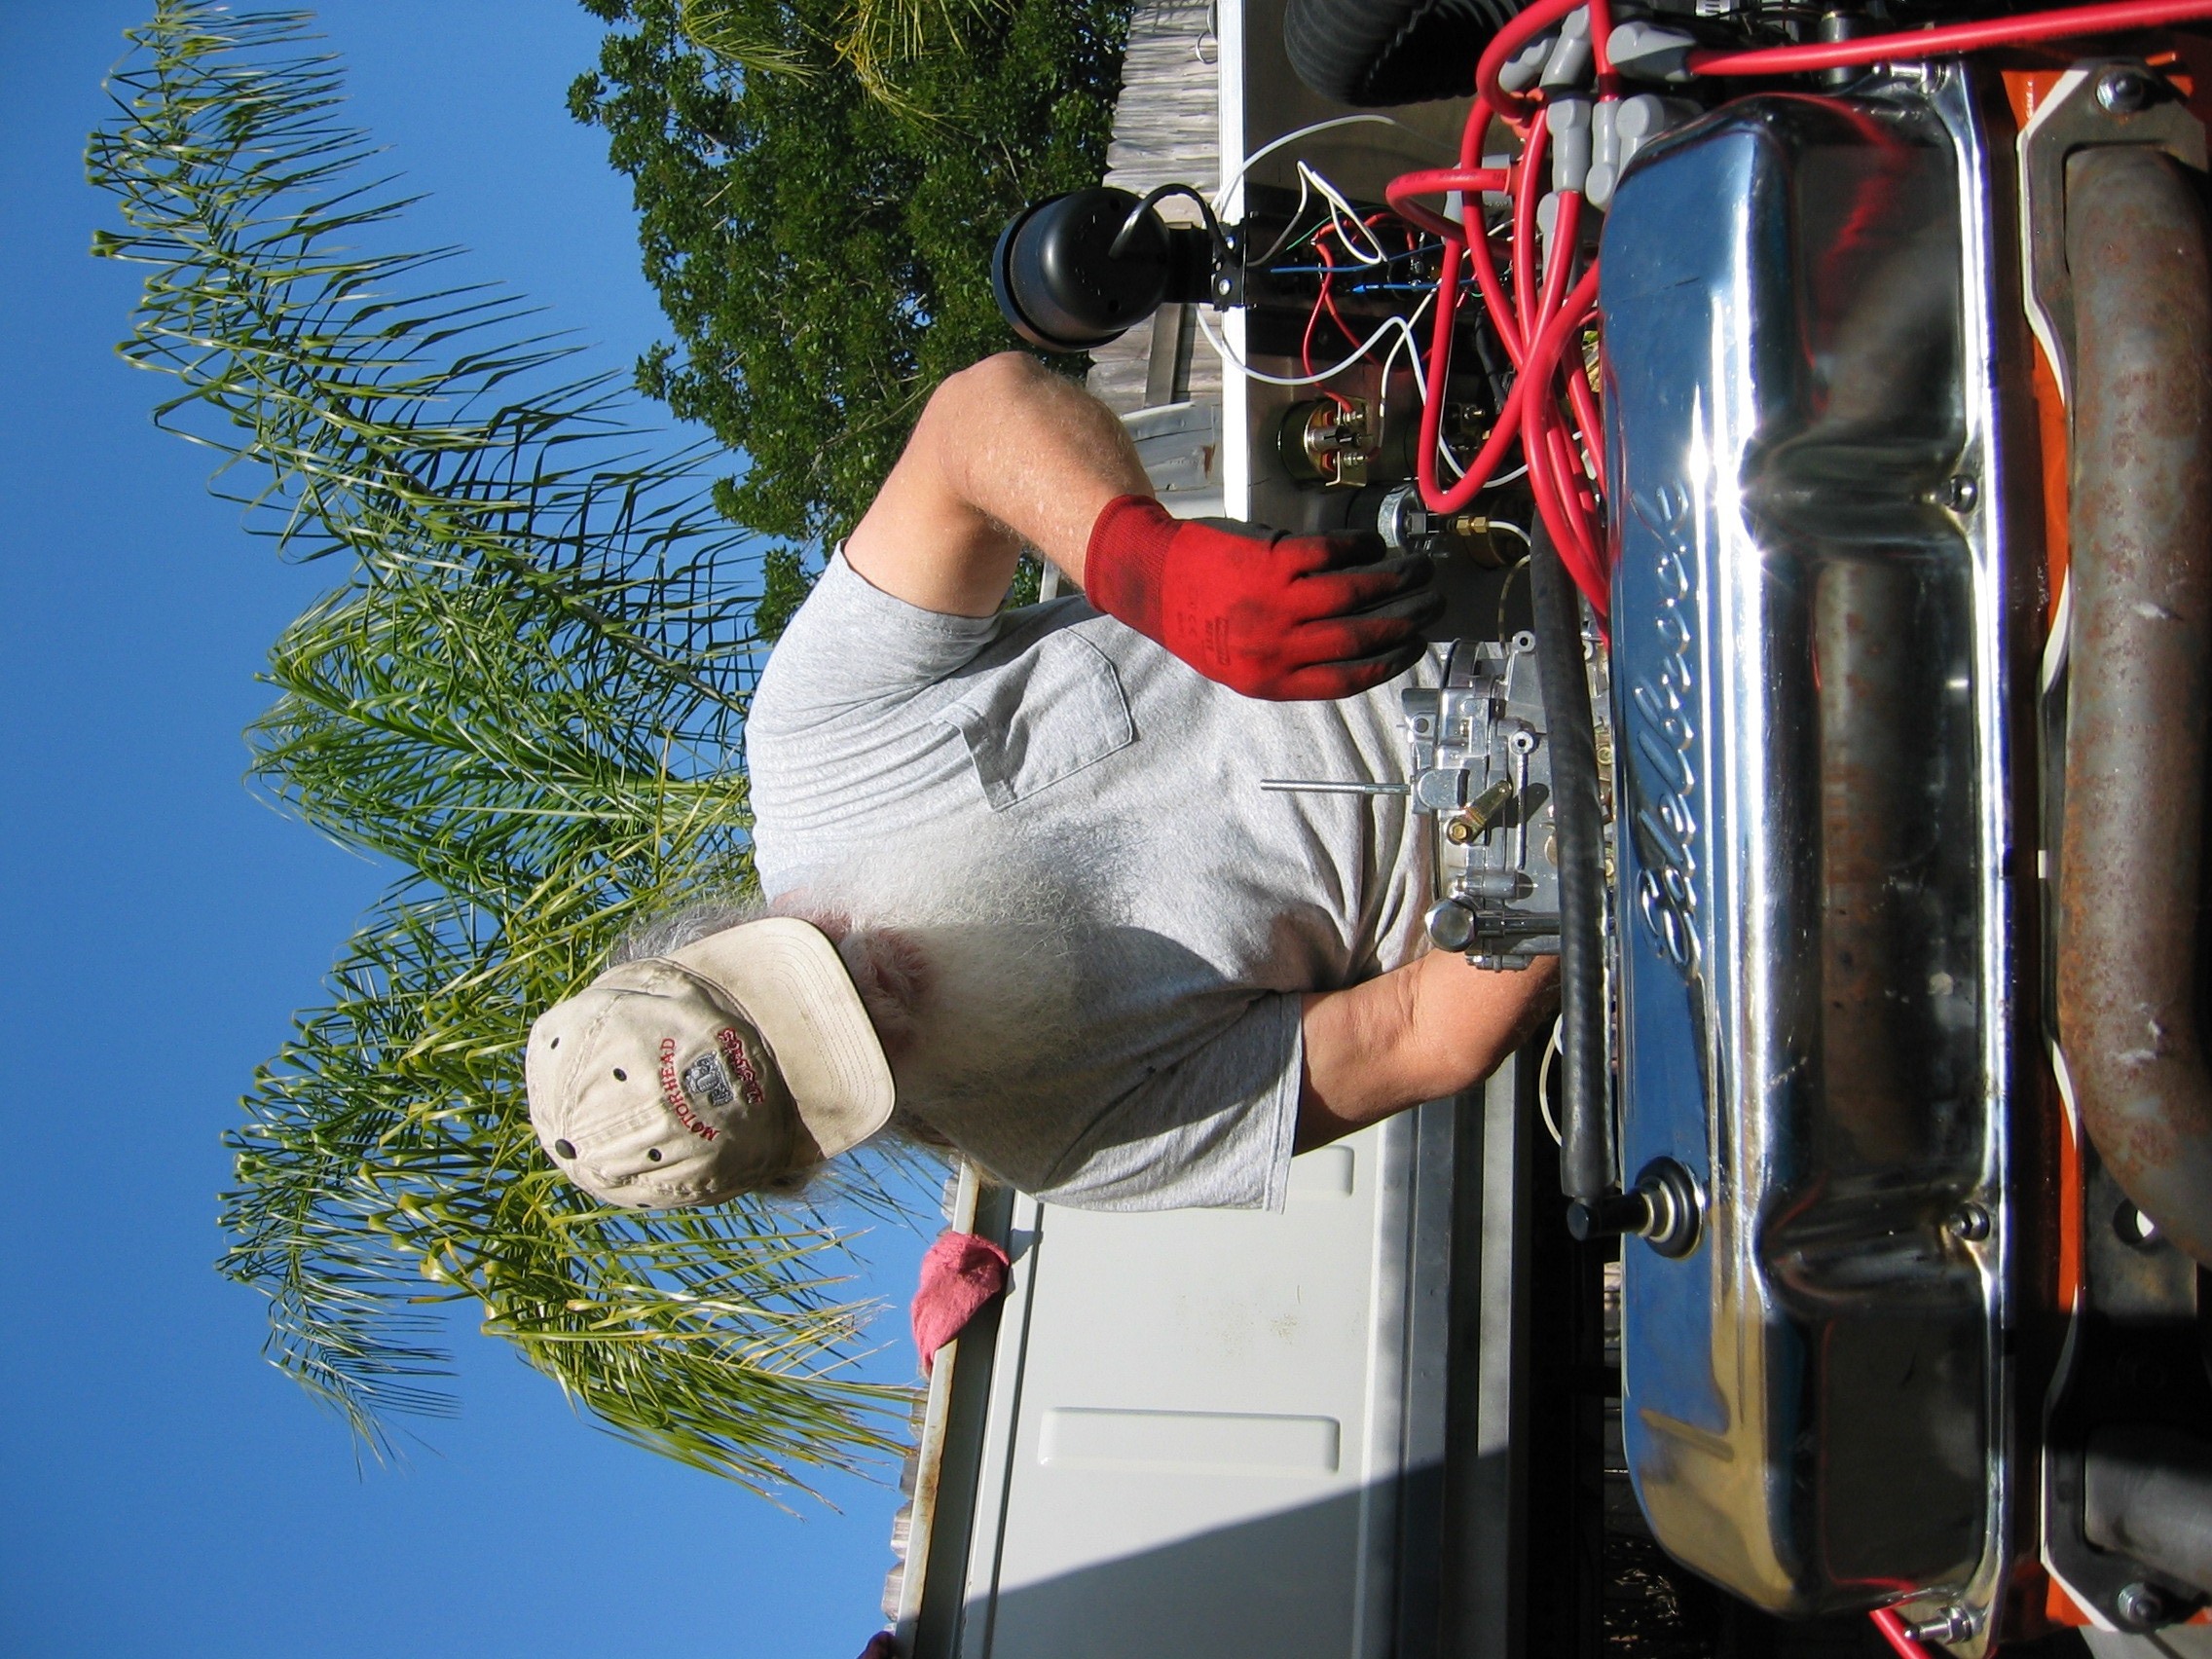
Bill wrenchin' before the start |
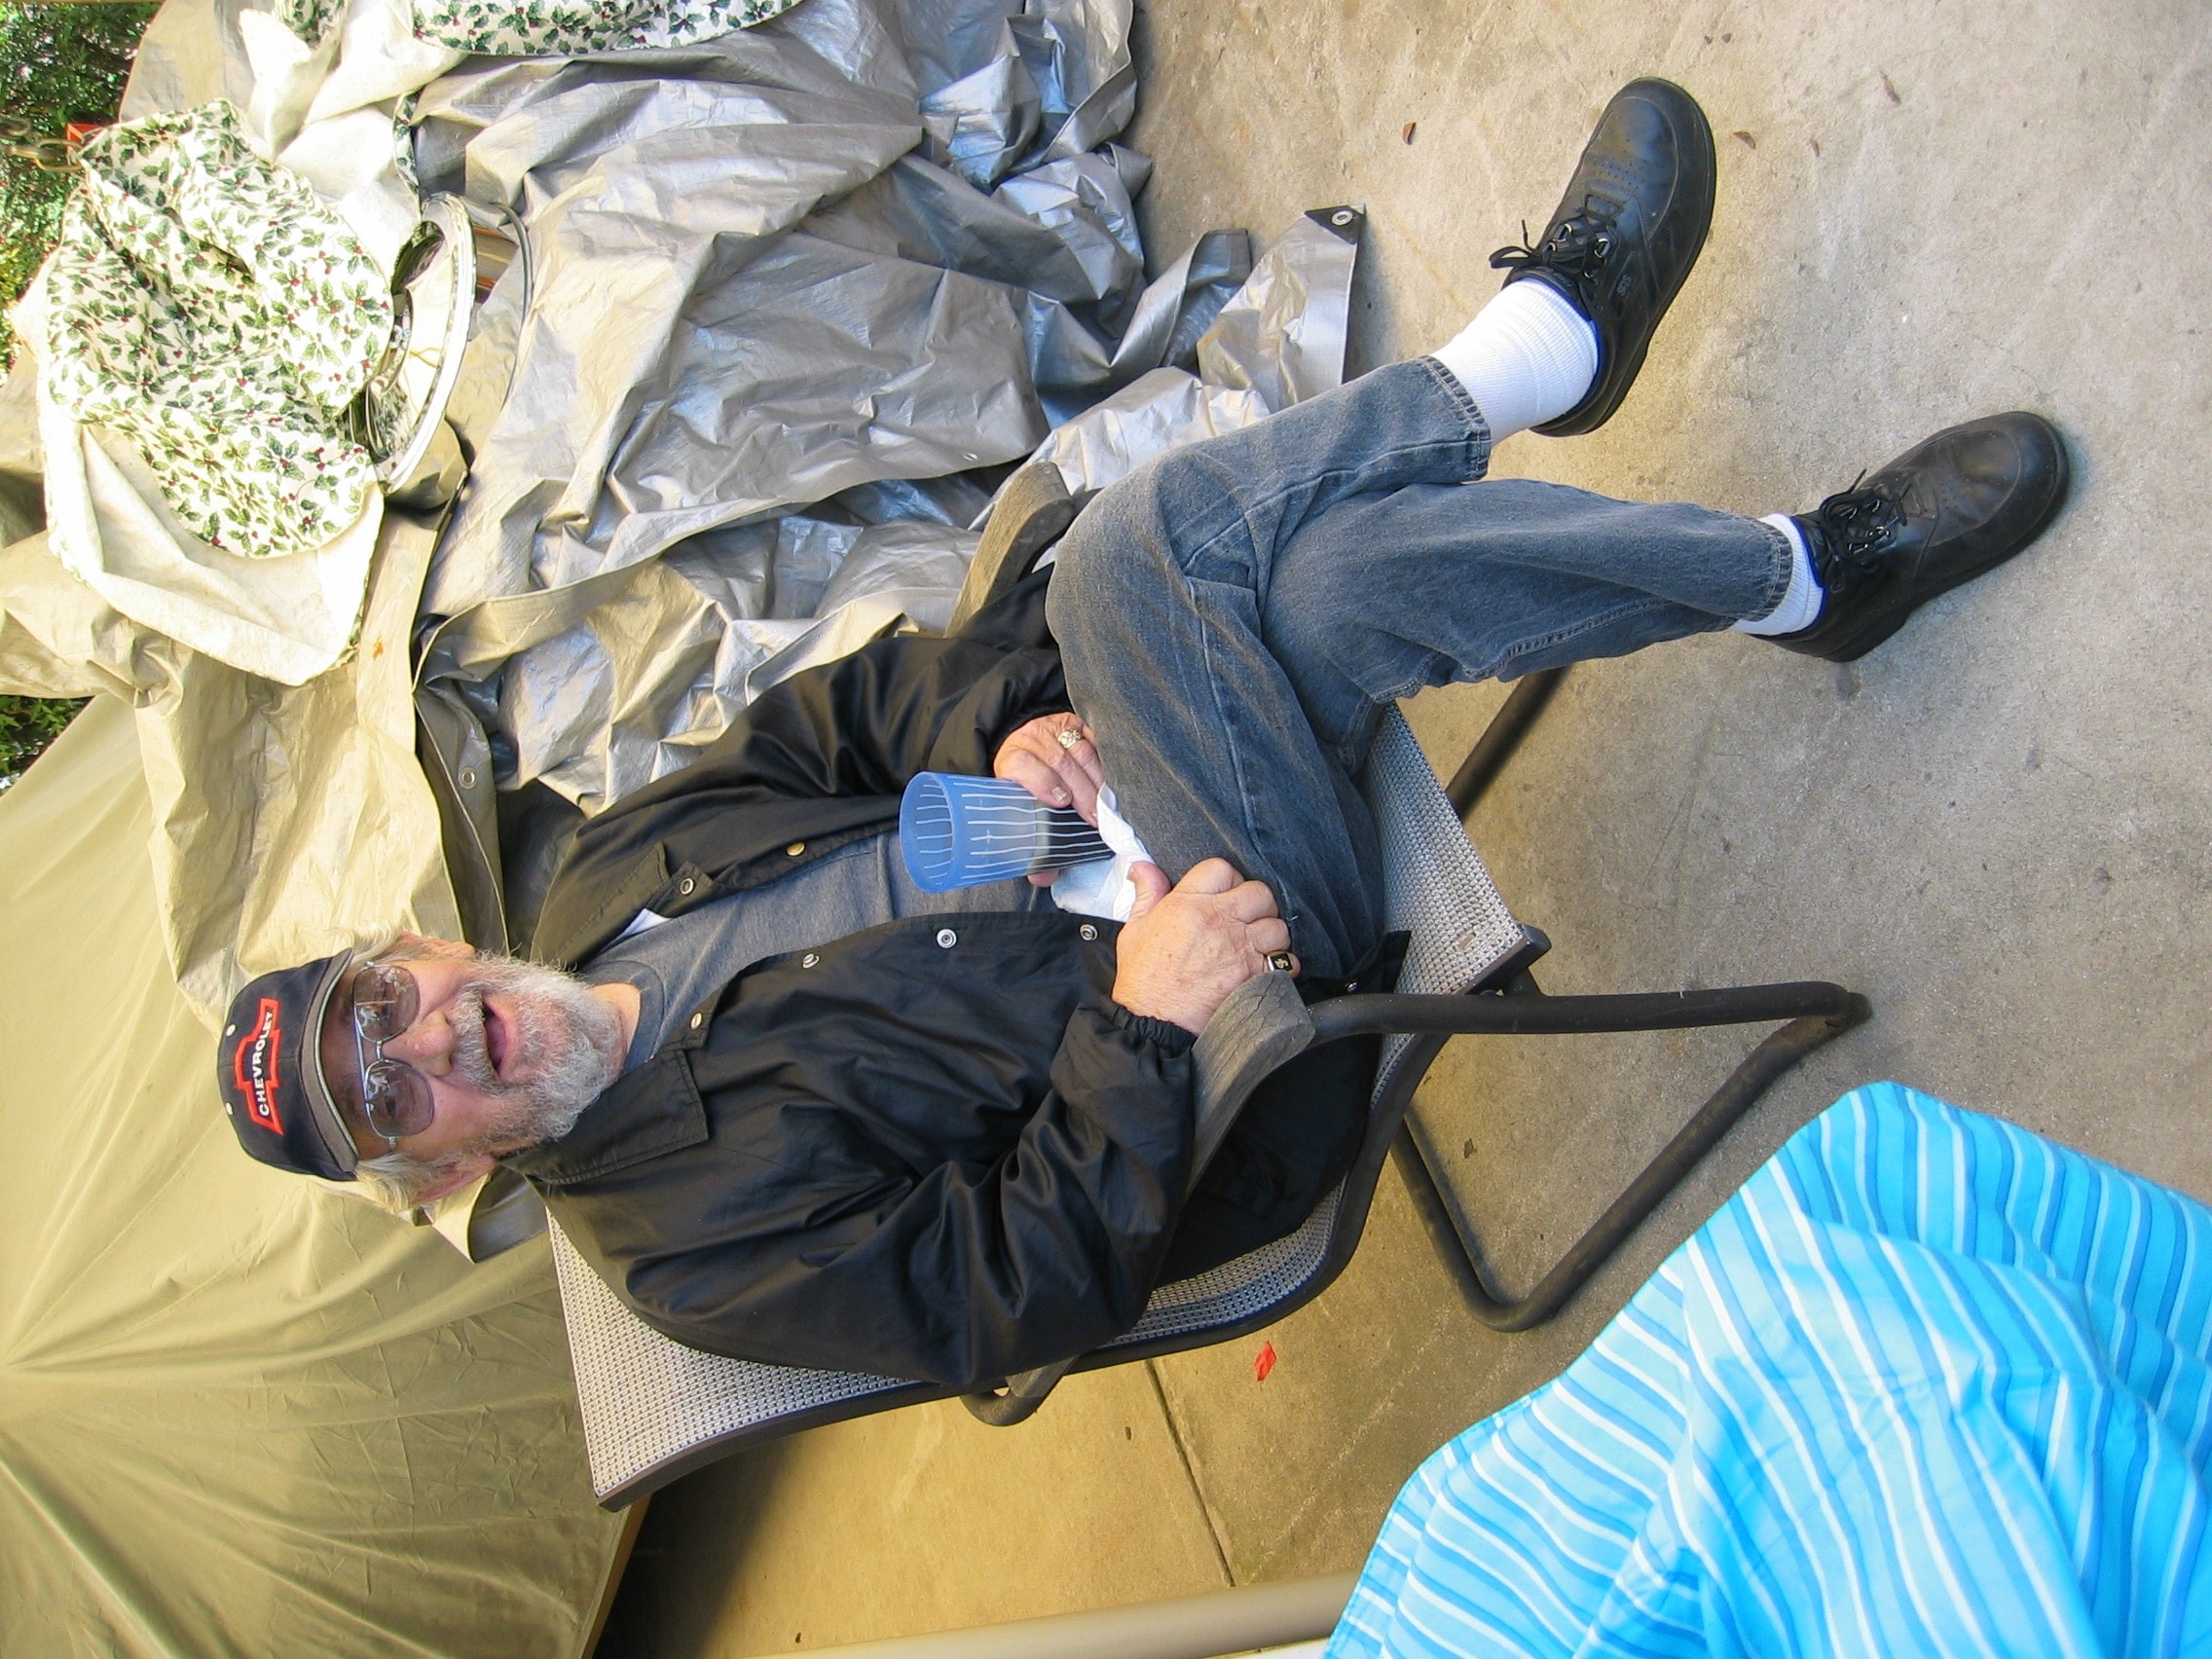
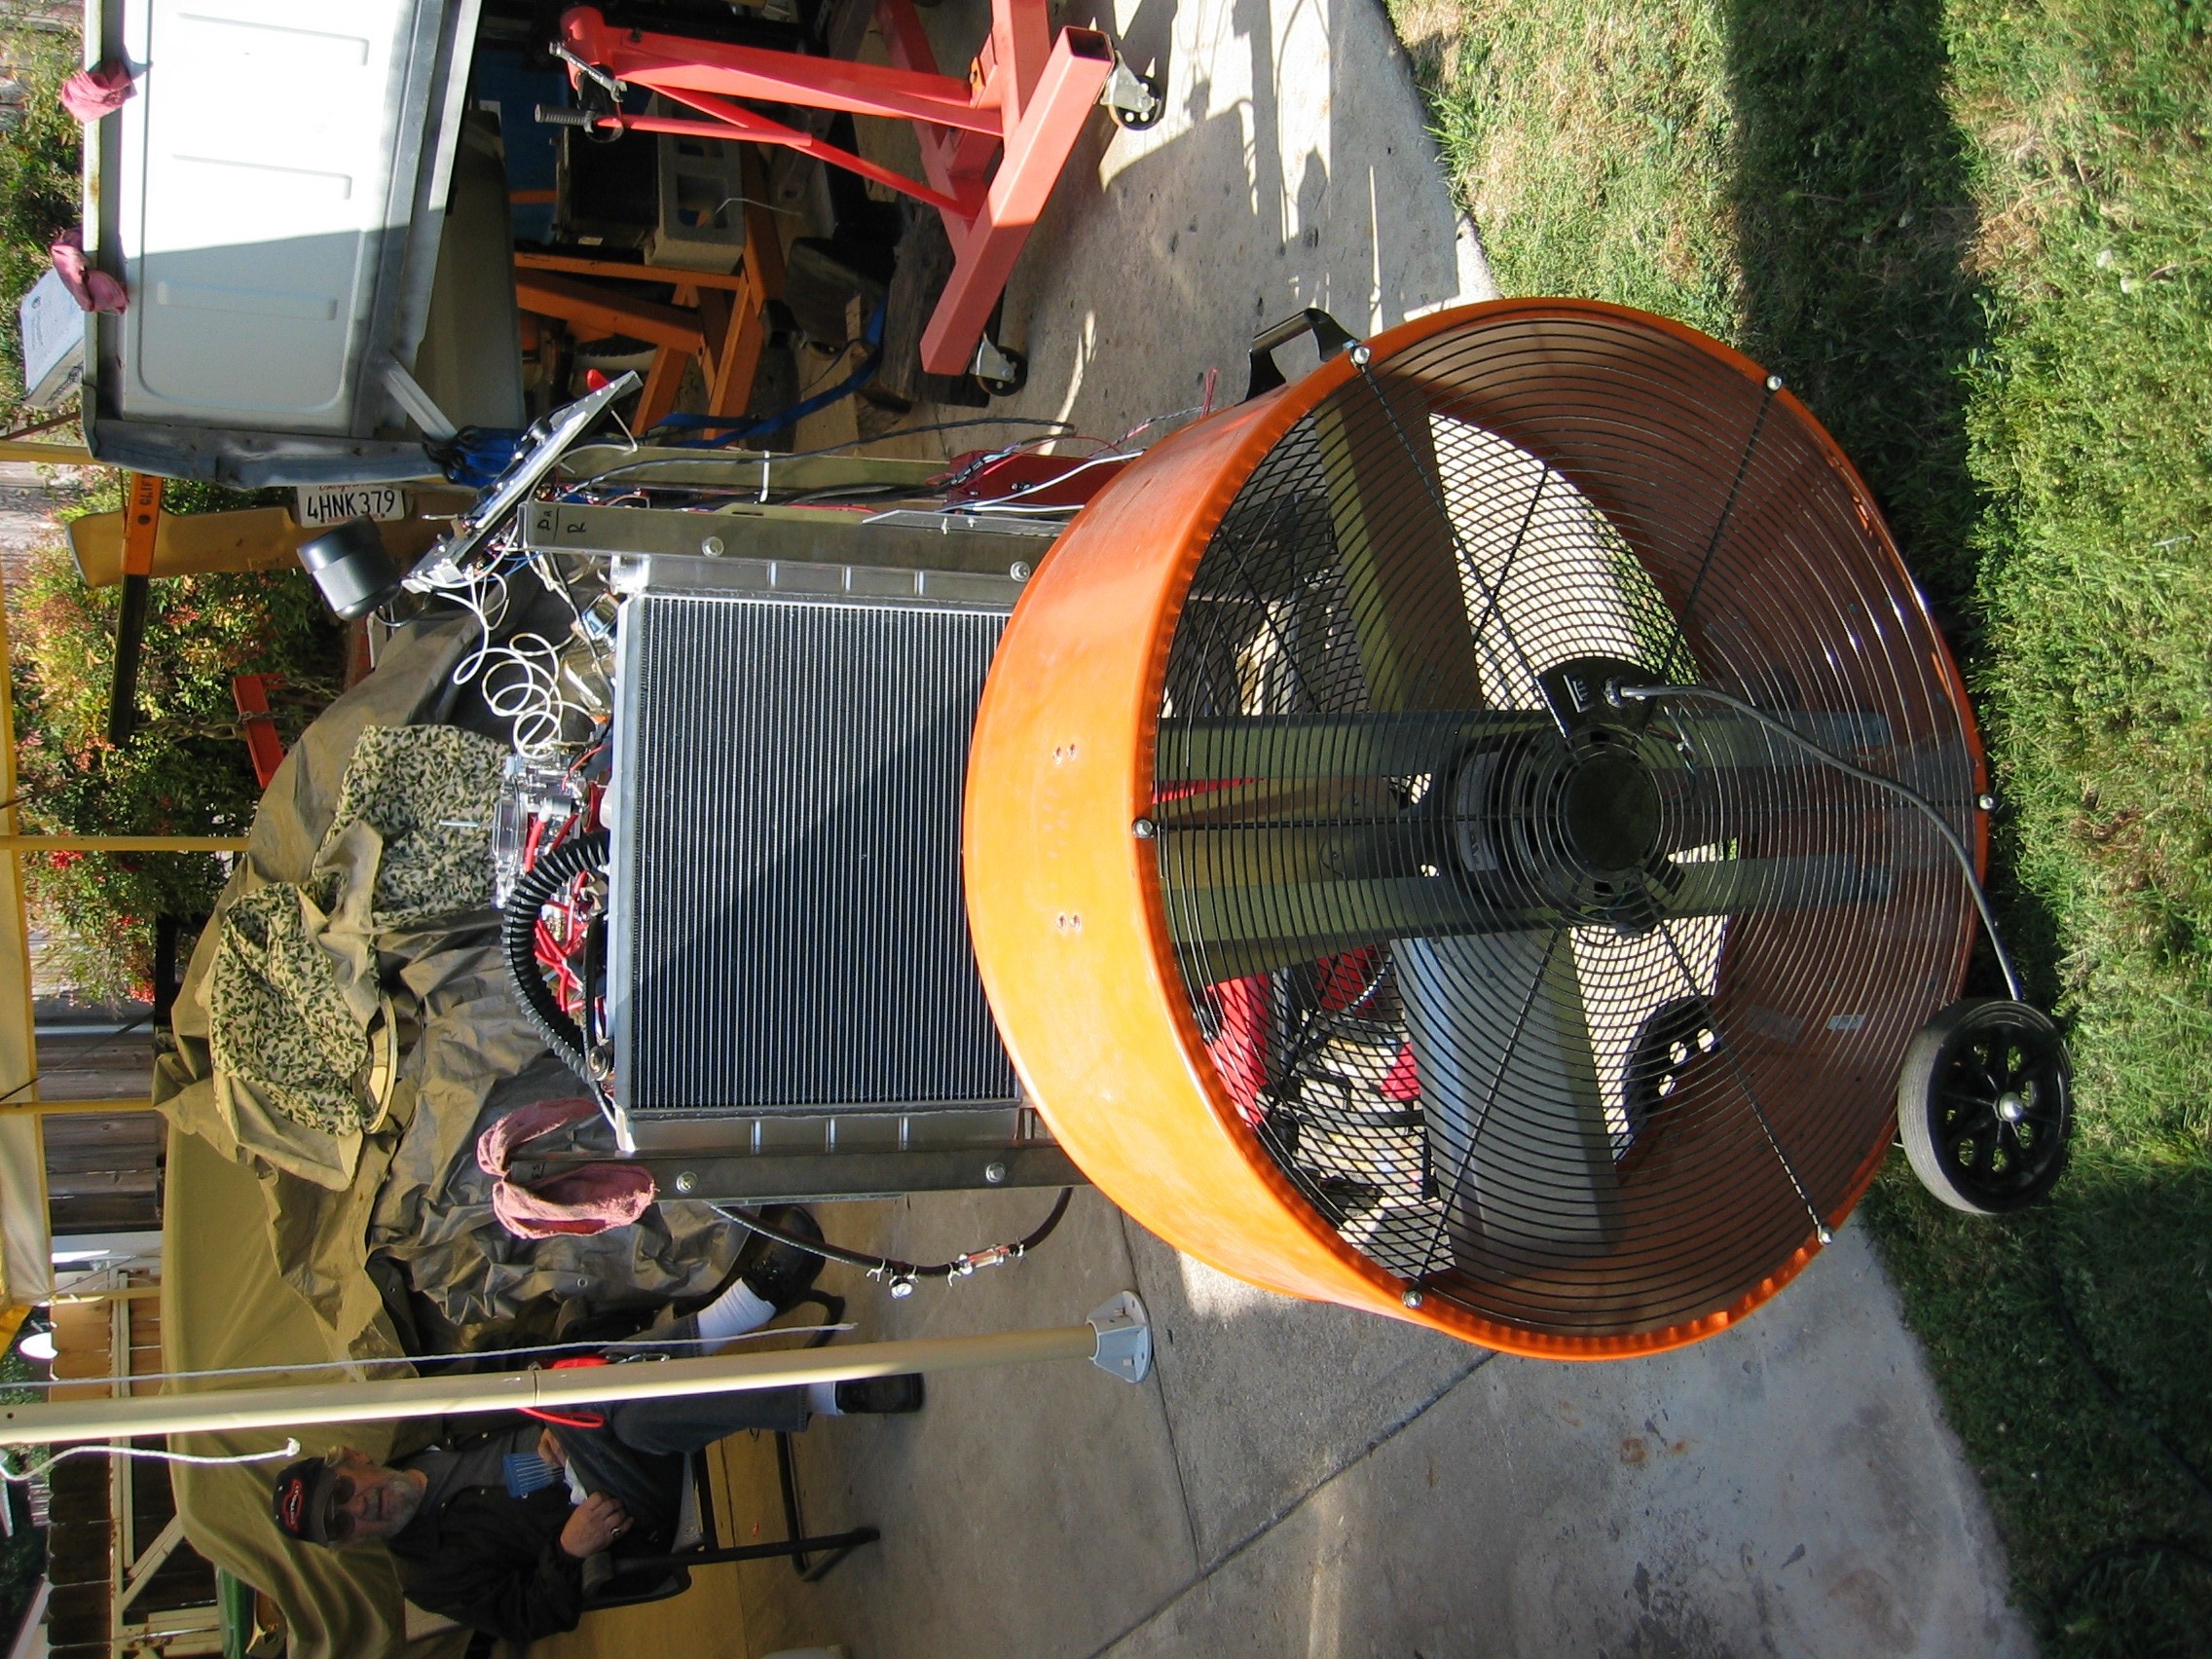
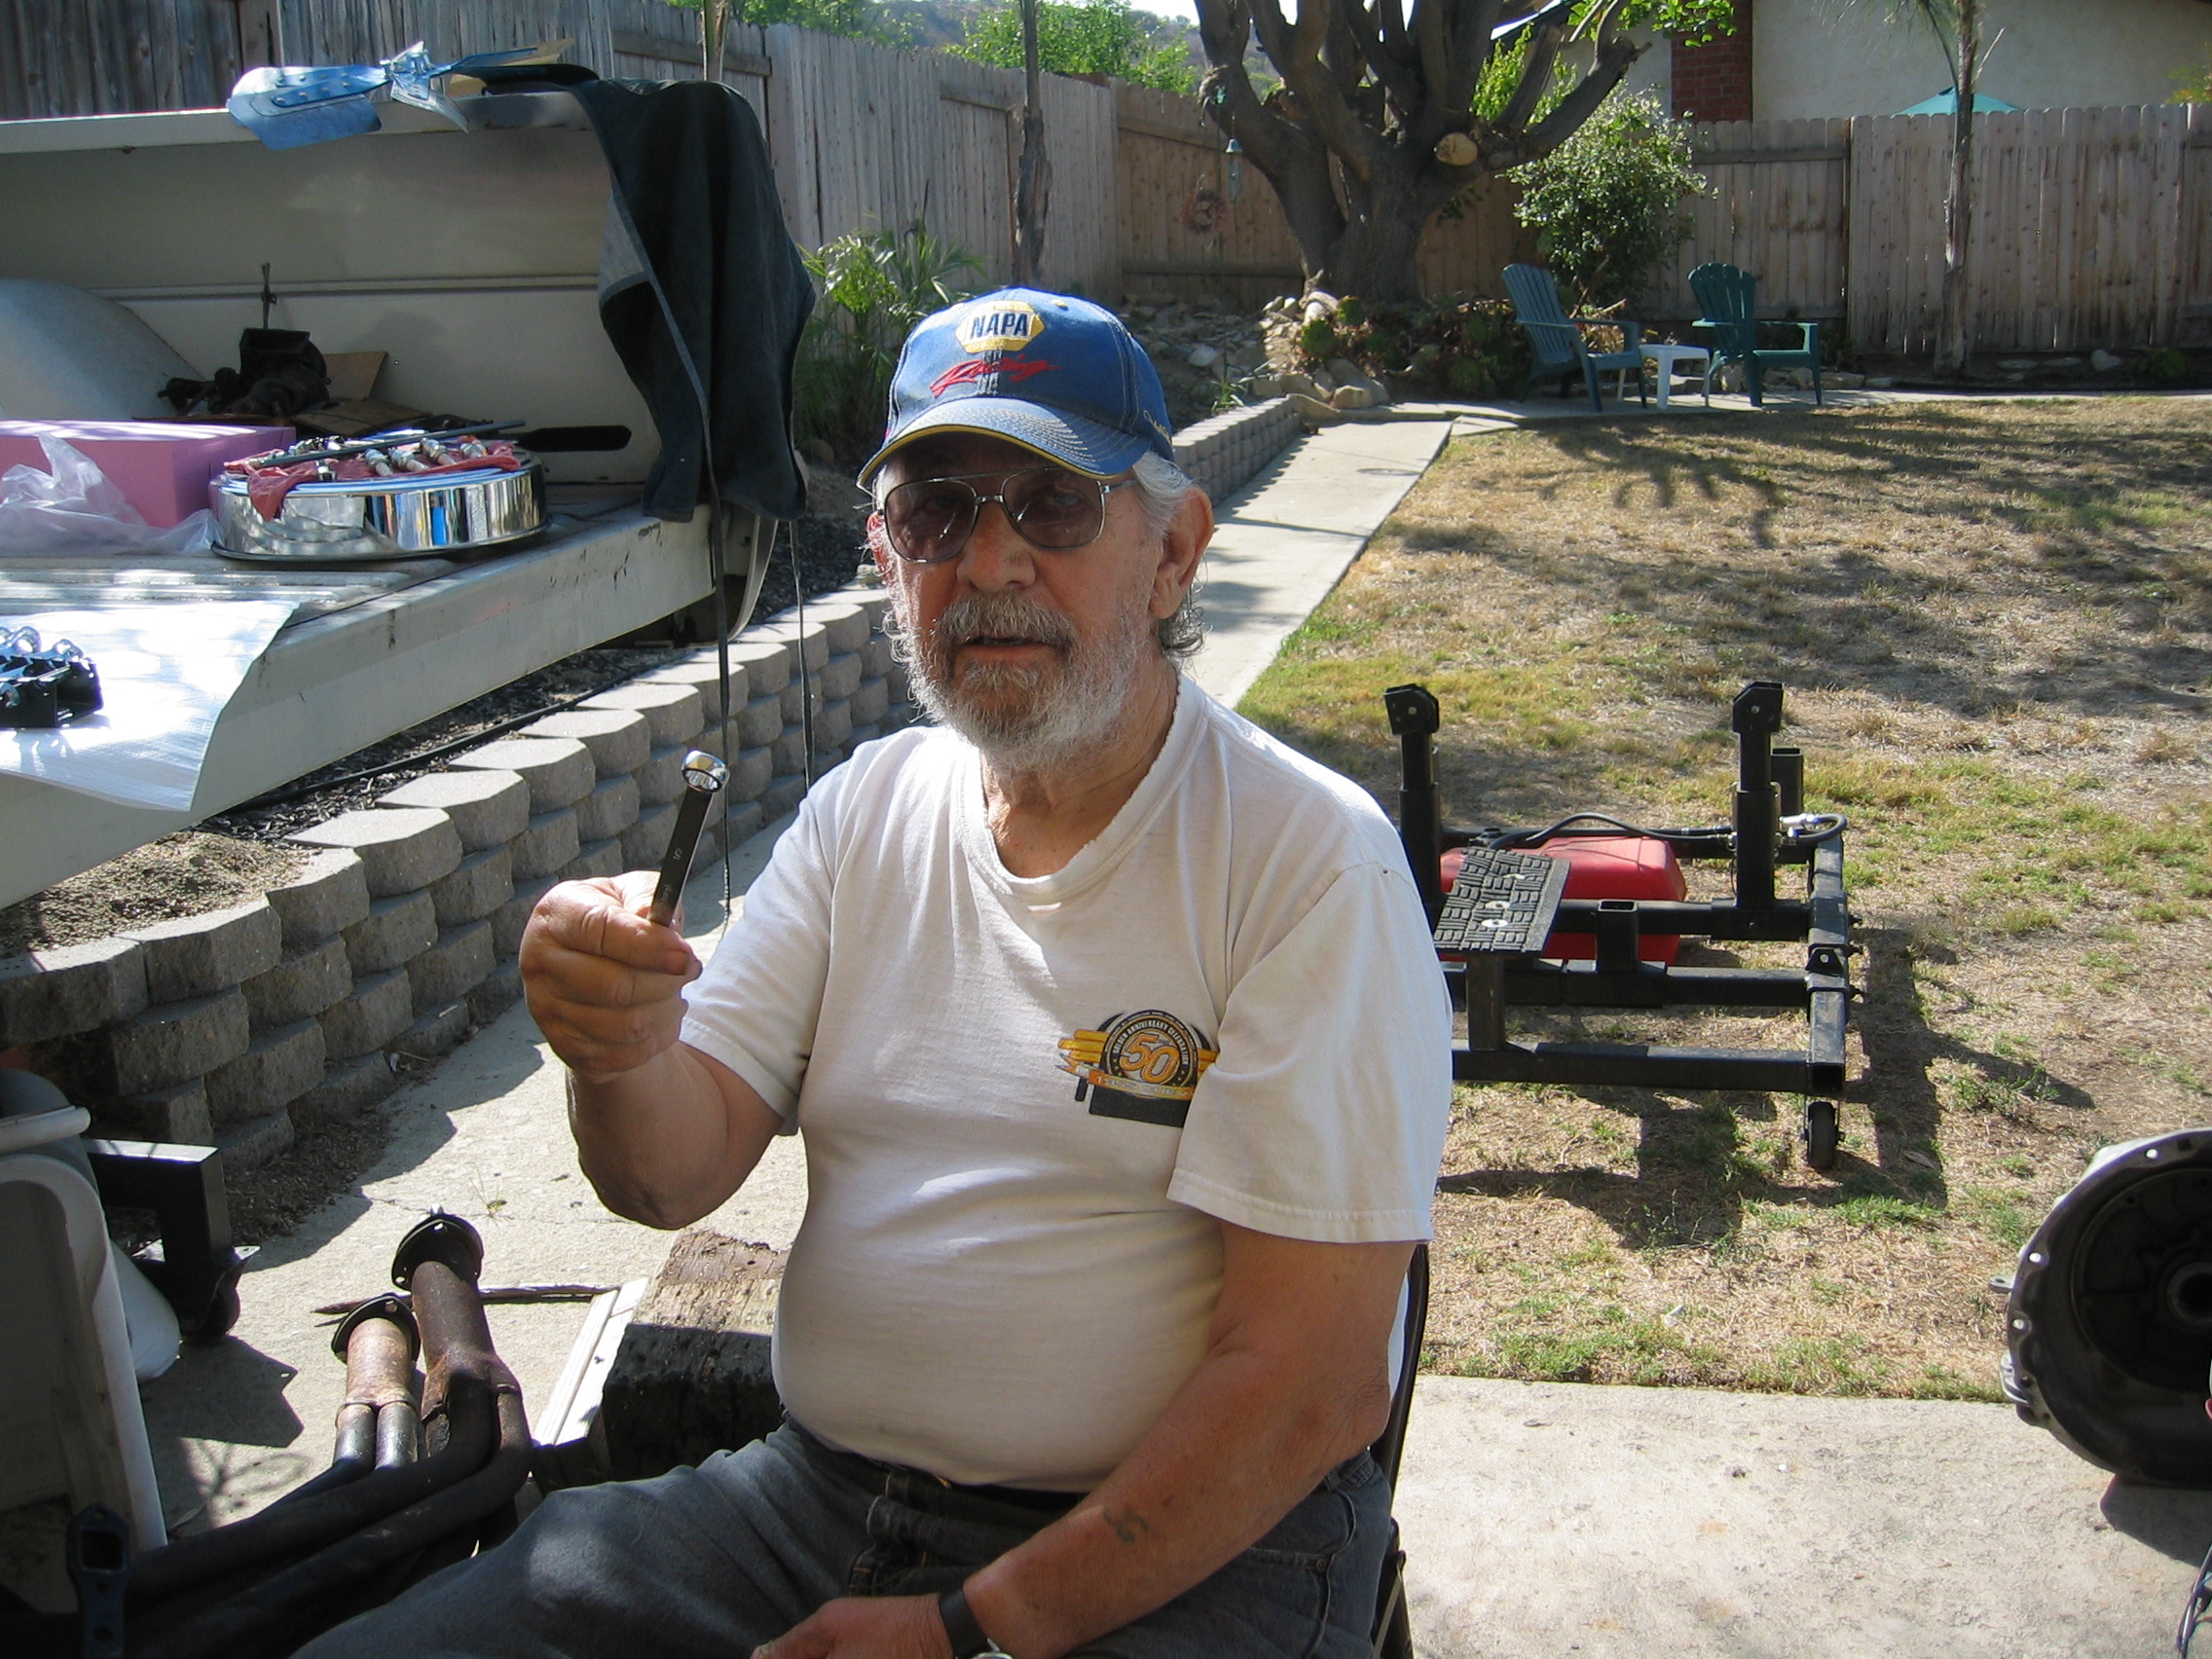
Our noble and trustworthy supervisor Mr. Hal |
Bill and the 'beast' runnin' |
|||||||||||||||||||||
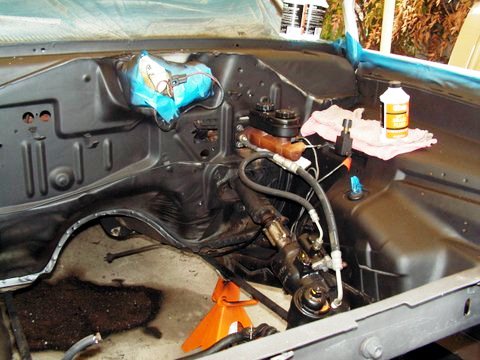
Once the engine was broke in it was time clean and prep the engine compartment to receive the transplant. Bill spent about two weeks cleaning, painting, wiring, and then some more cleaning and painting until he was ready to gather his dedicated assistants for the insertion. |
|||||||||||||||||||||||
 |
 |
||||||||||||||||||||||
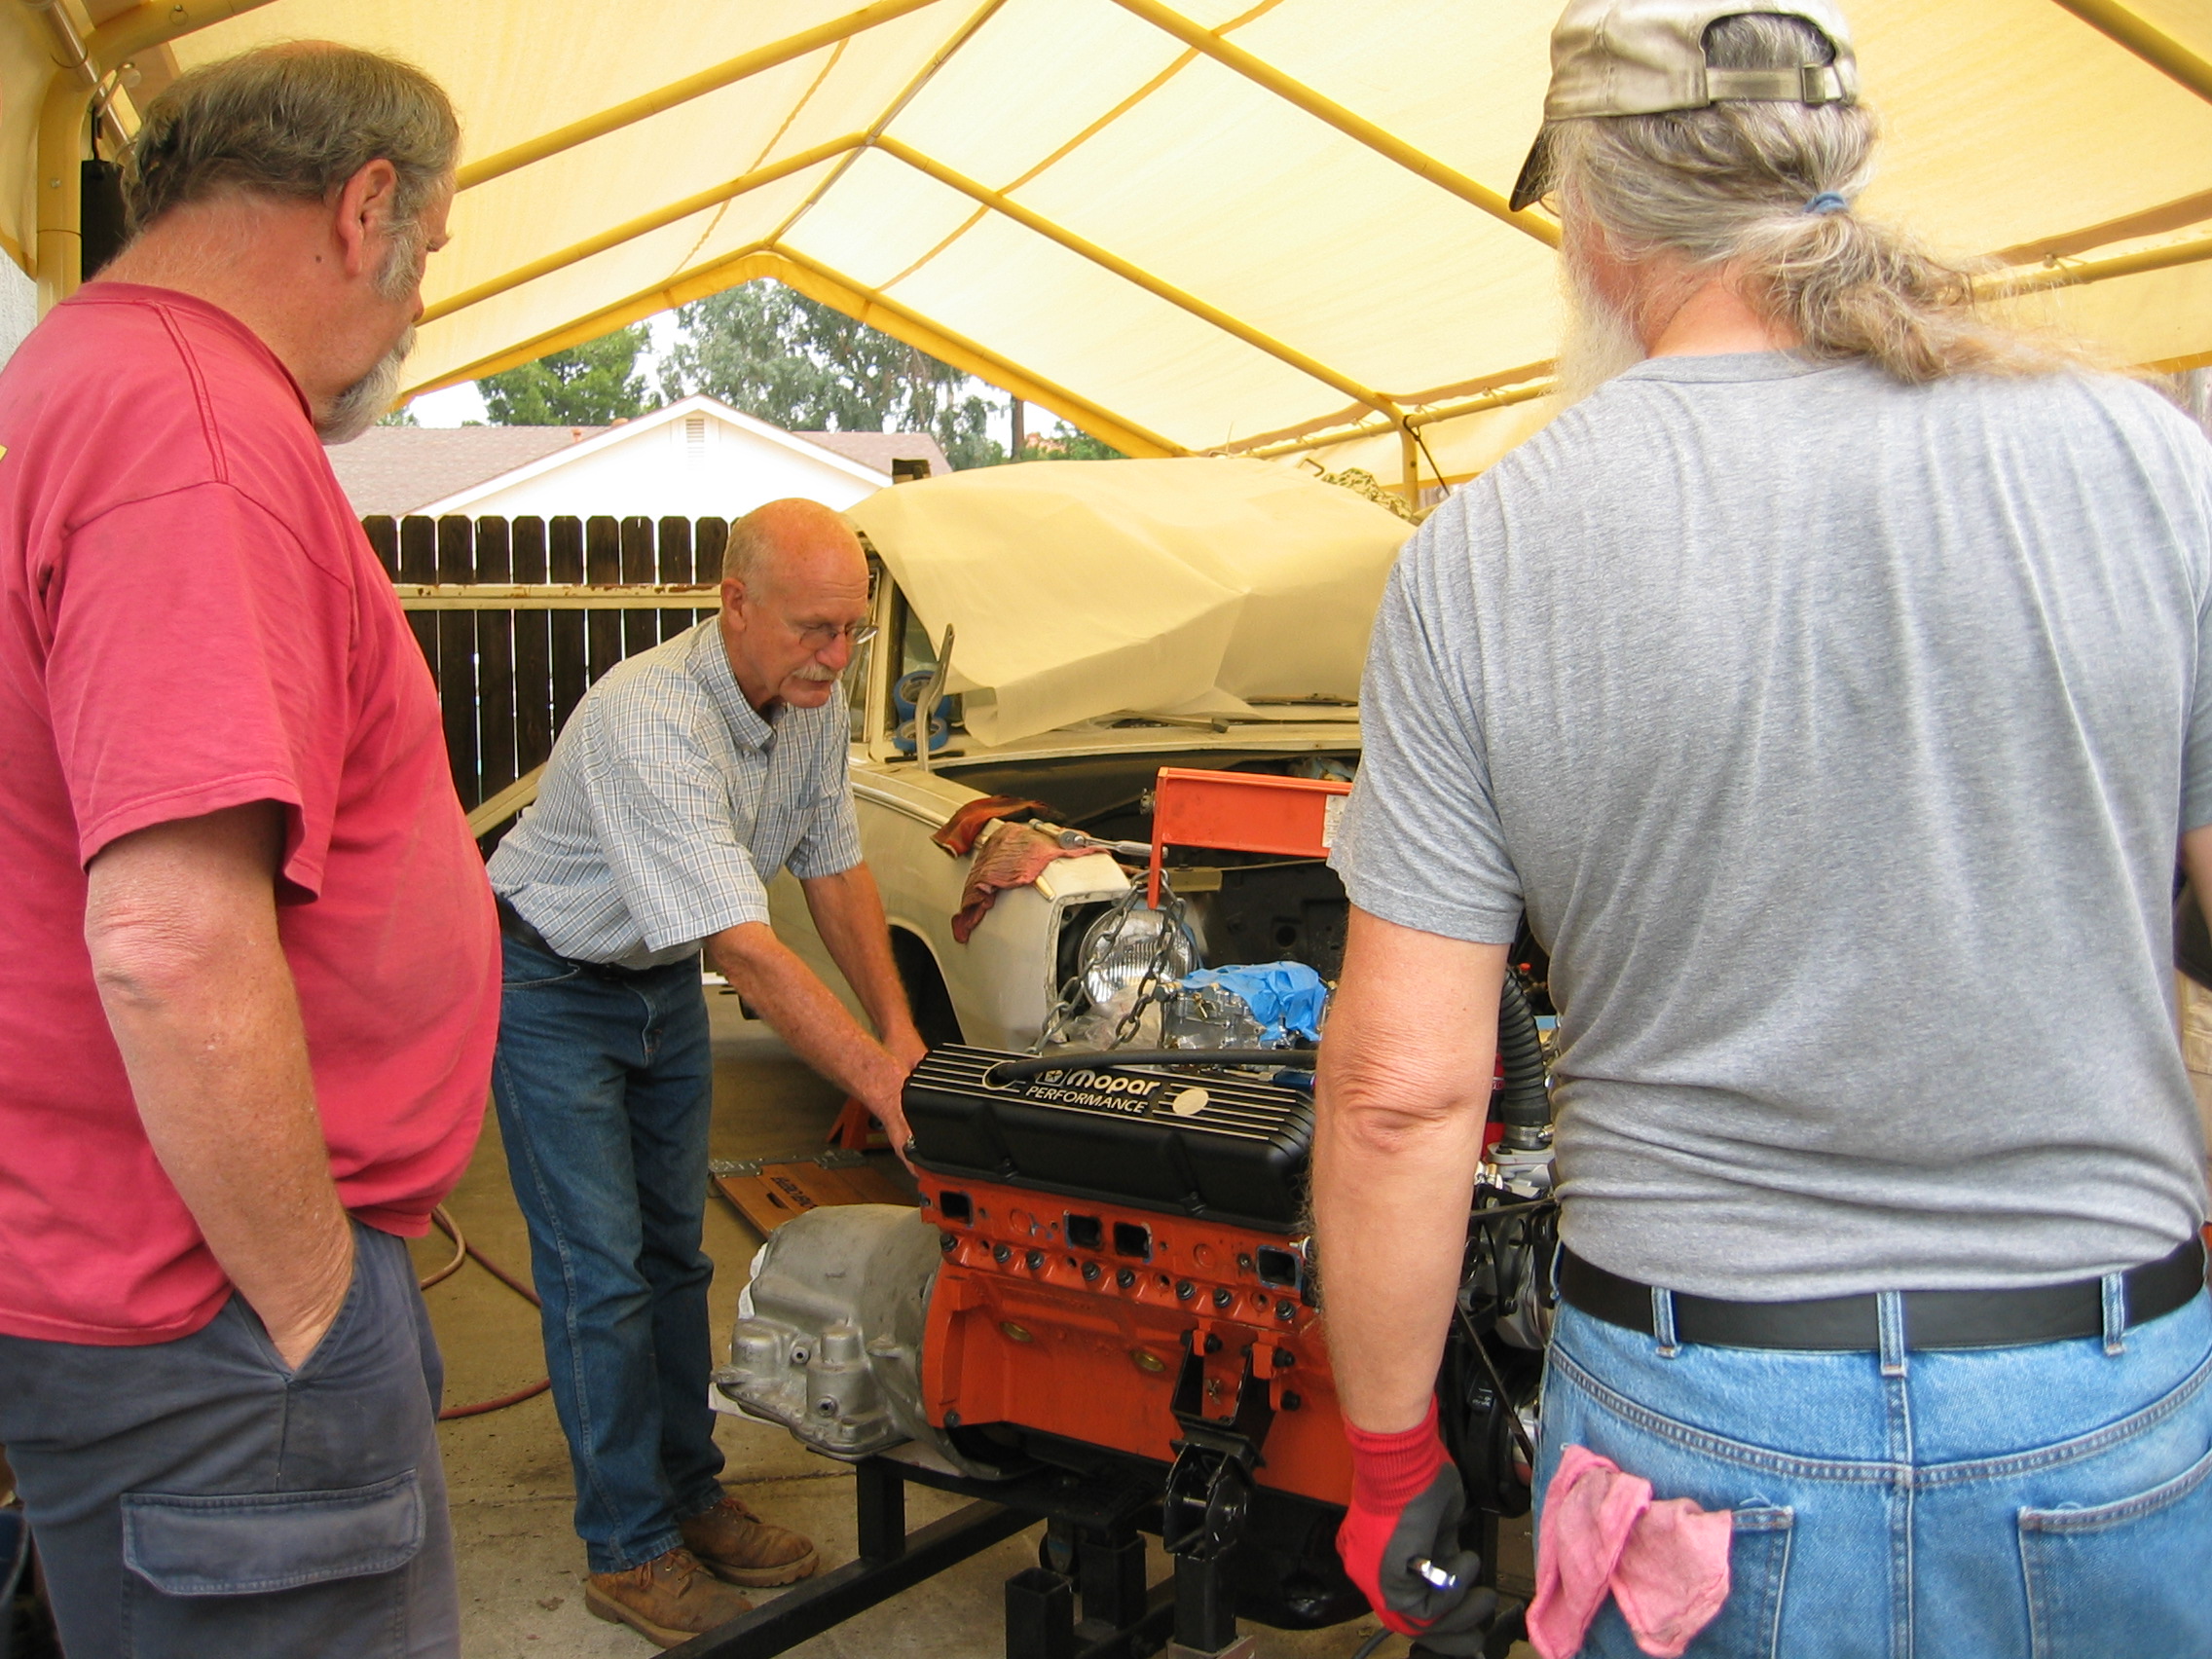
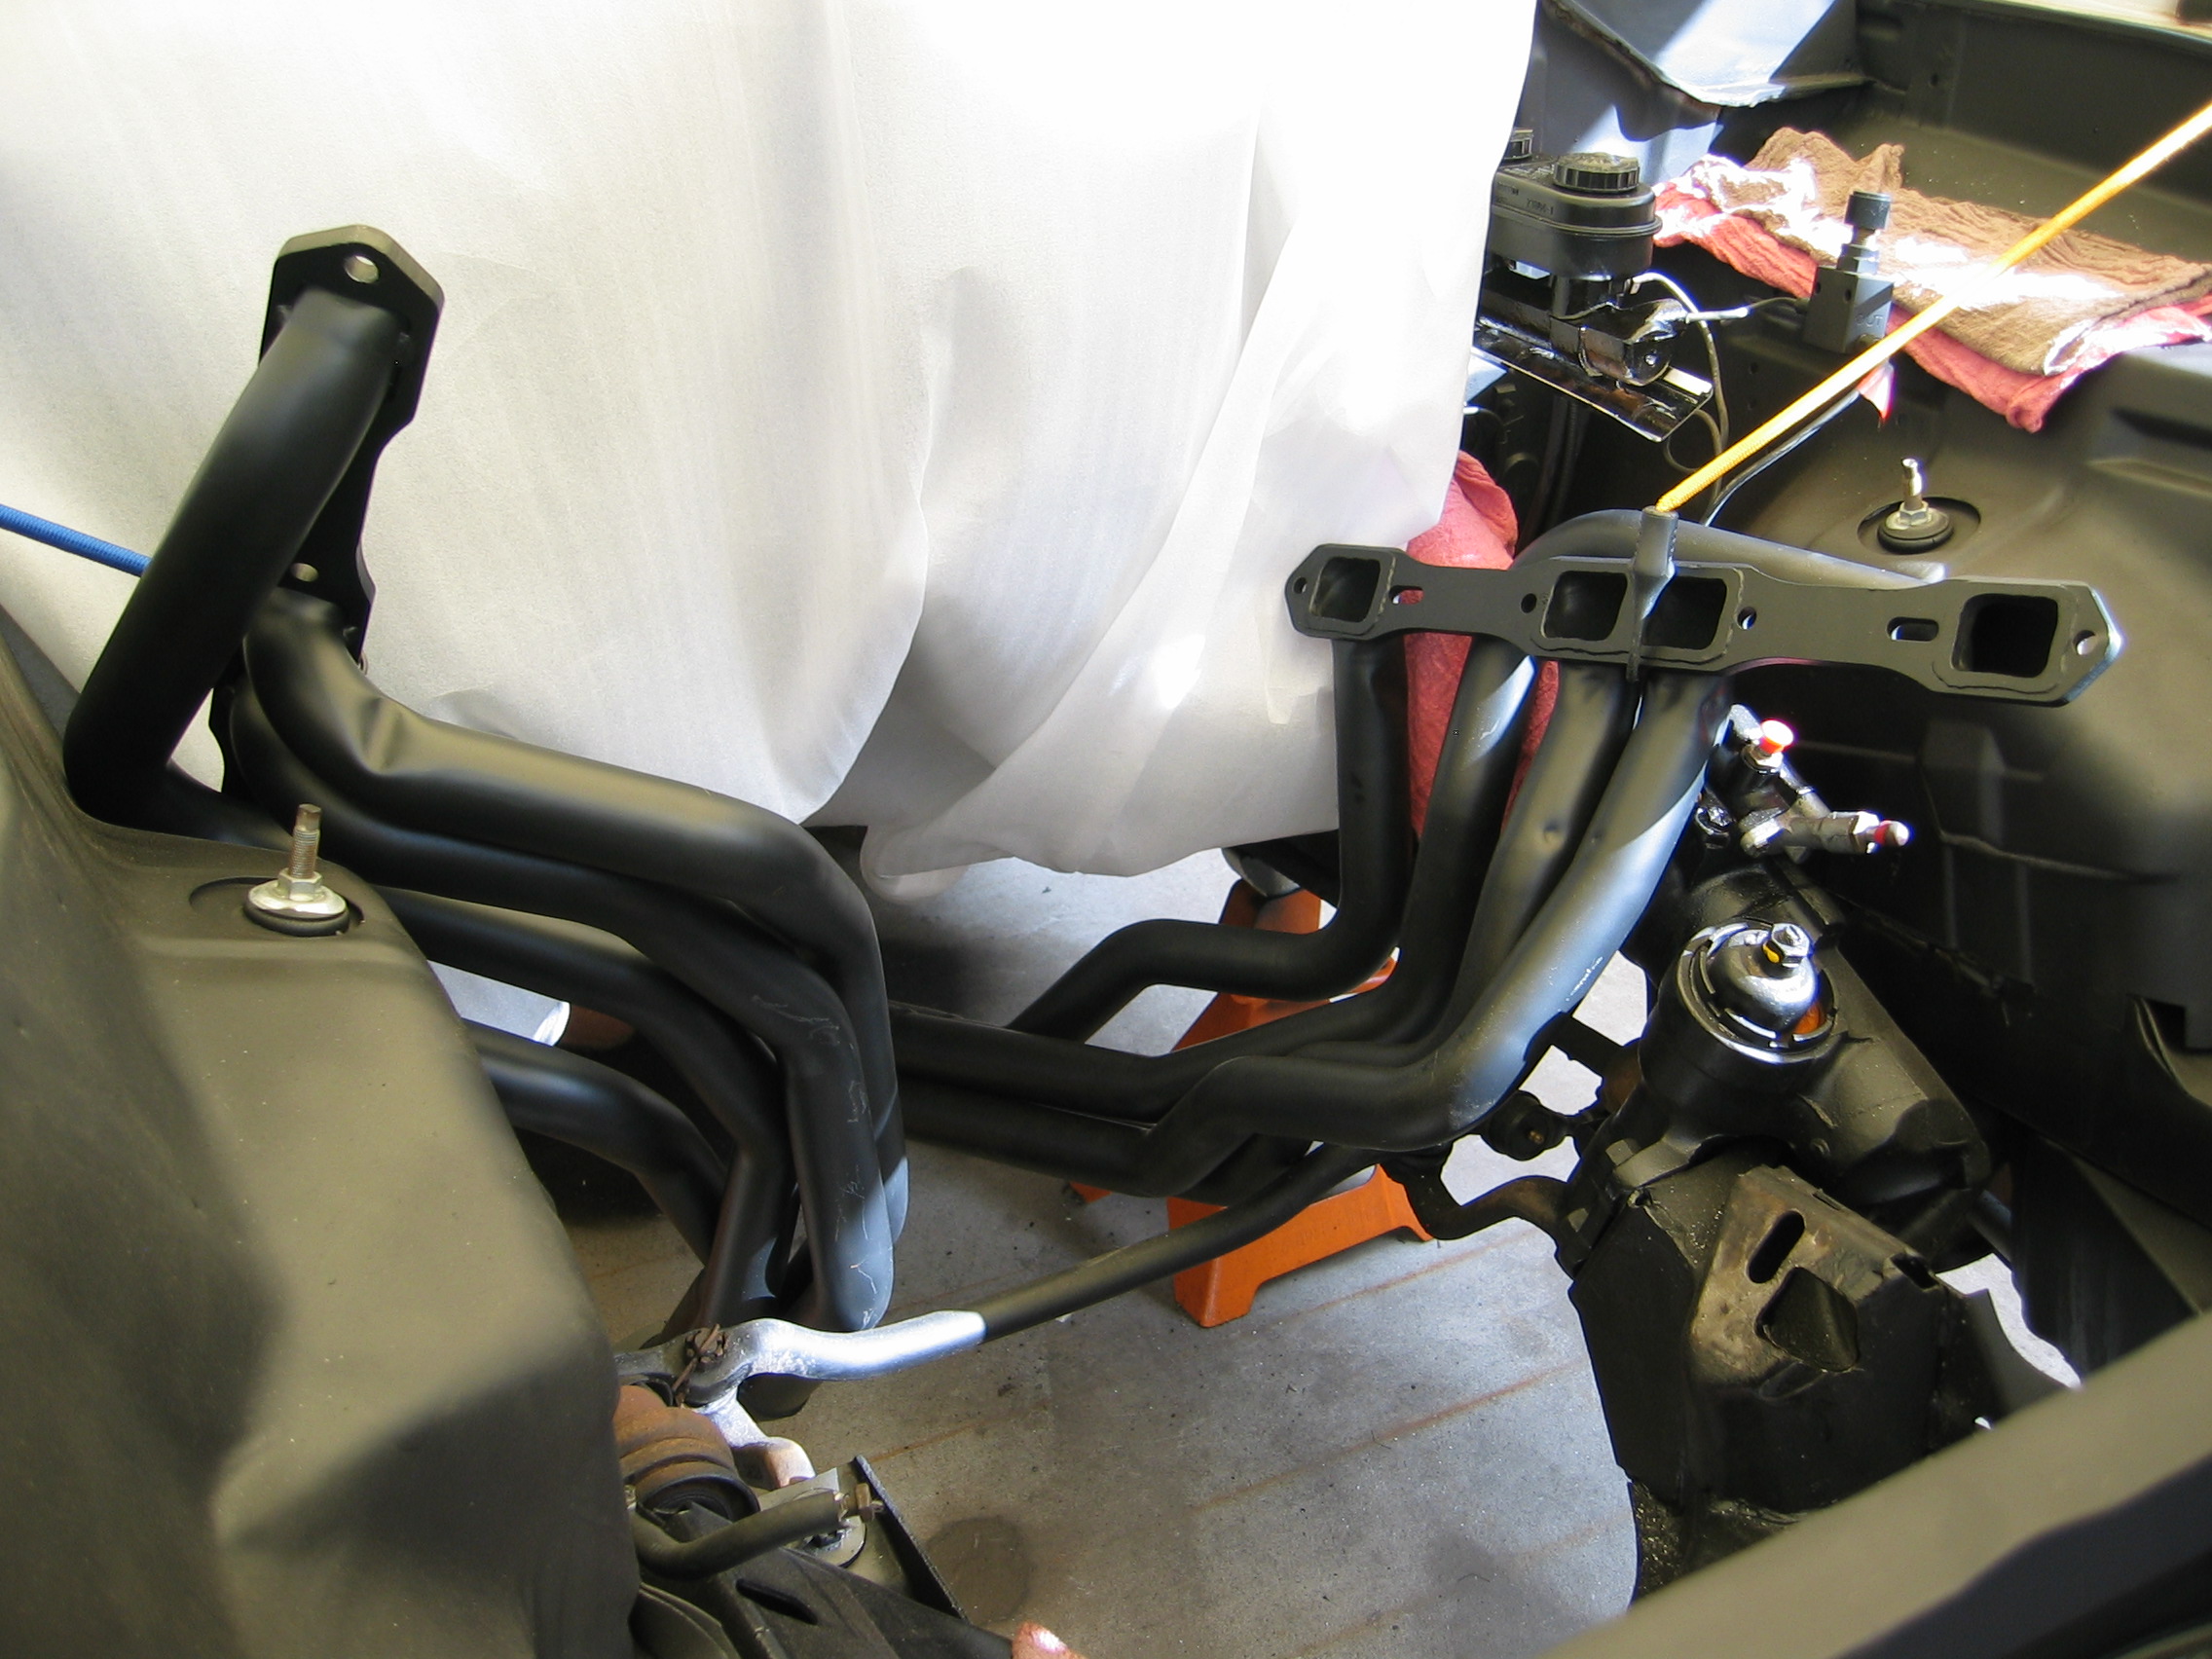
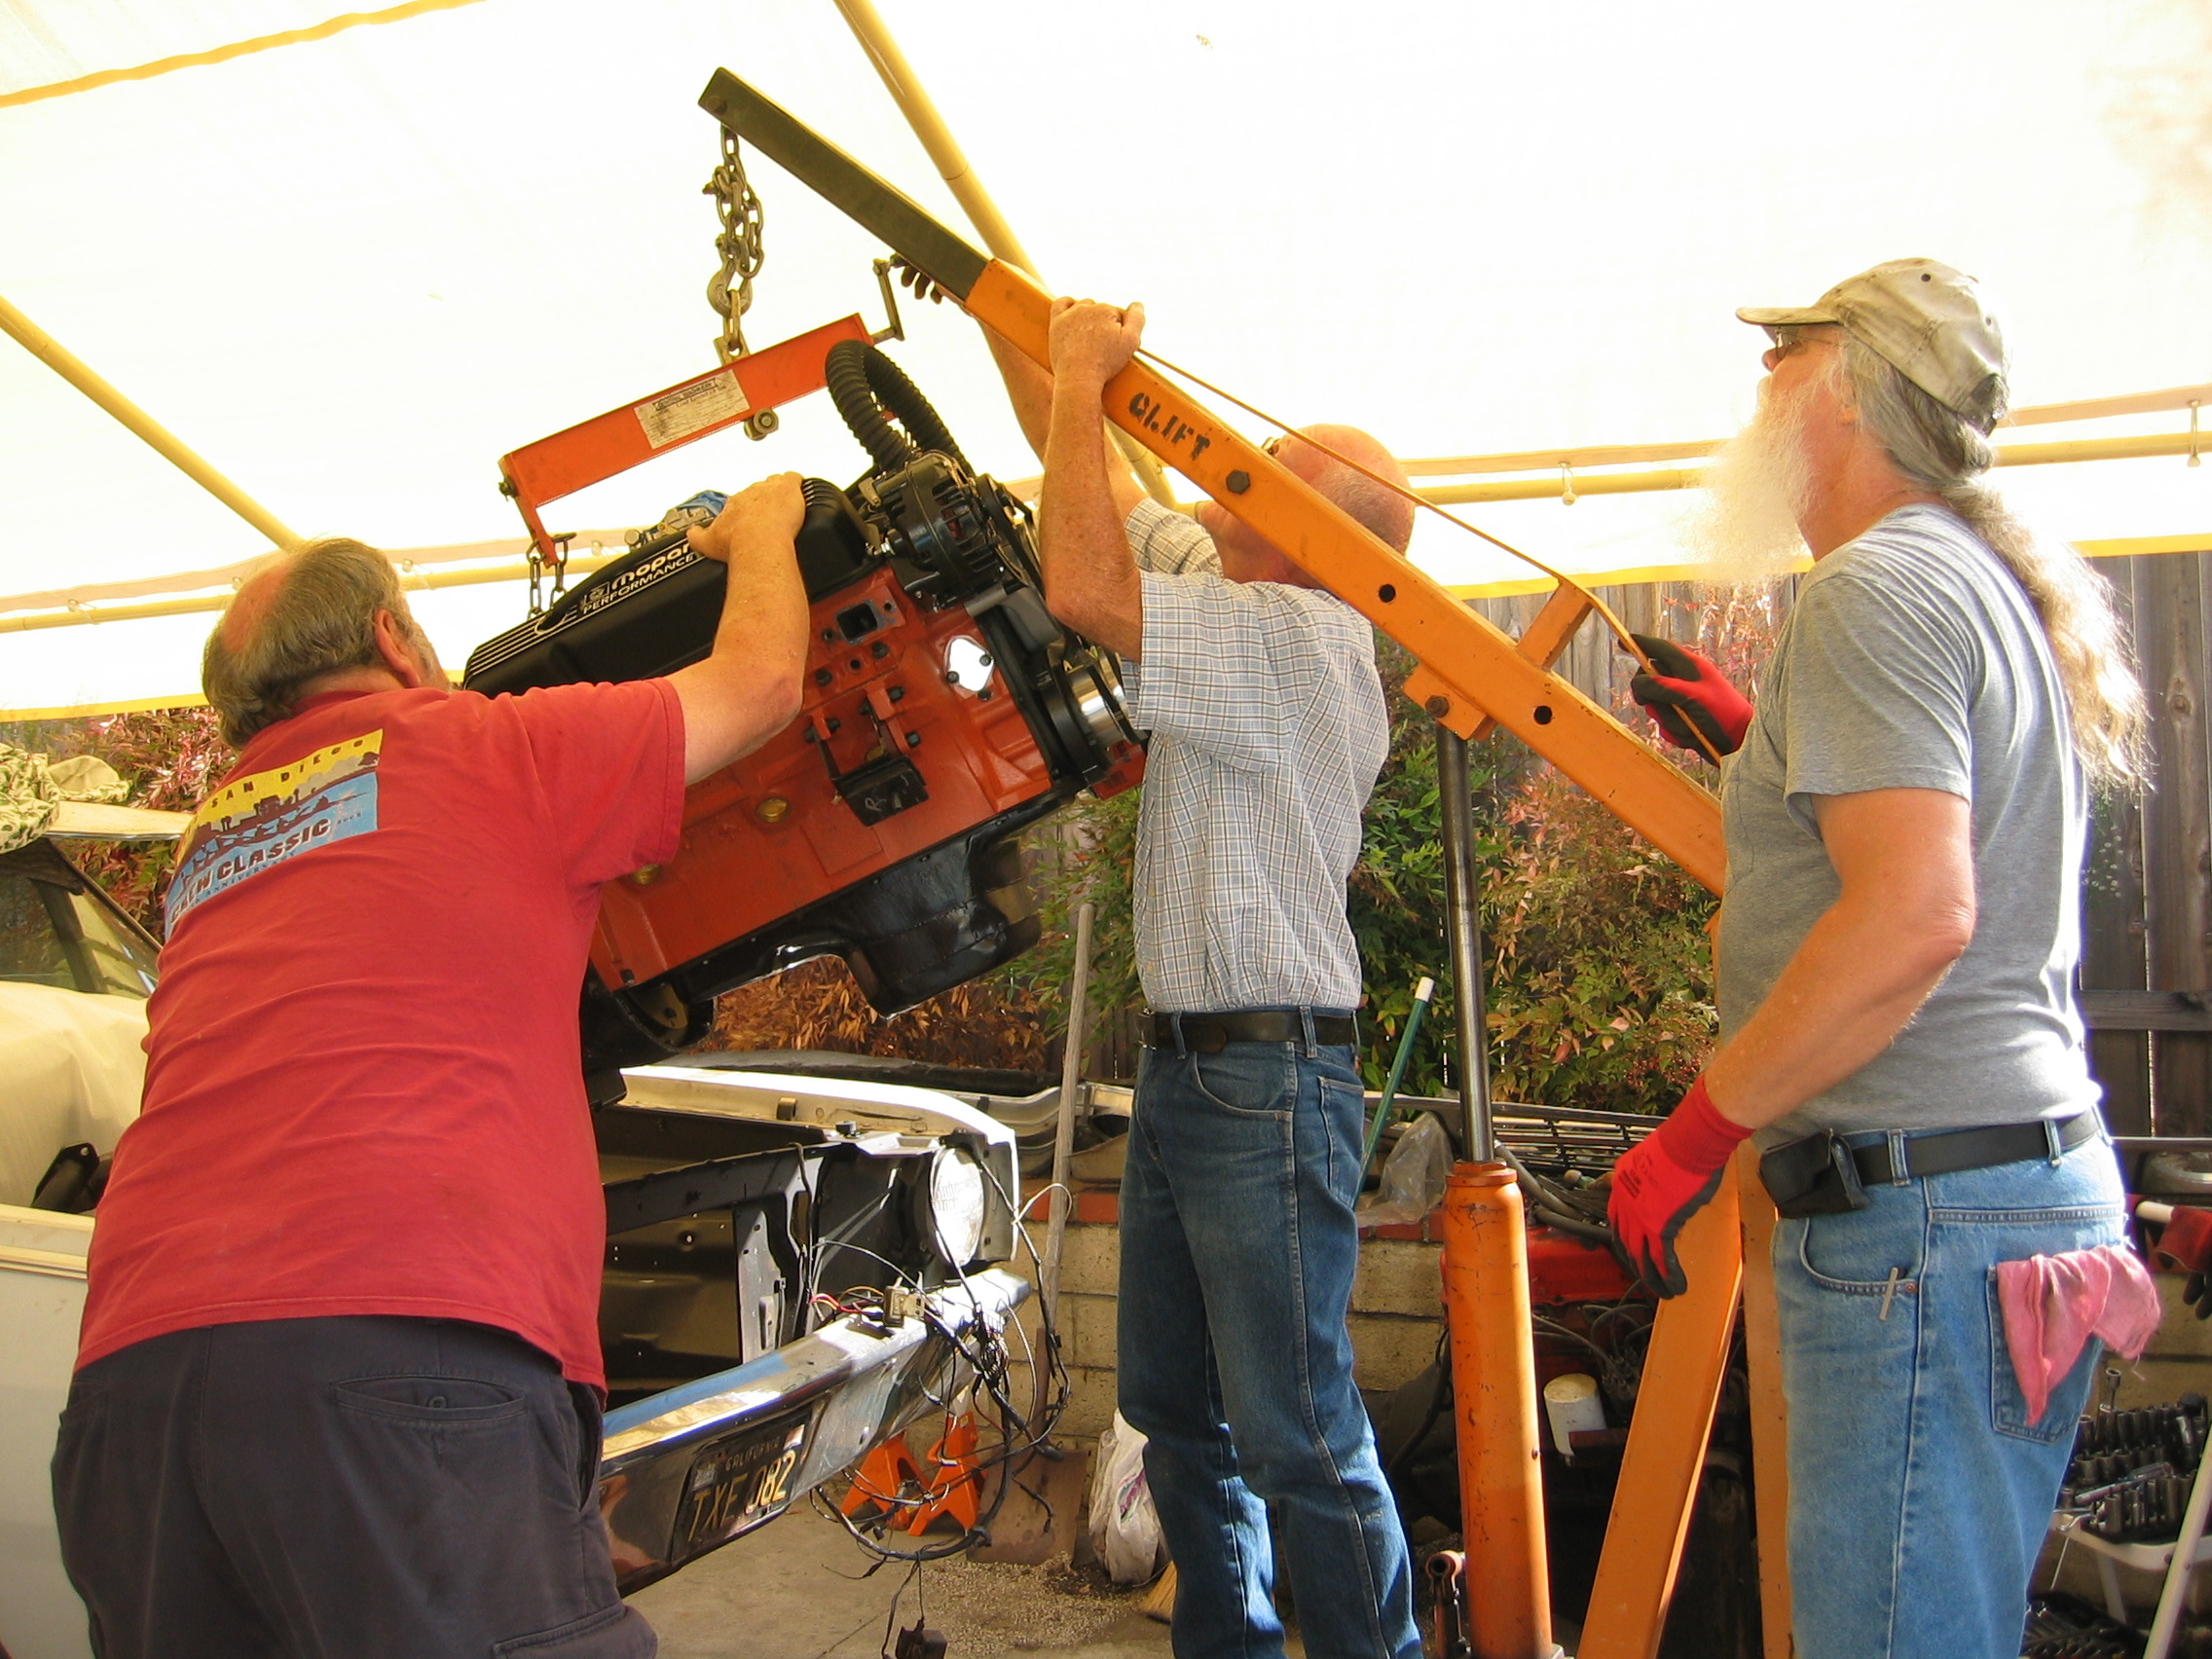
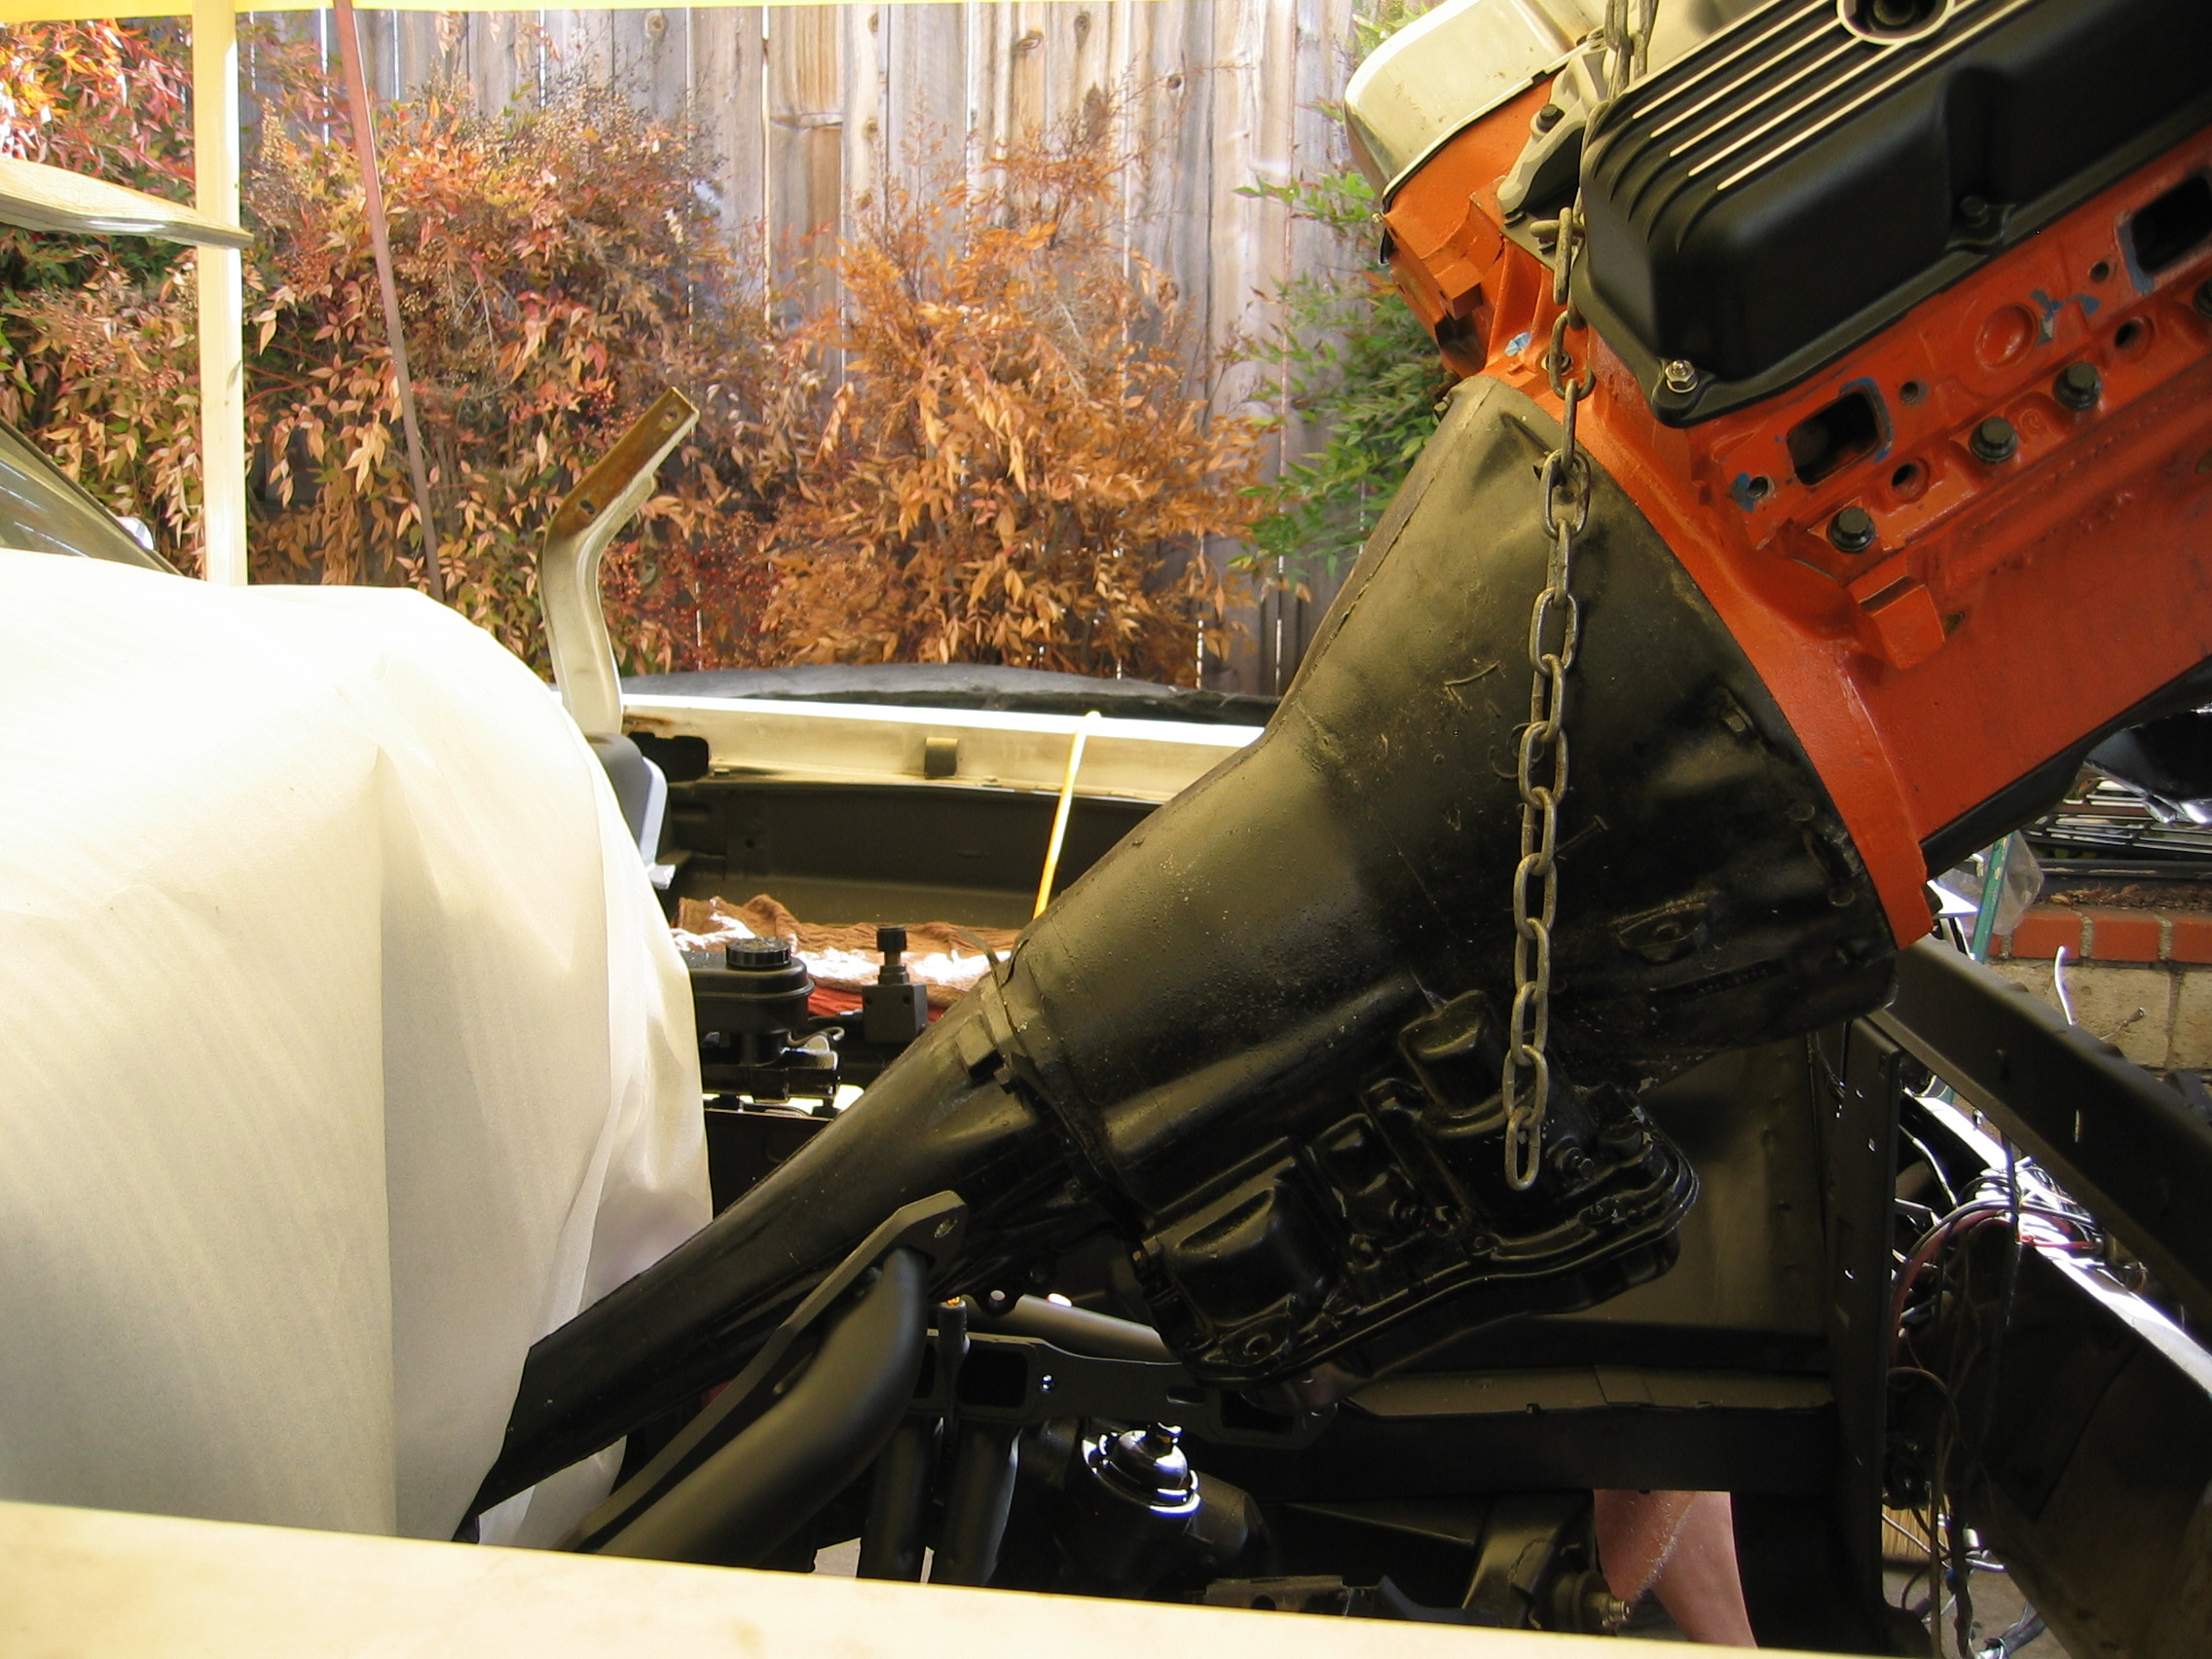
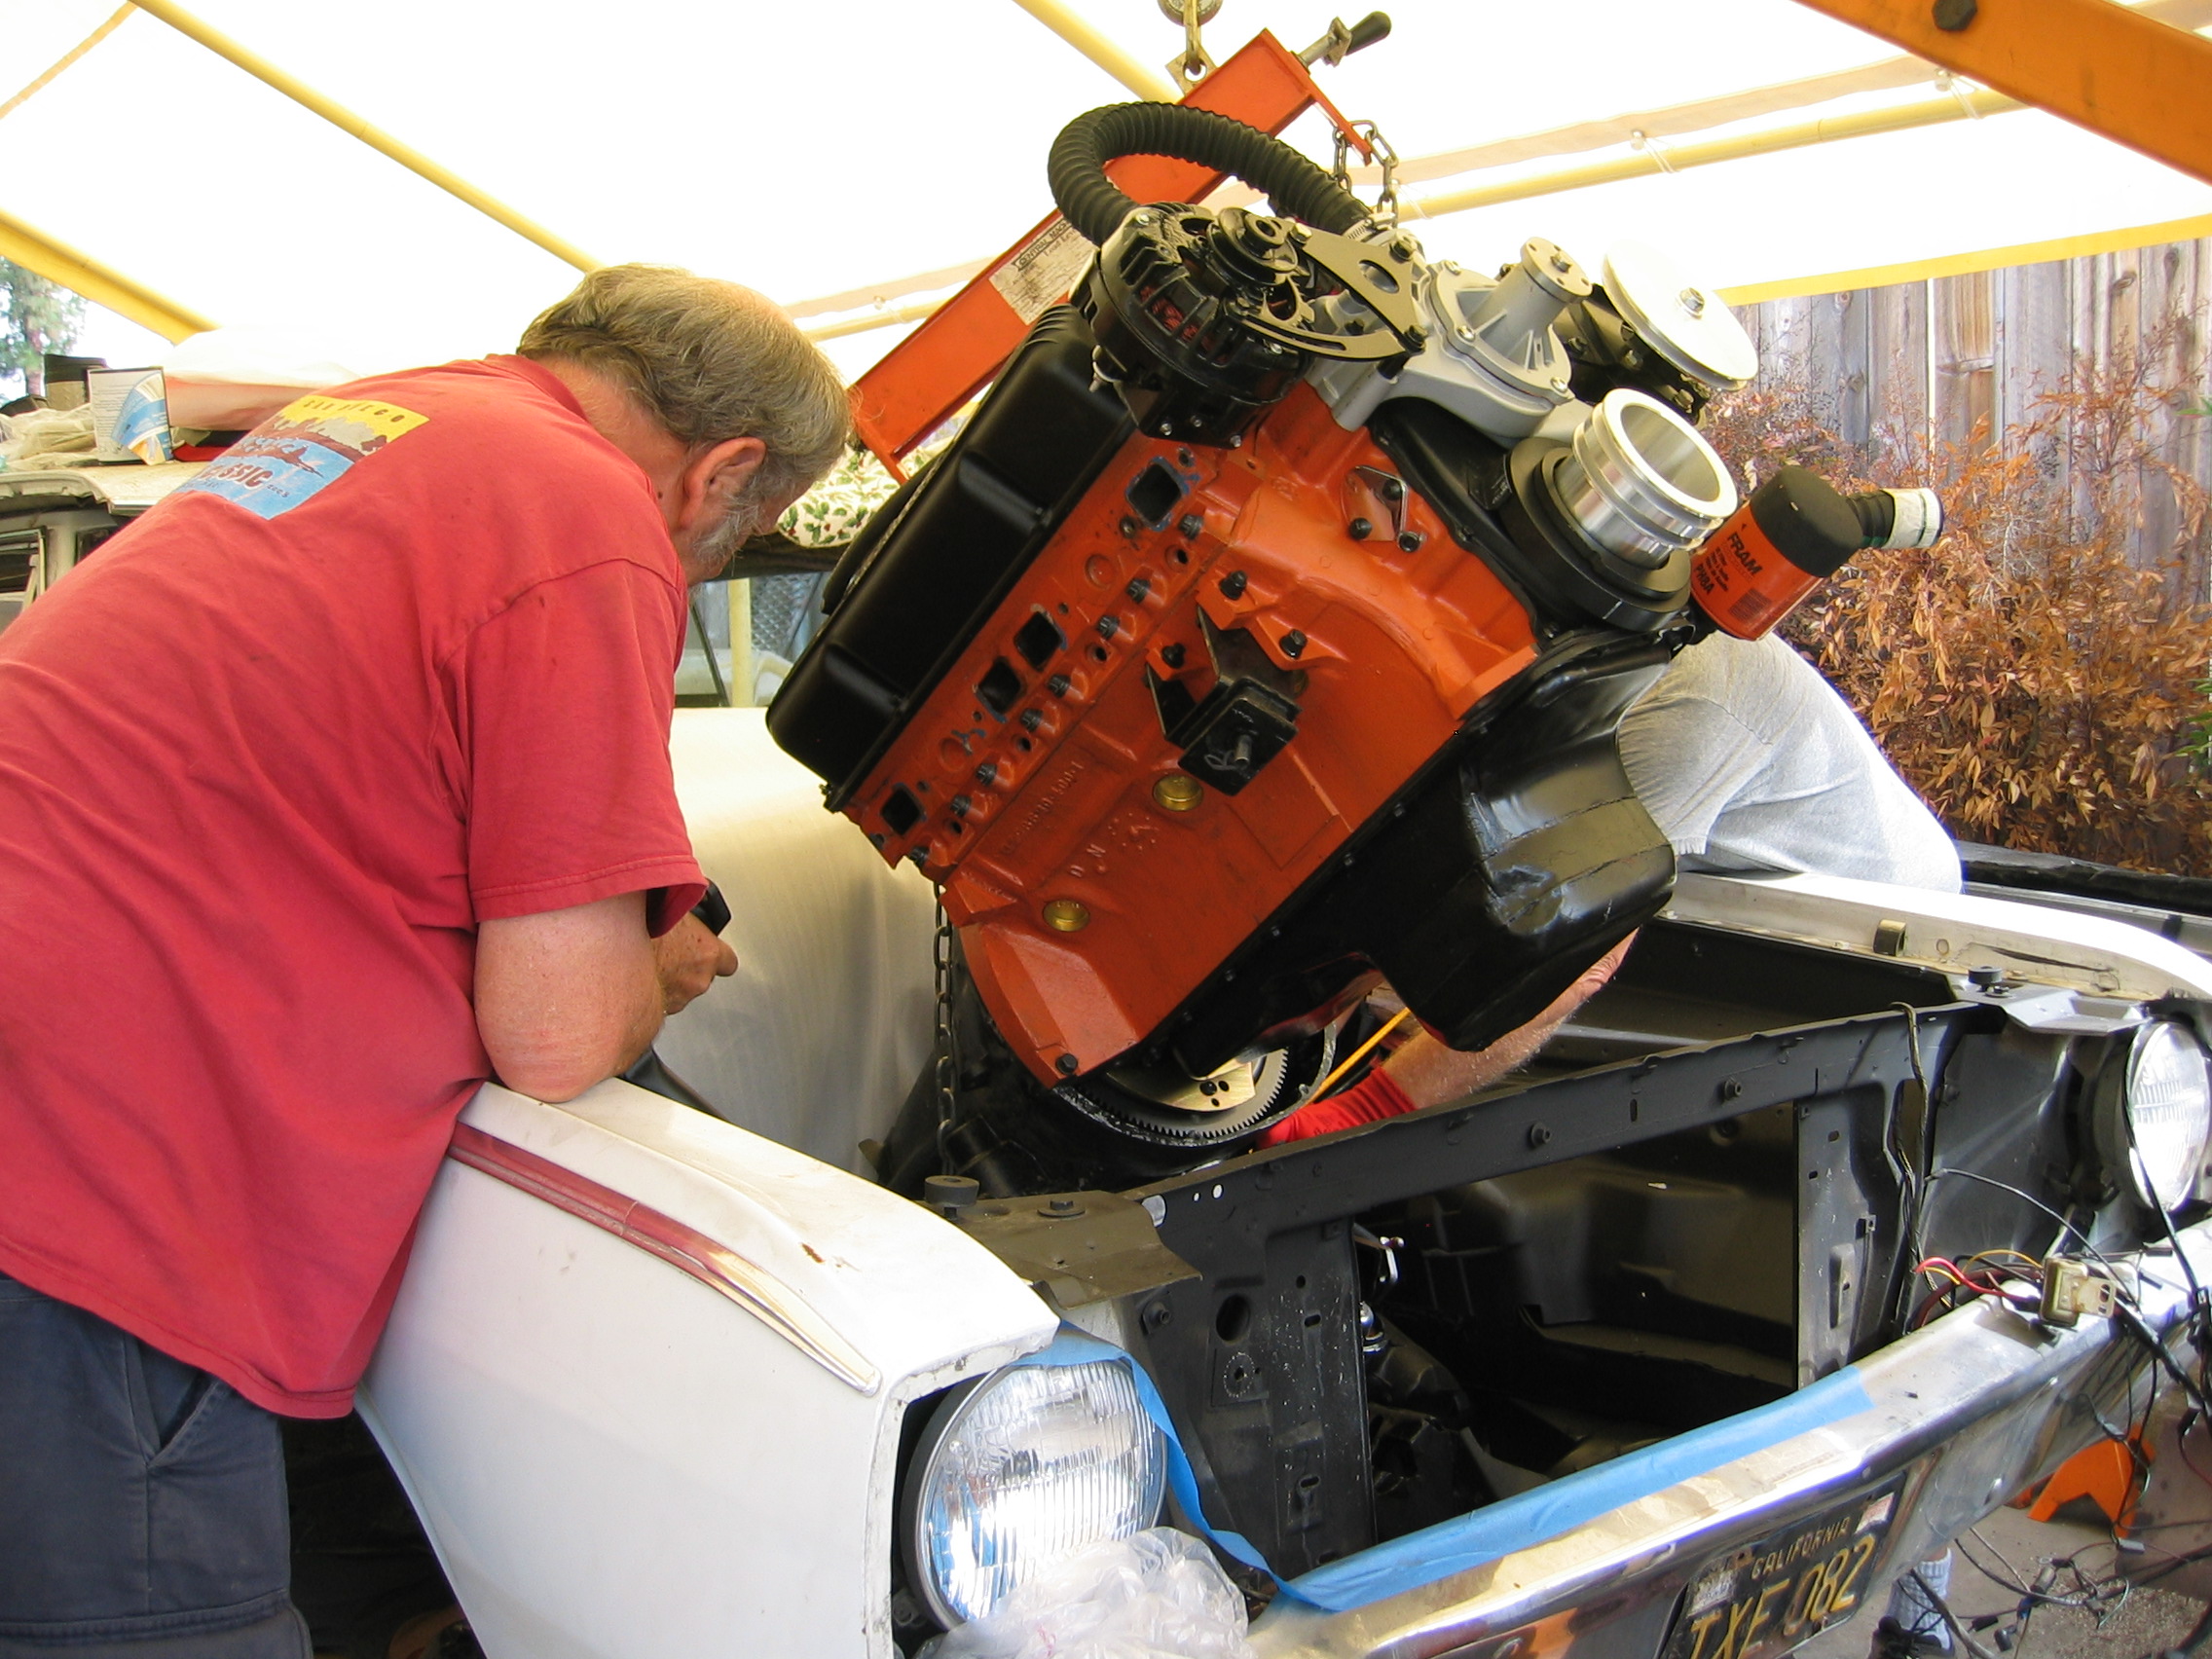
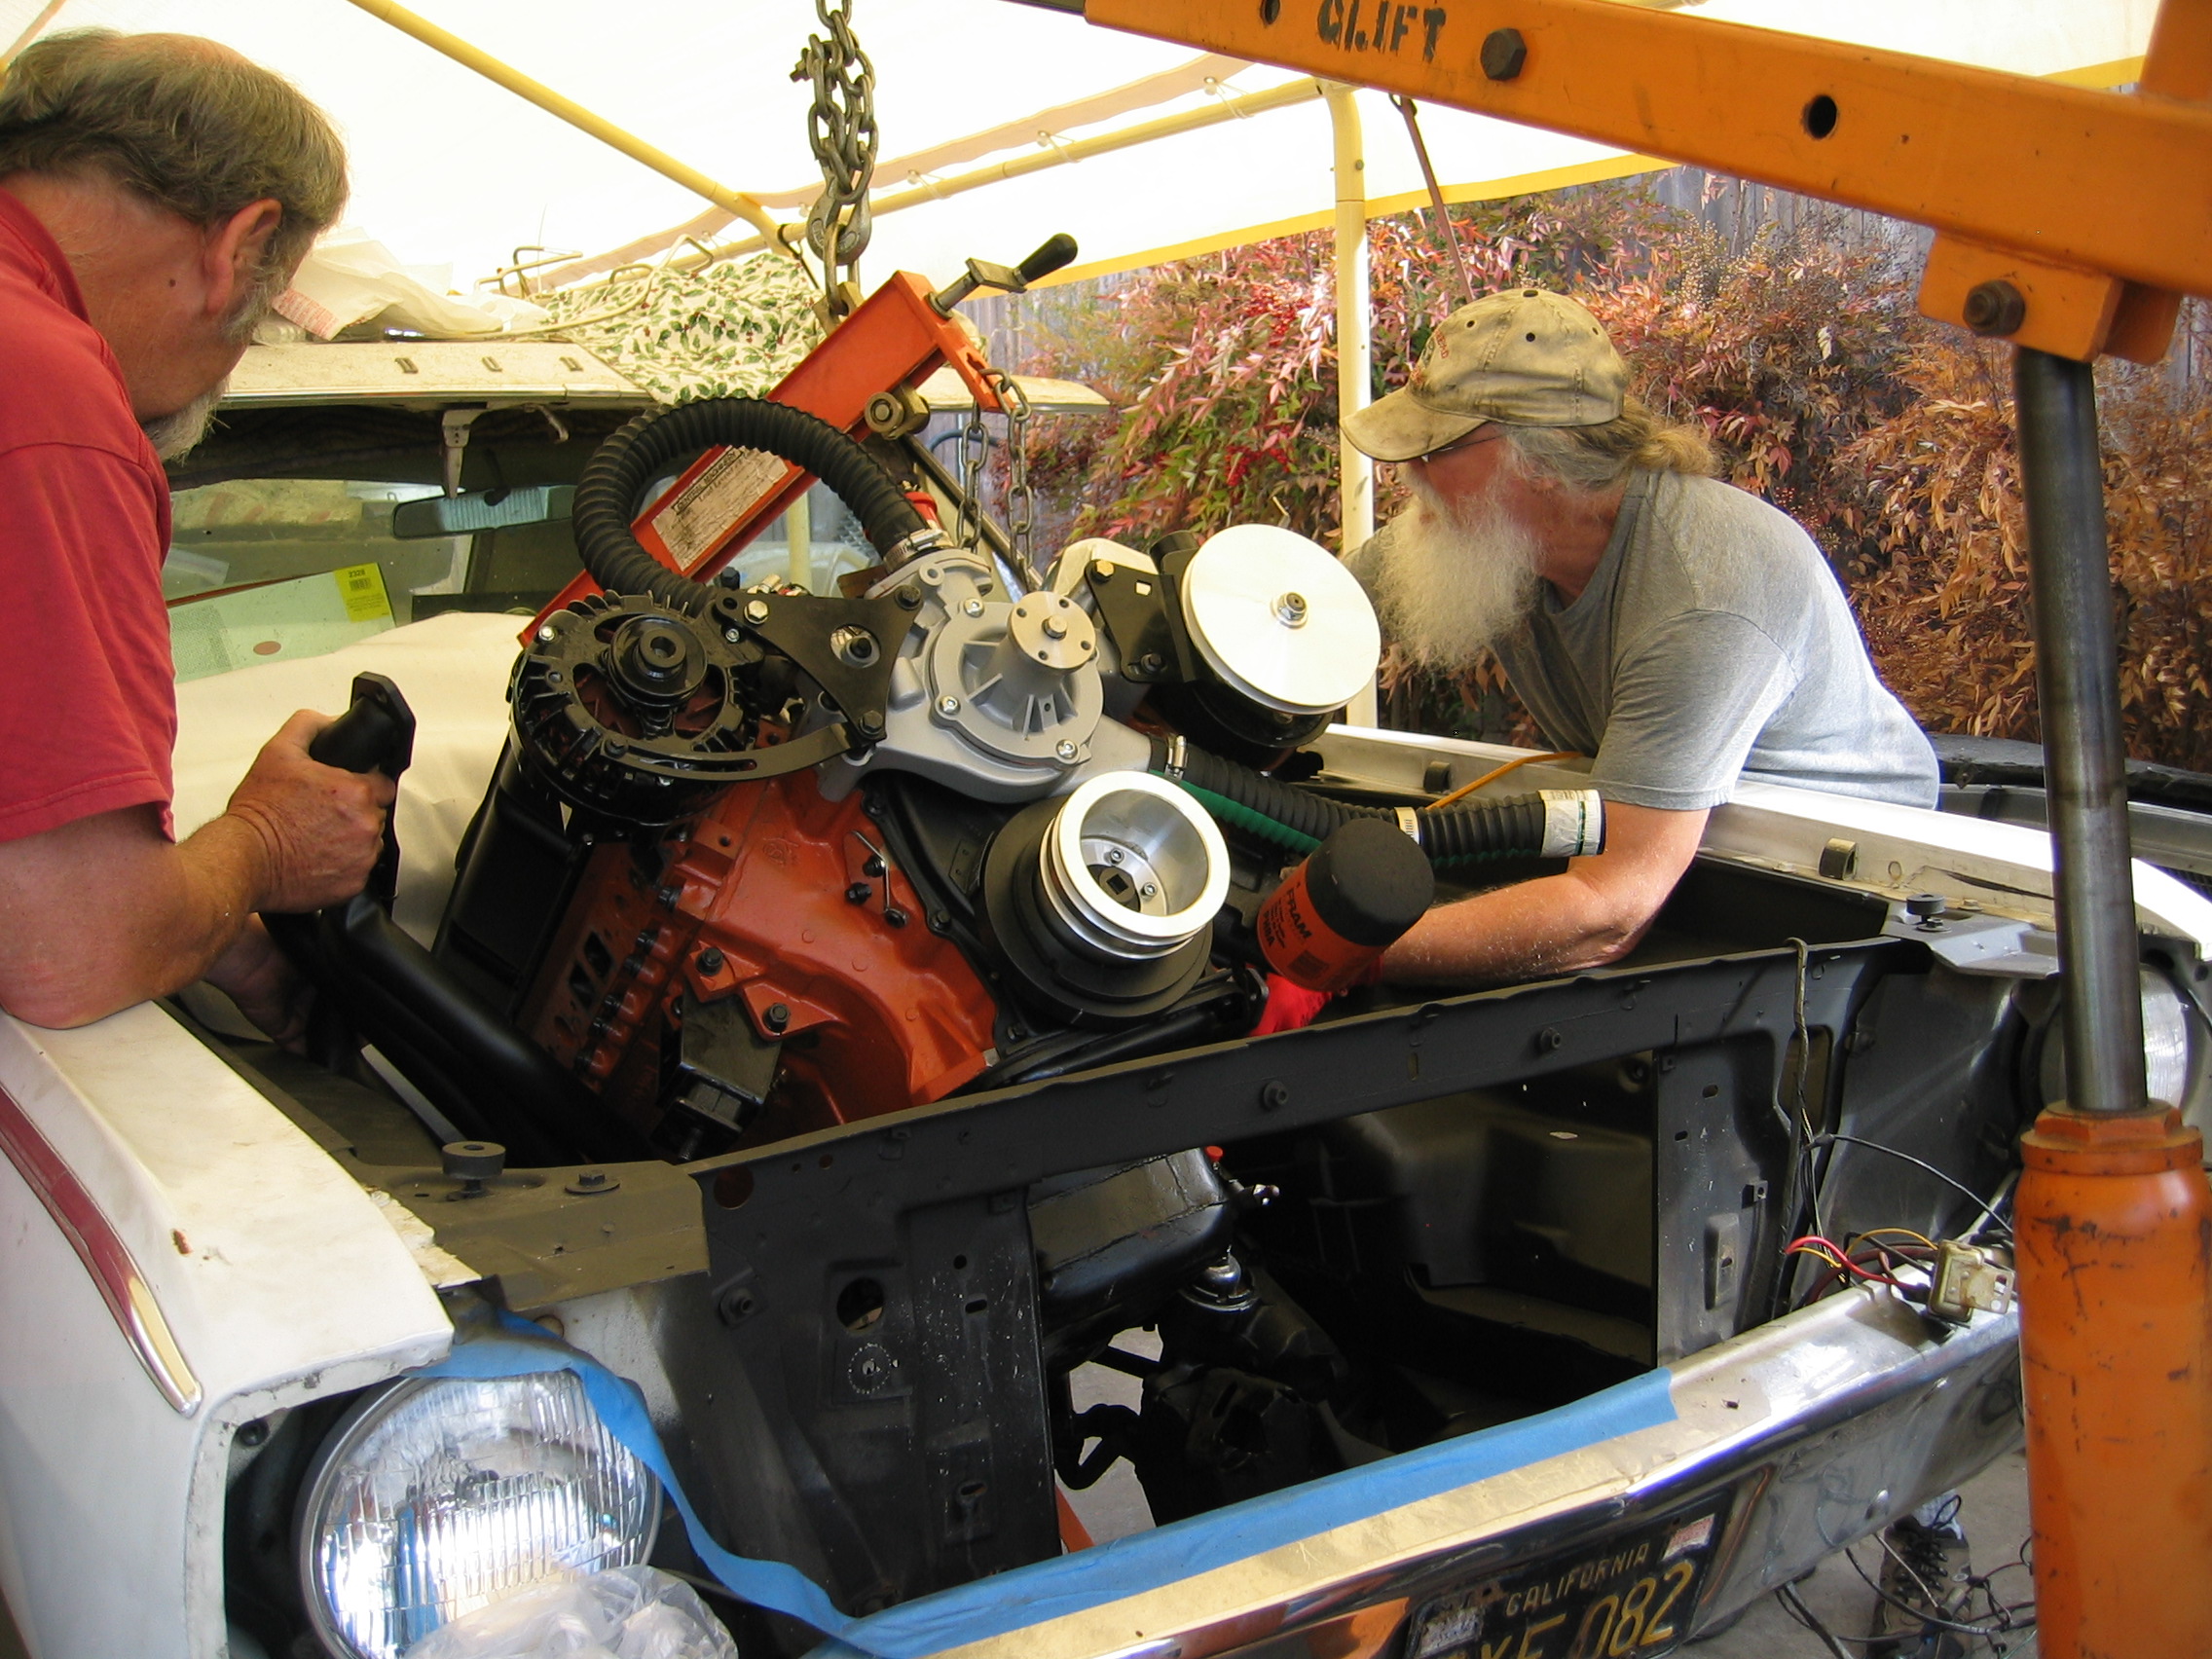
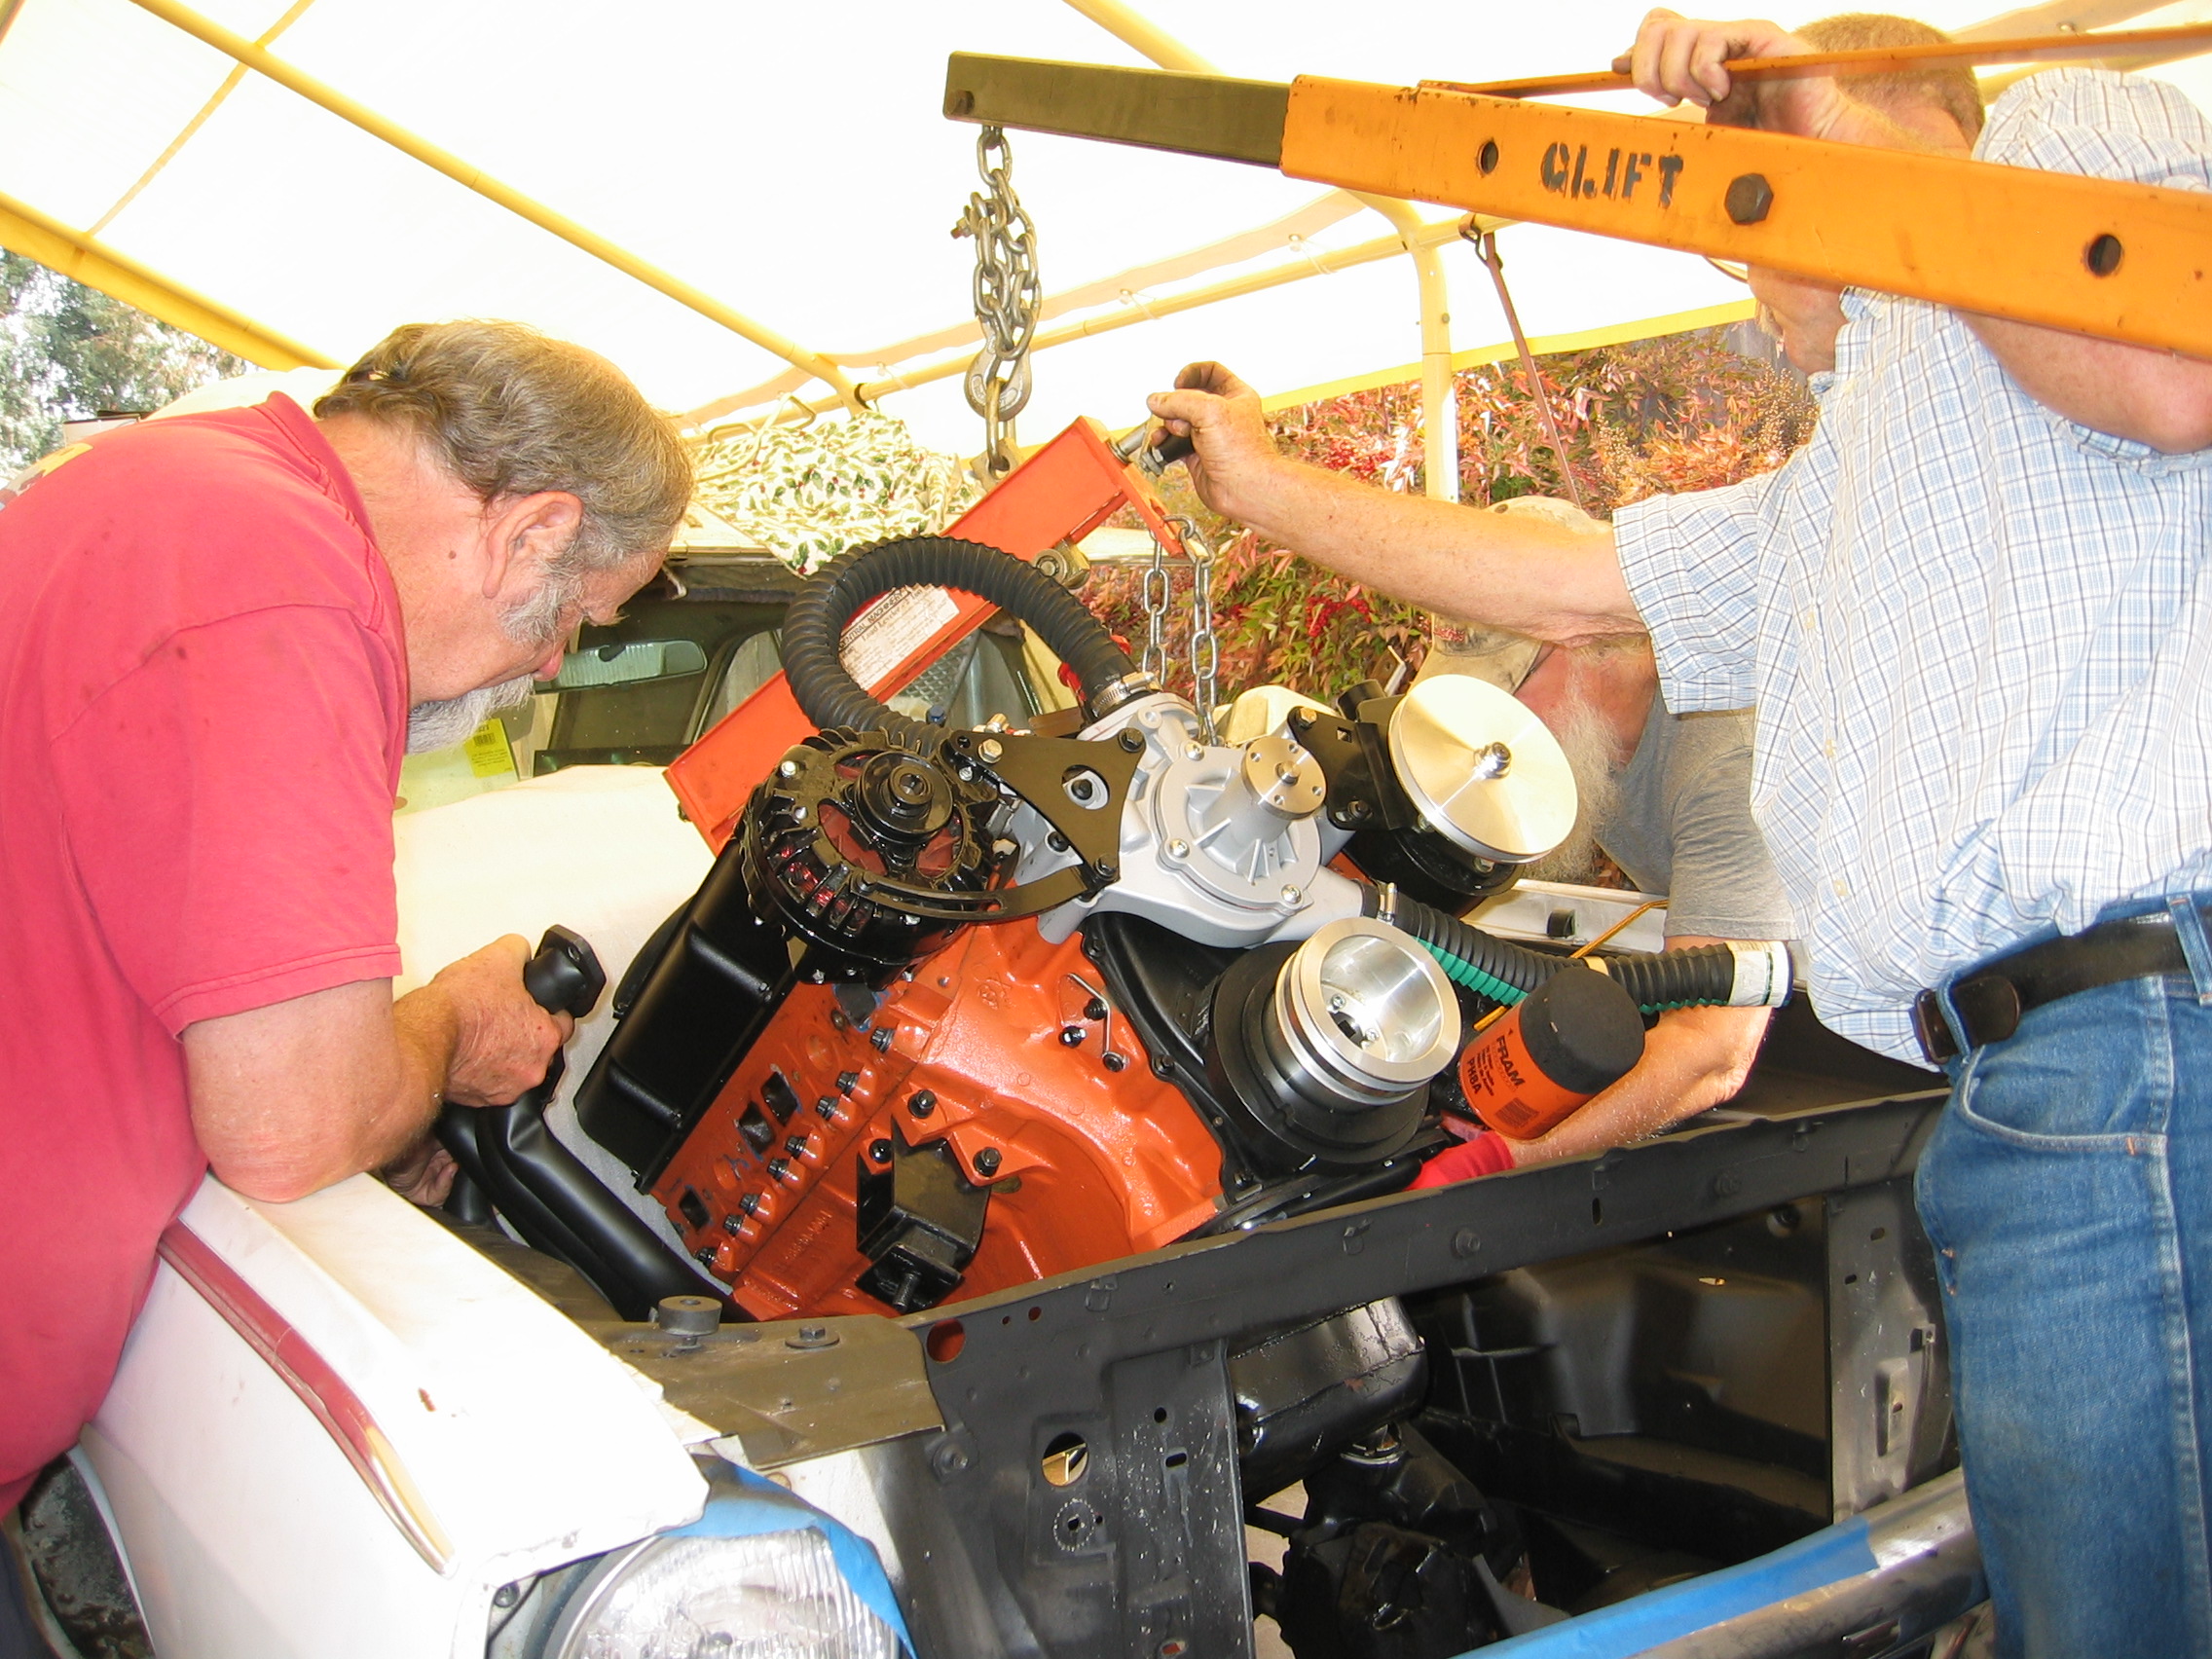
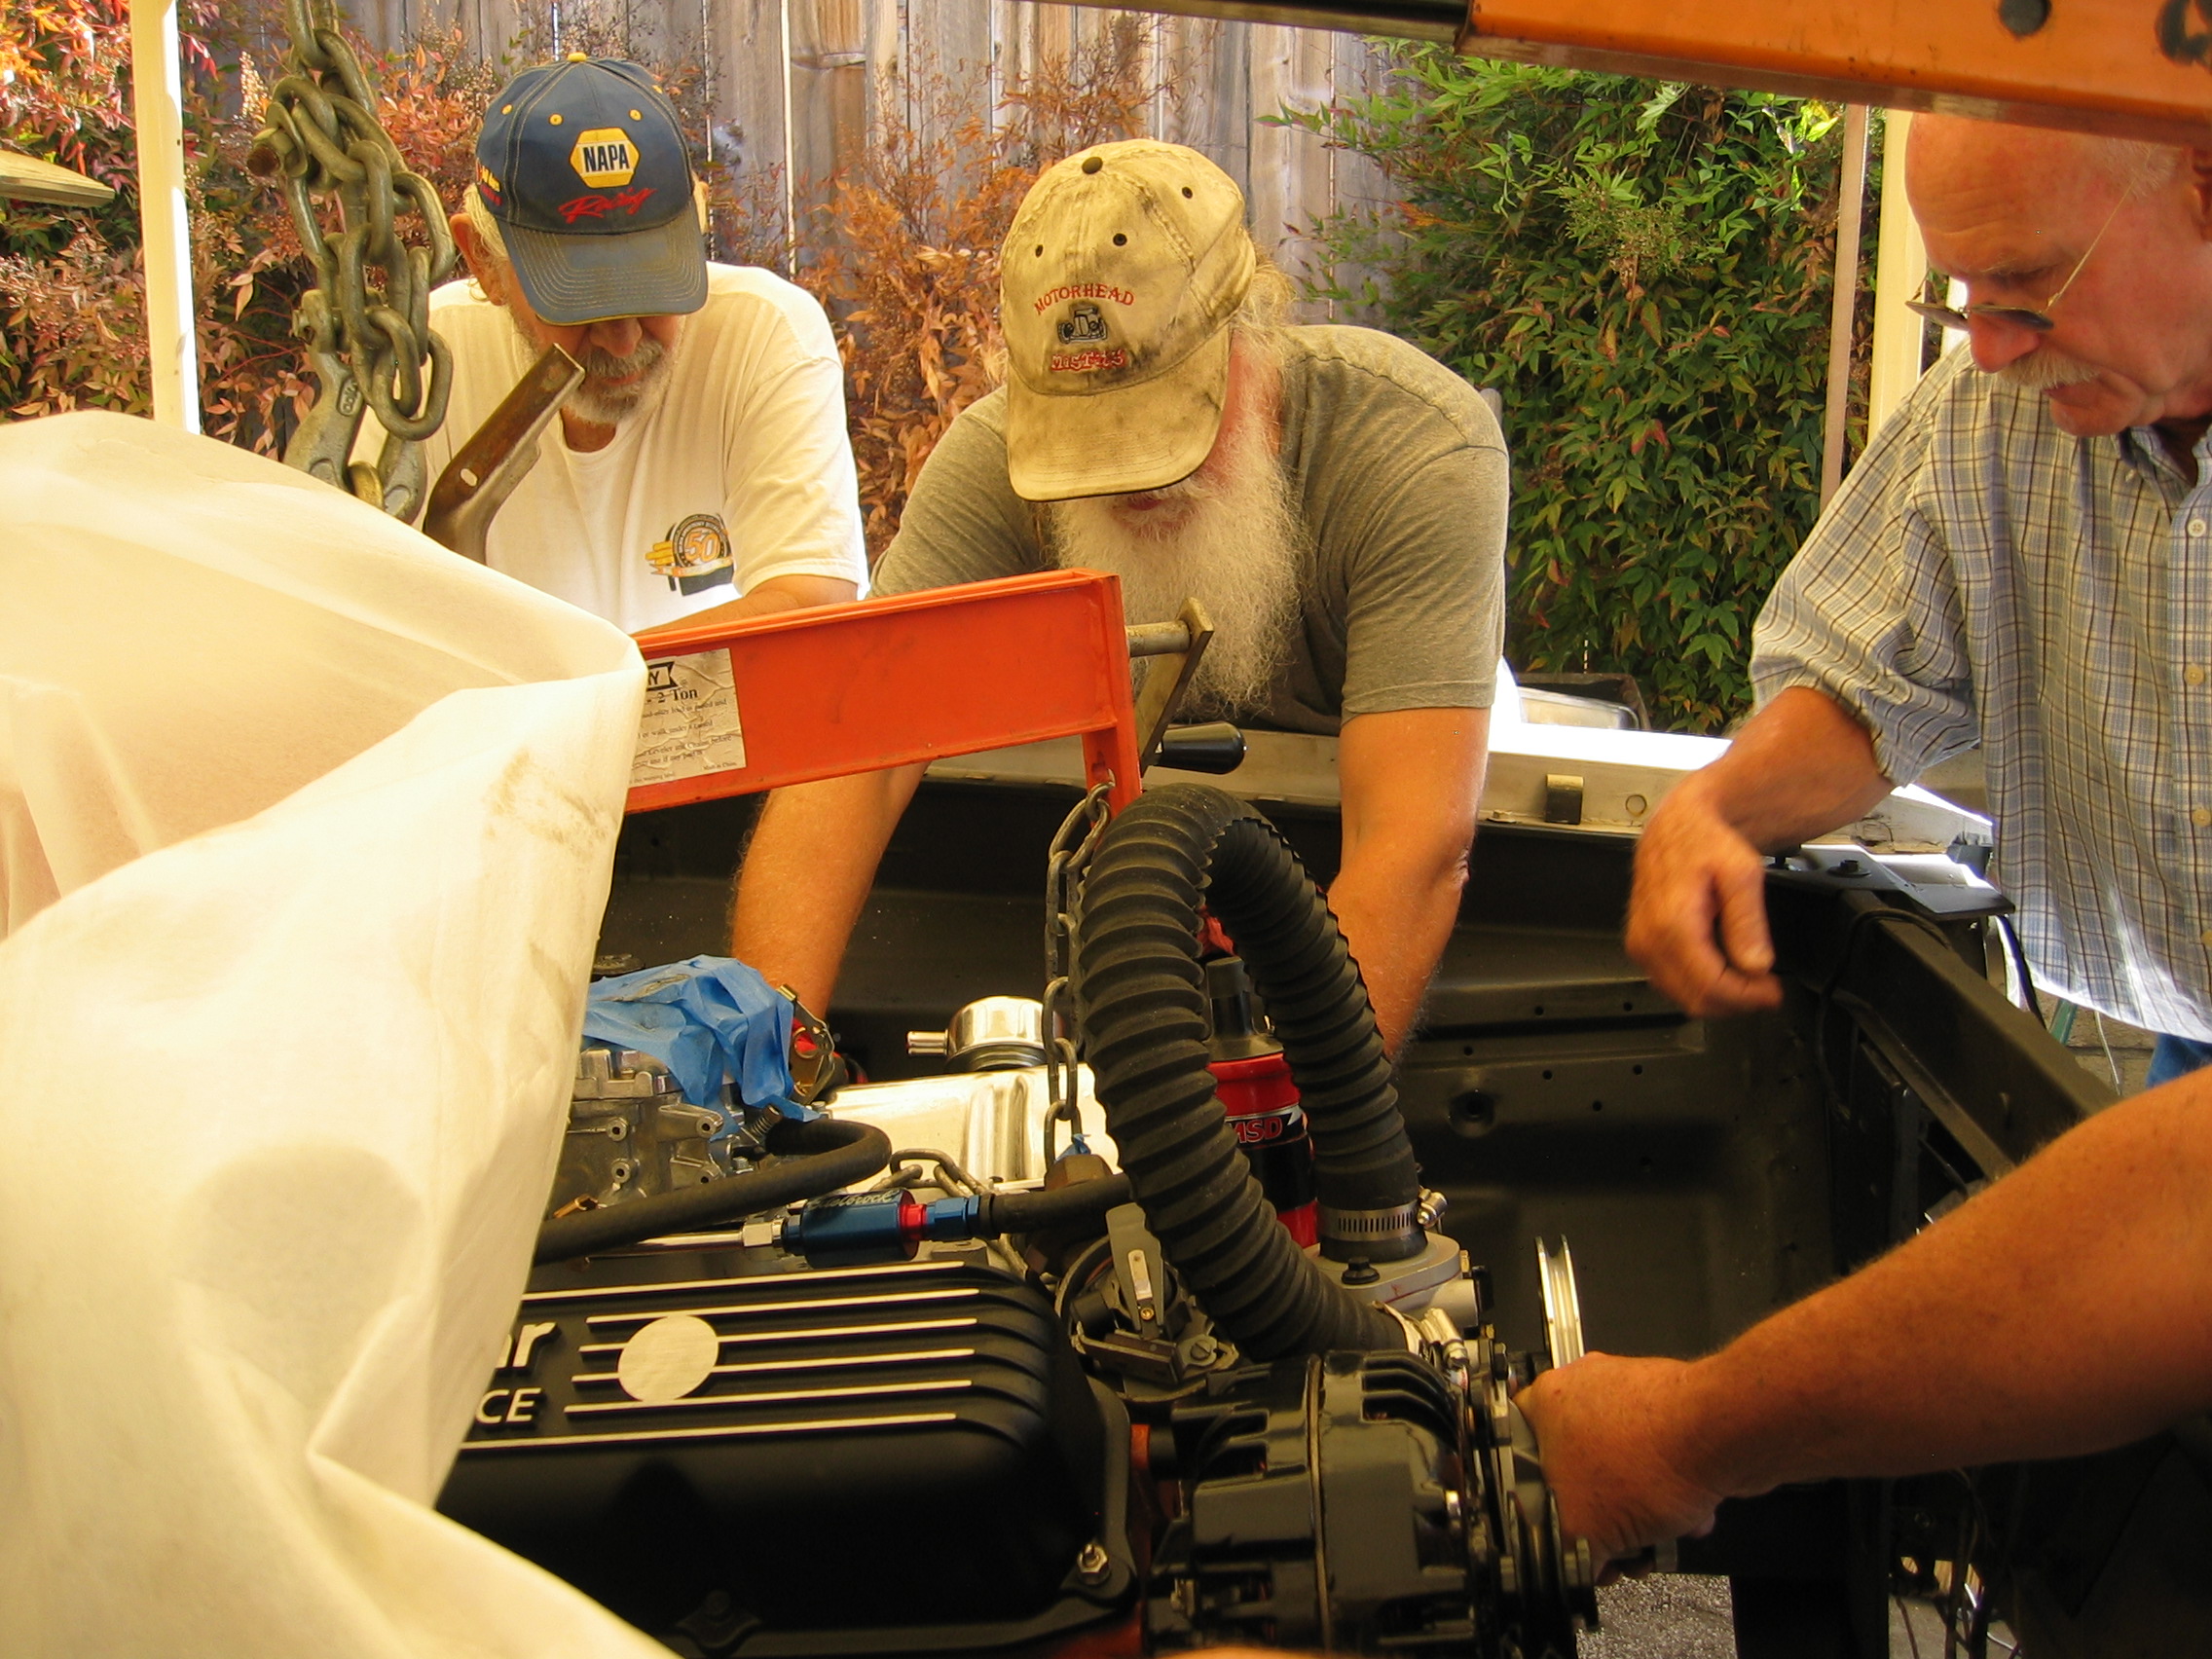
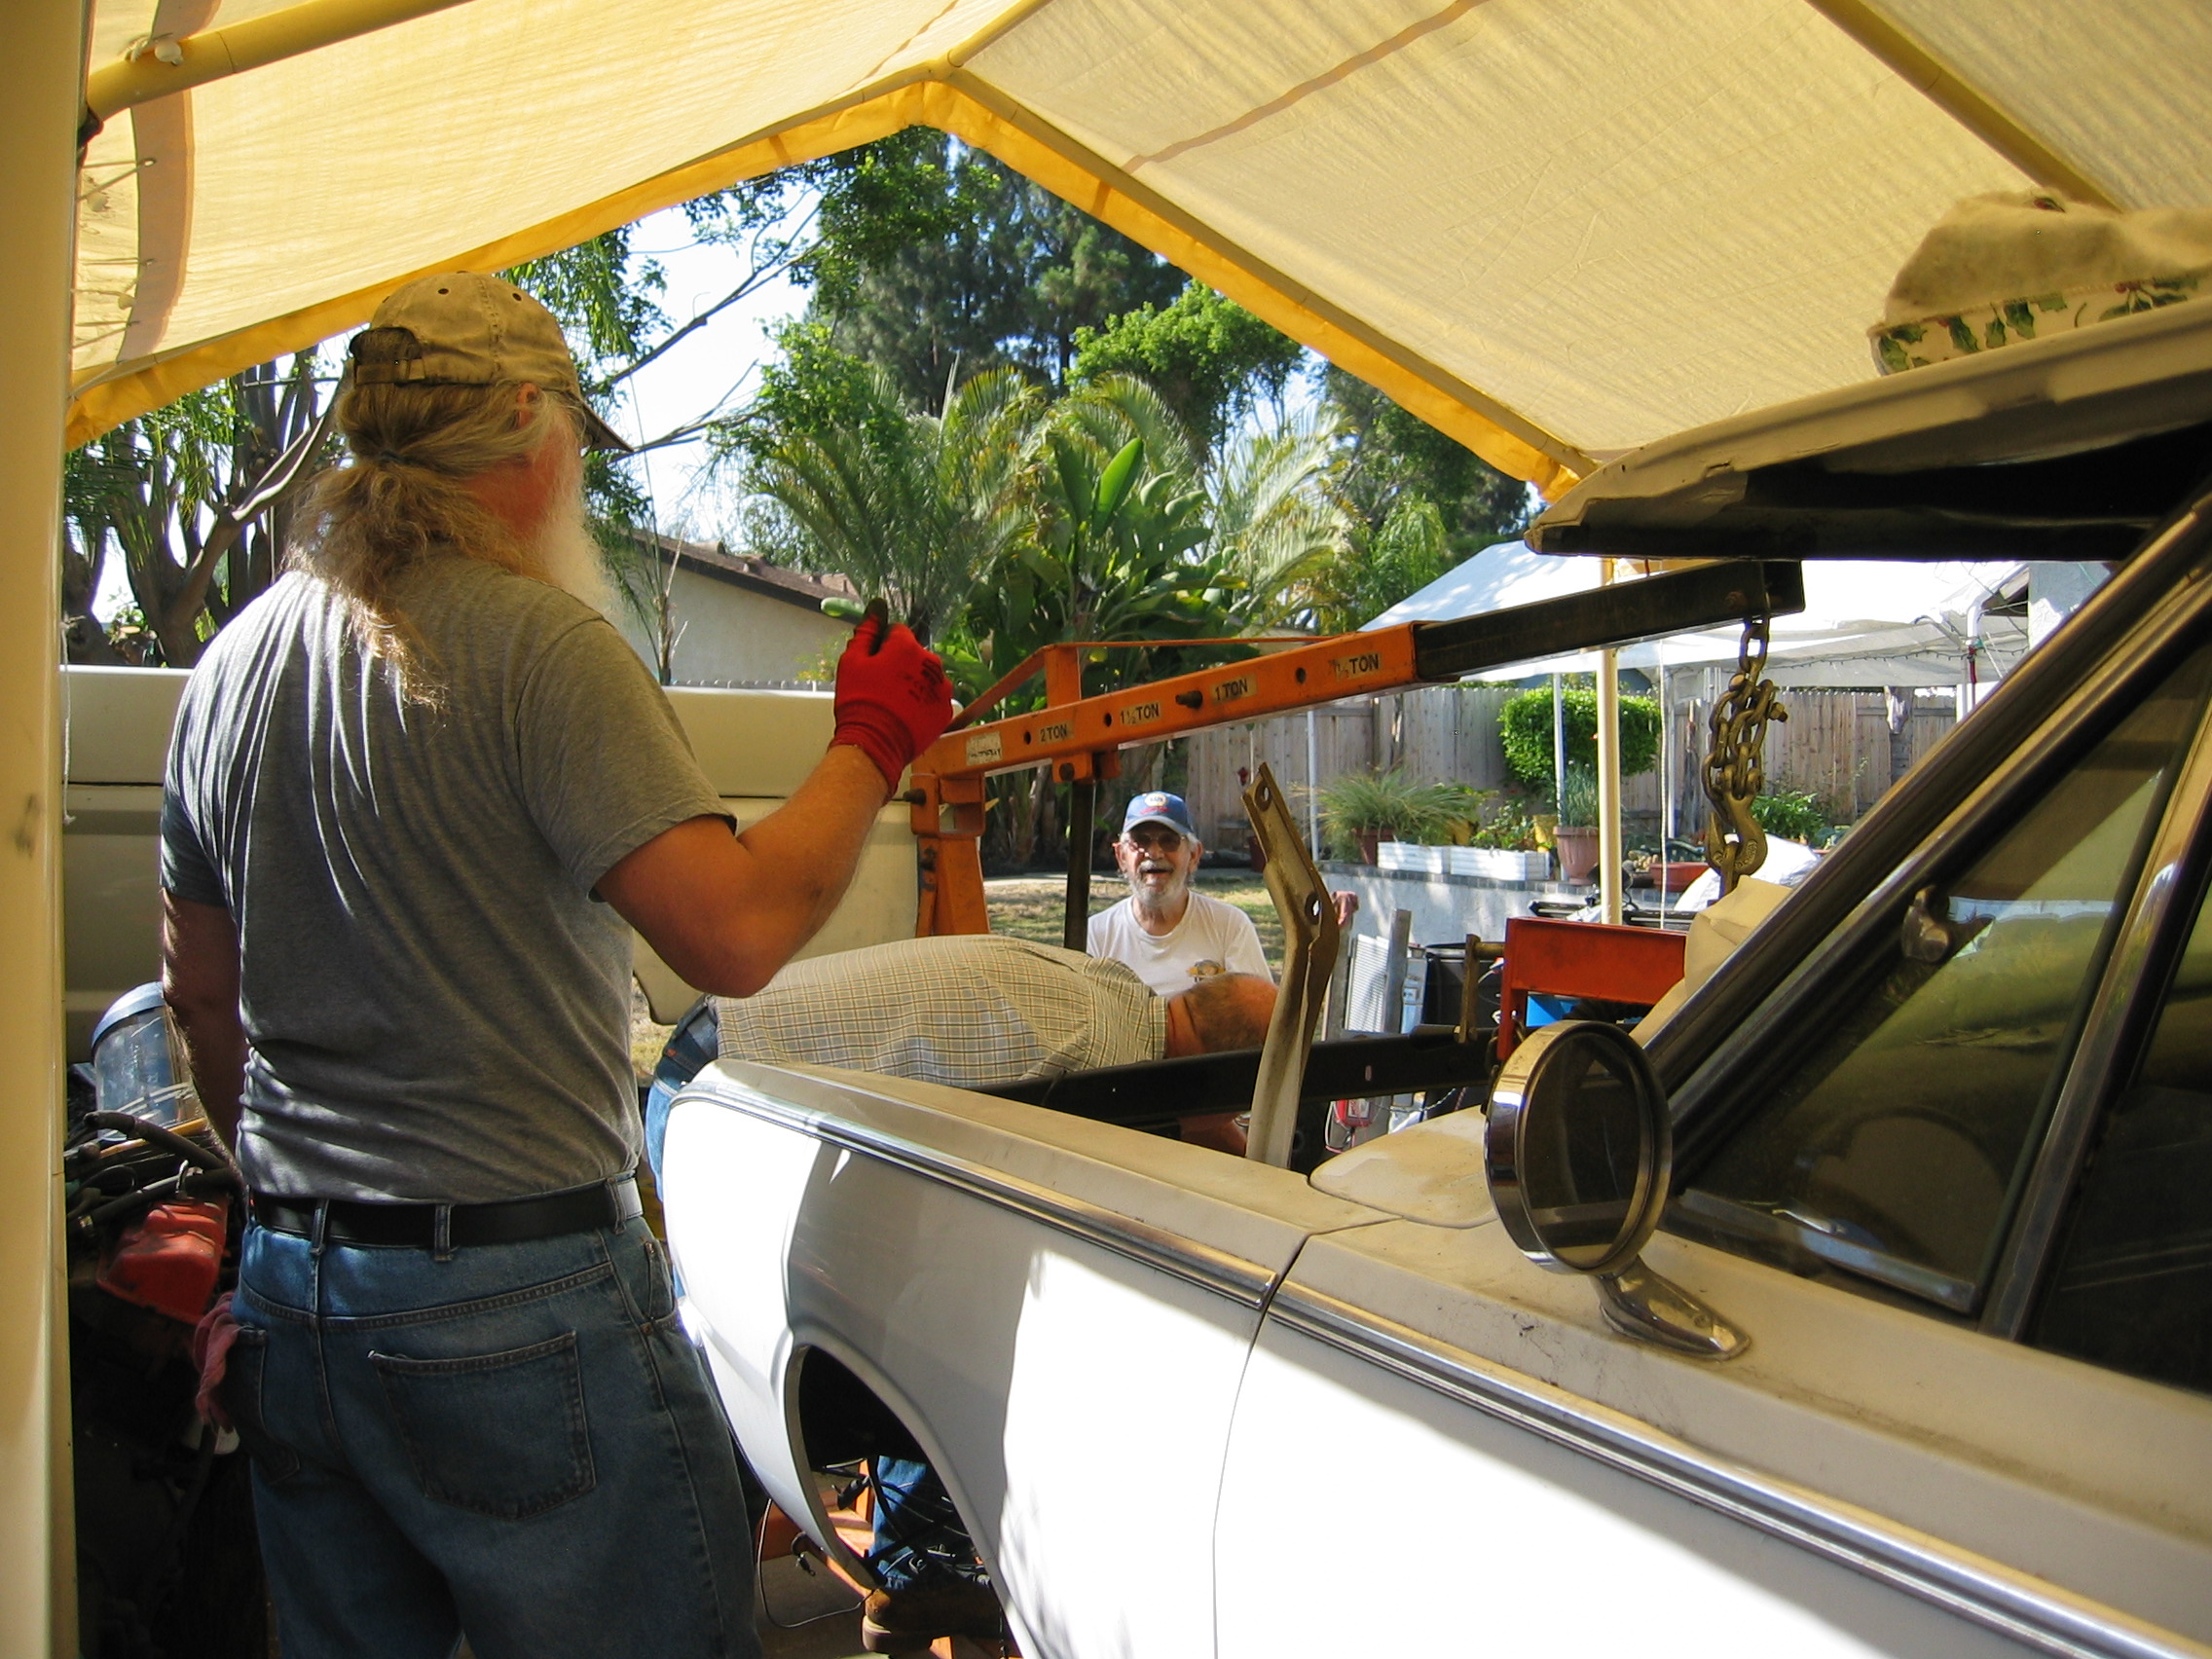
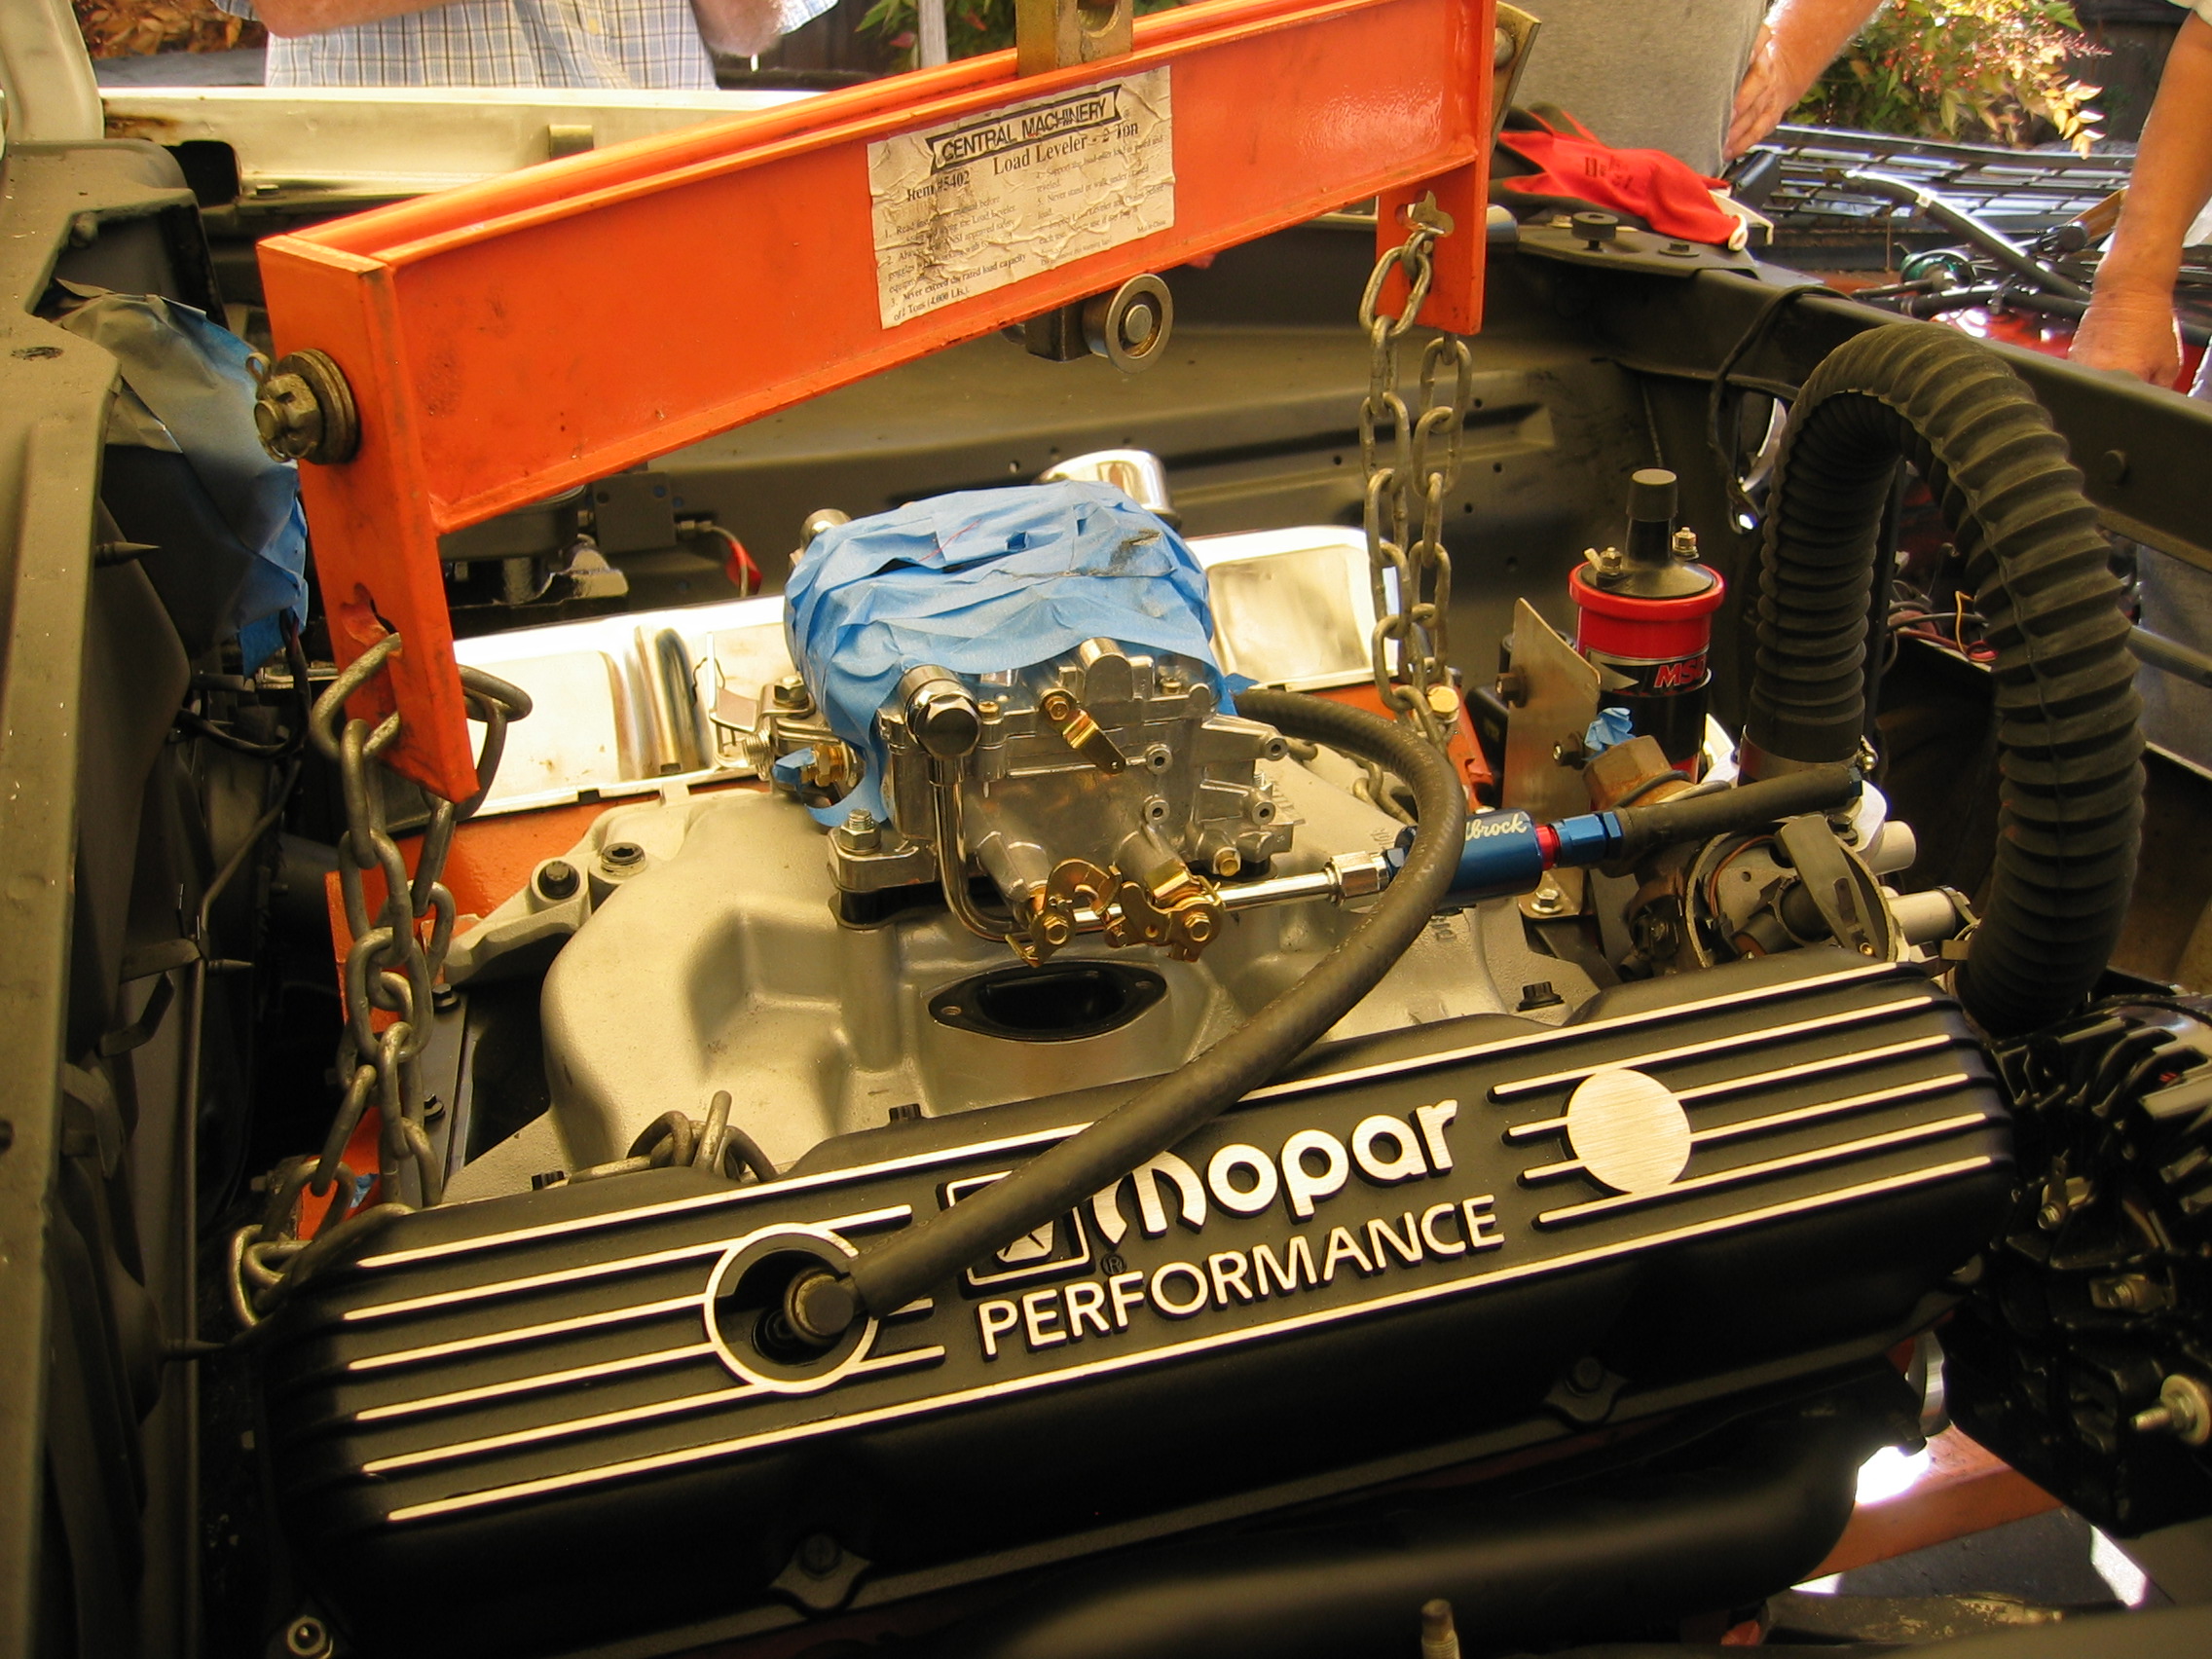
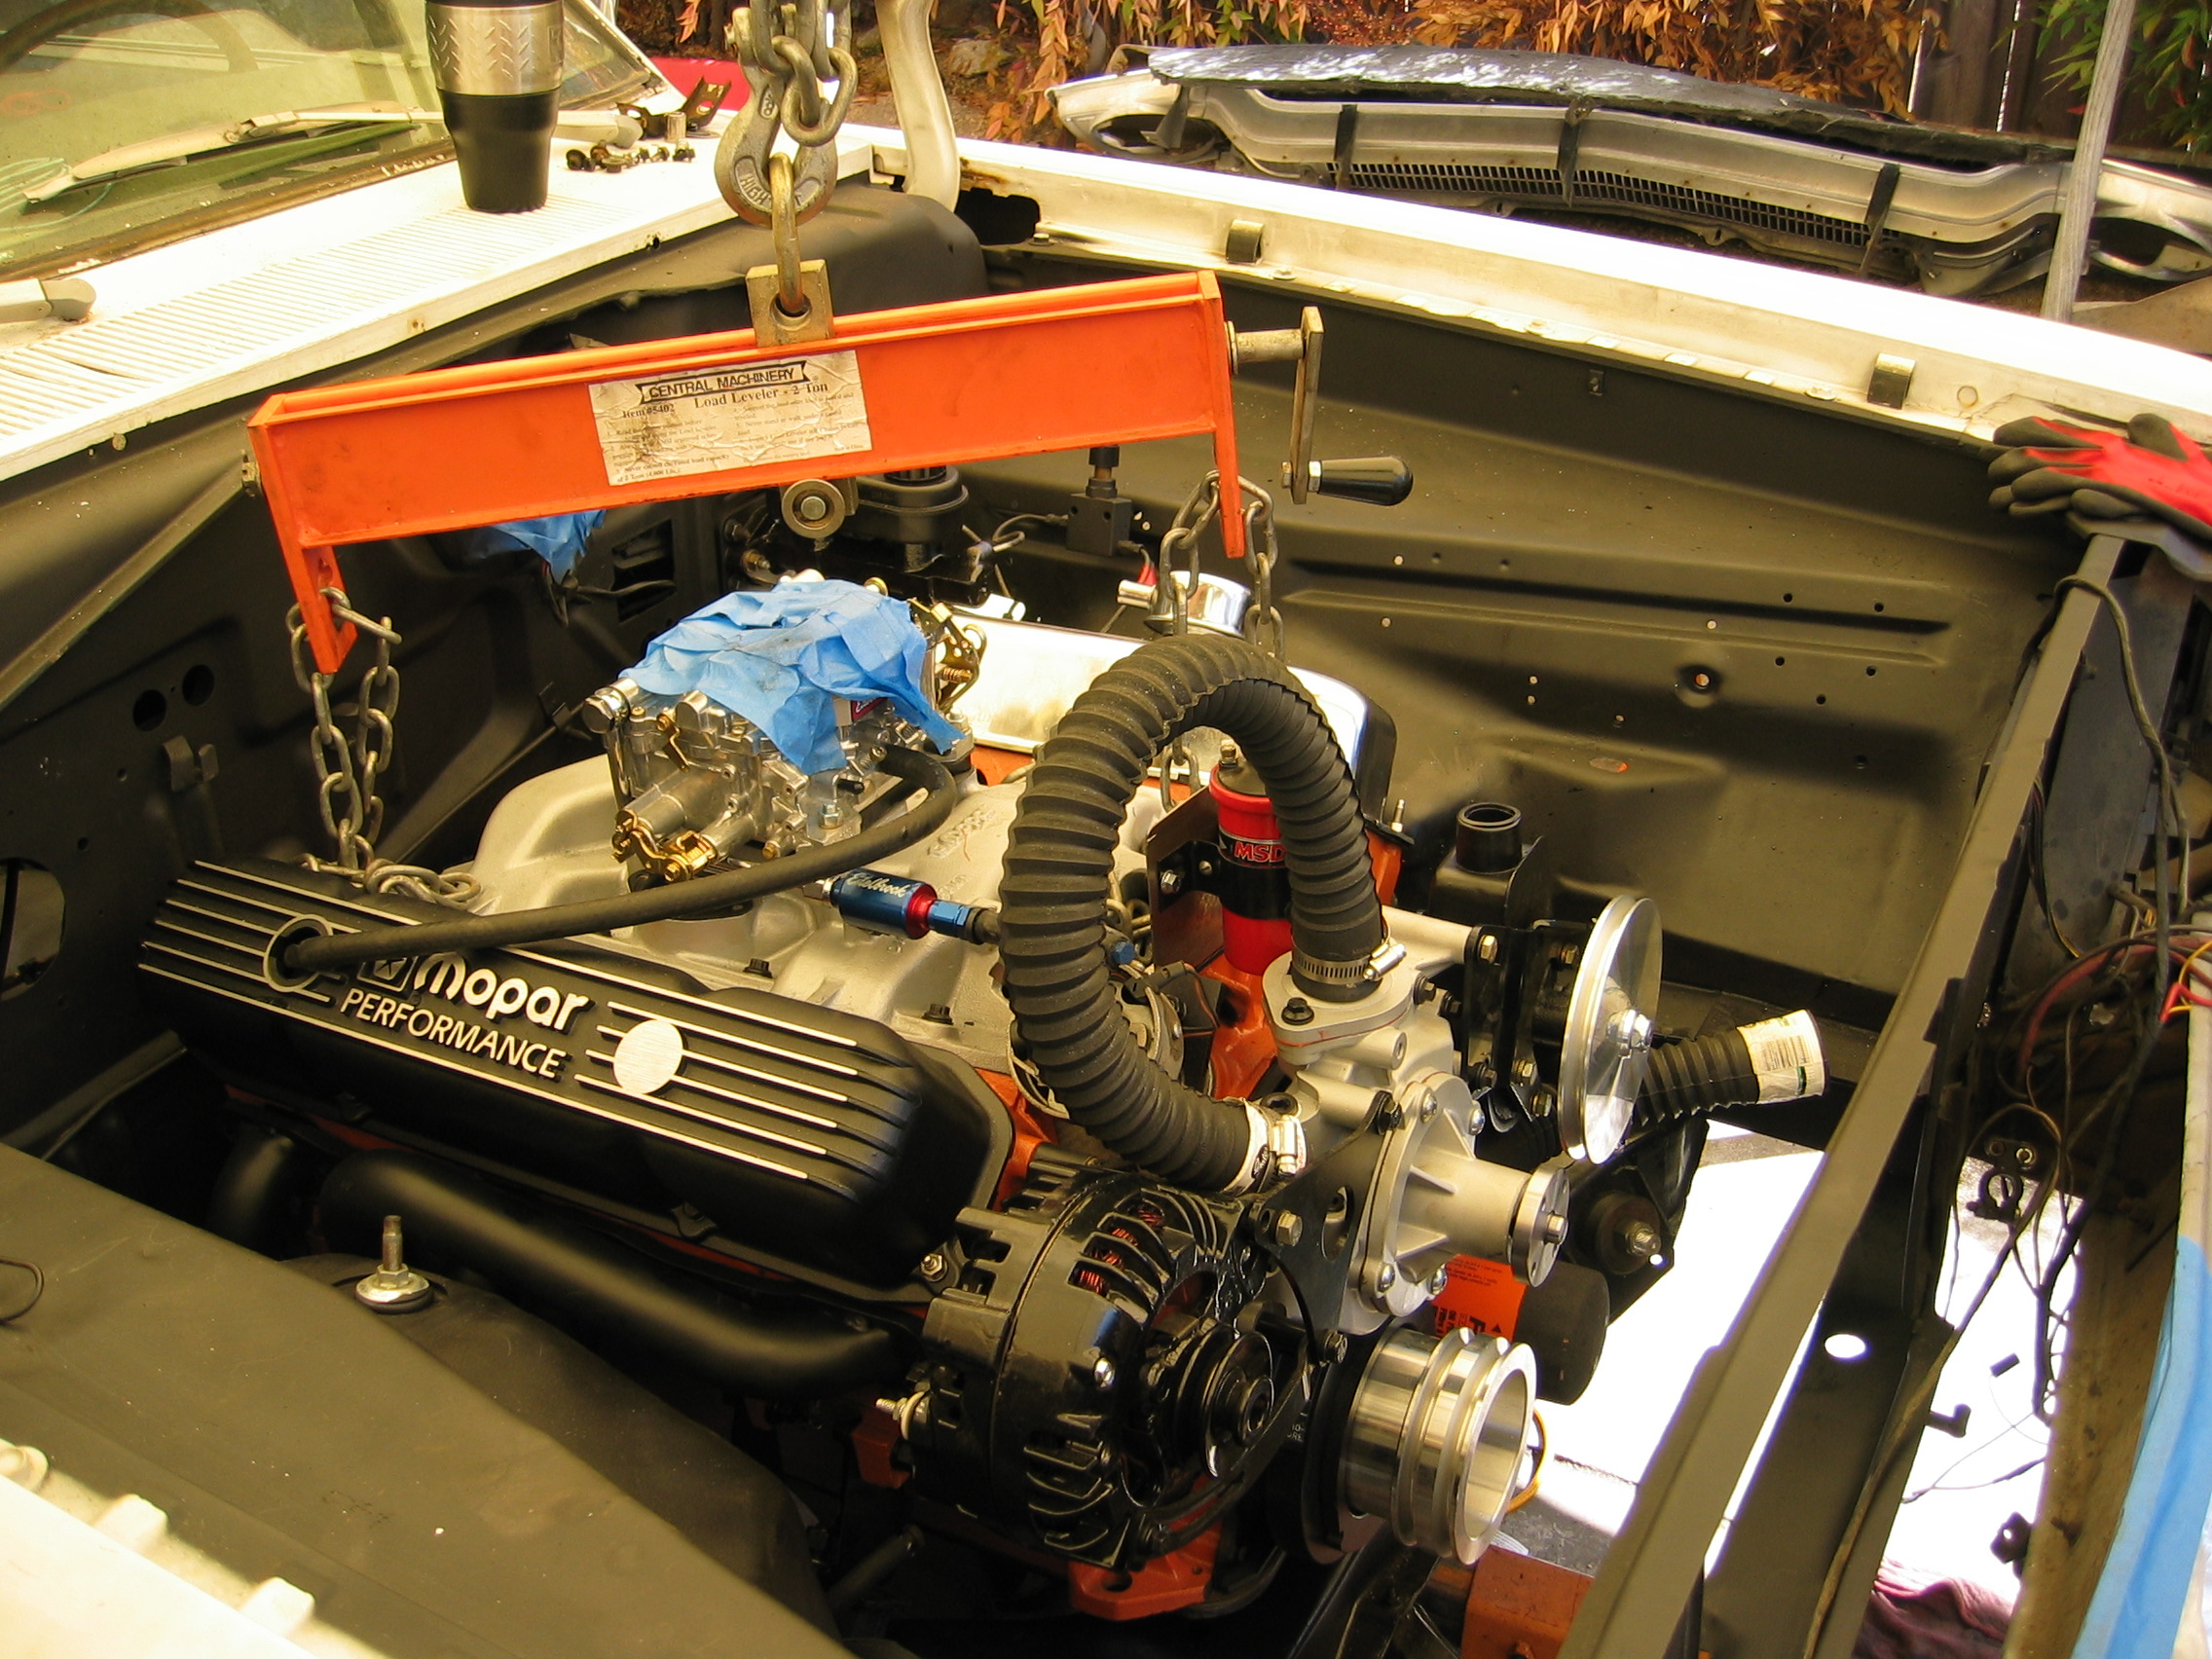
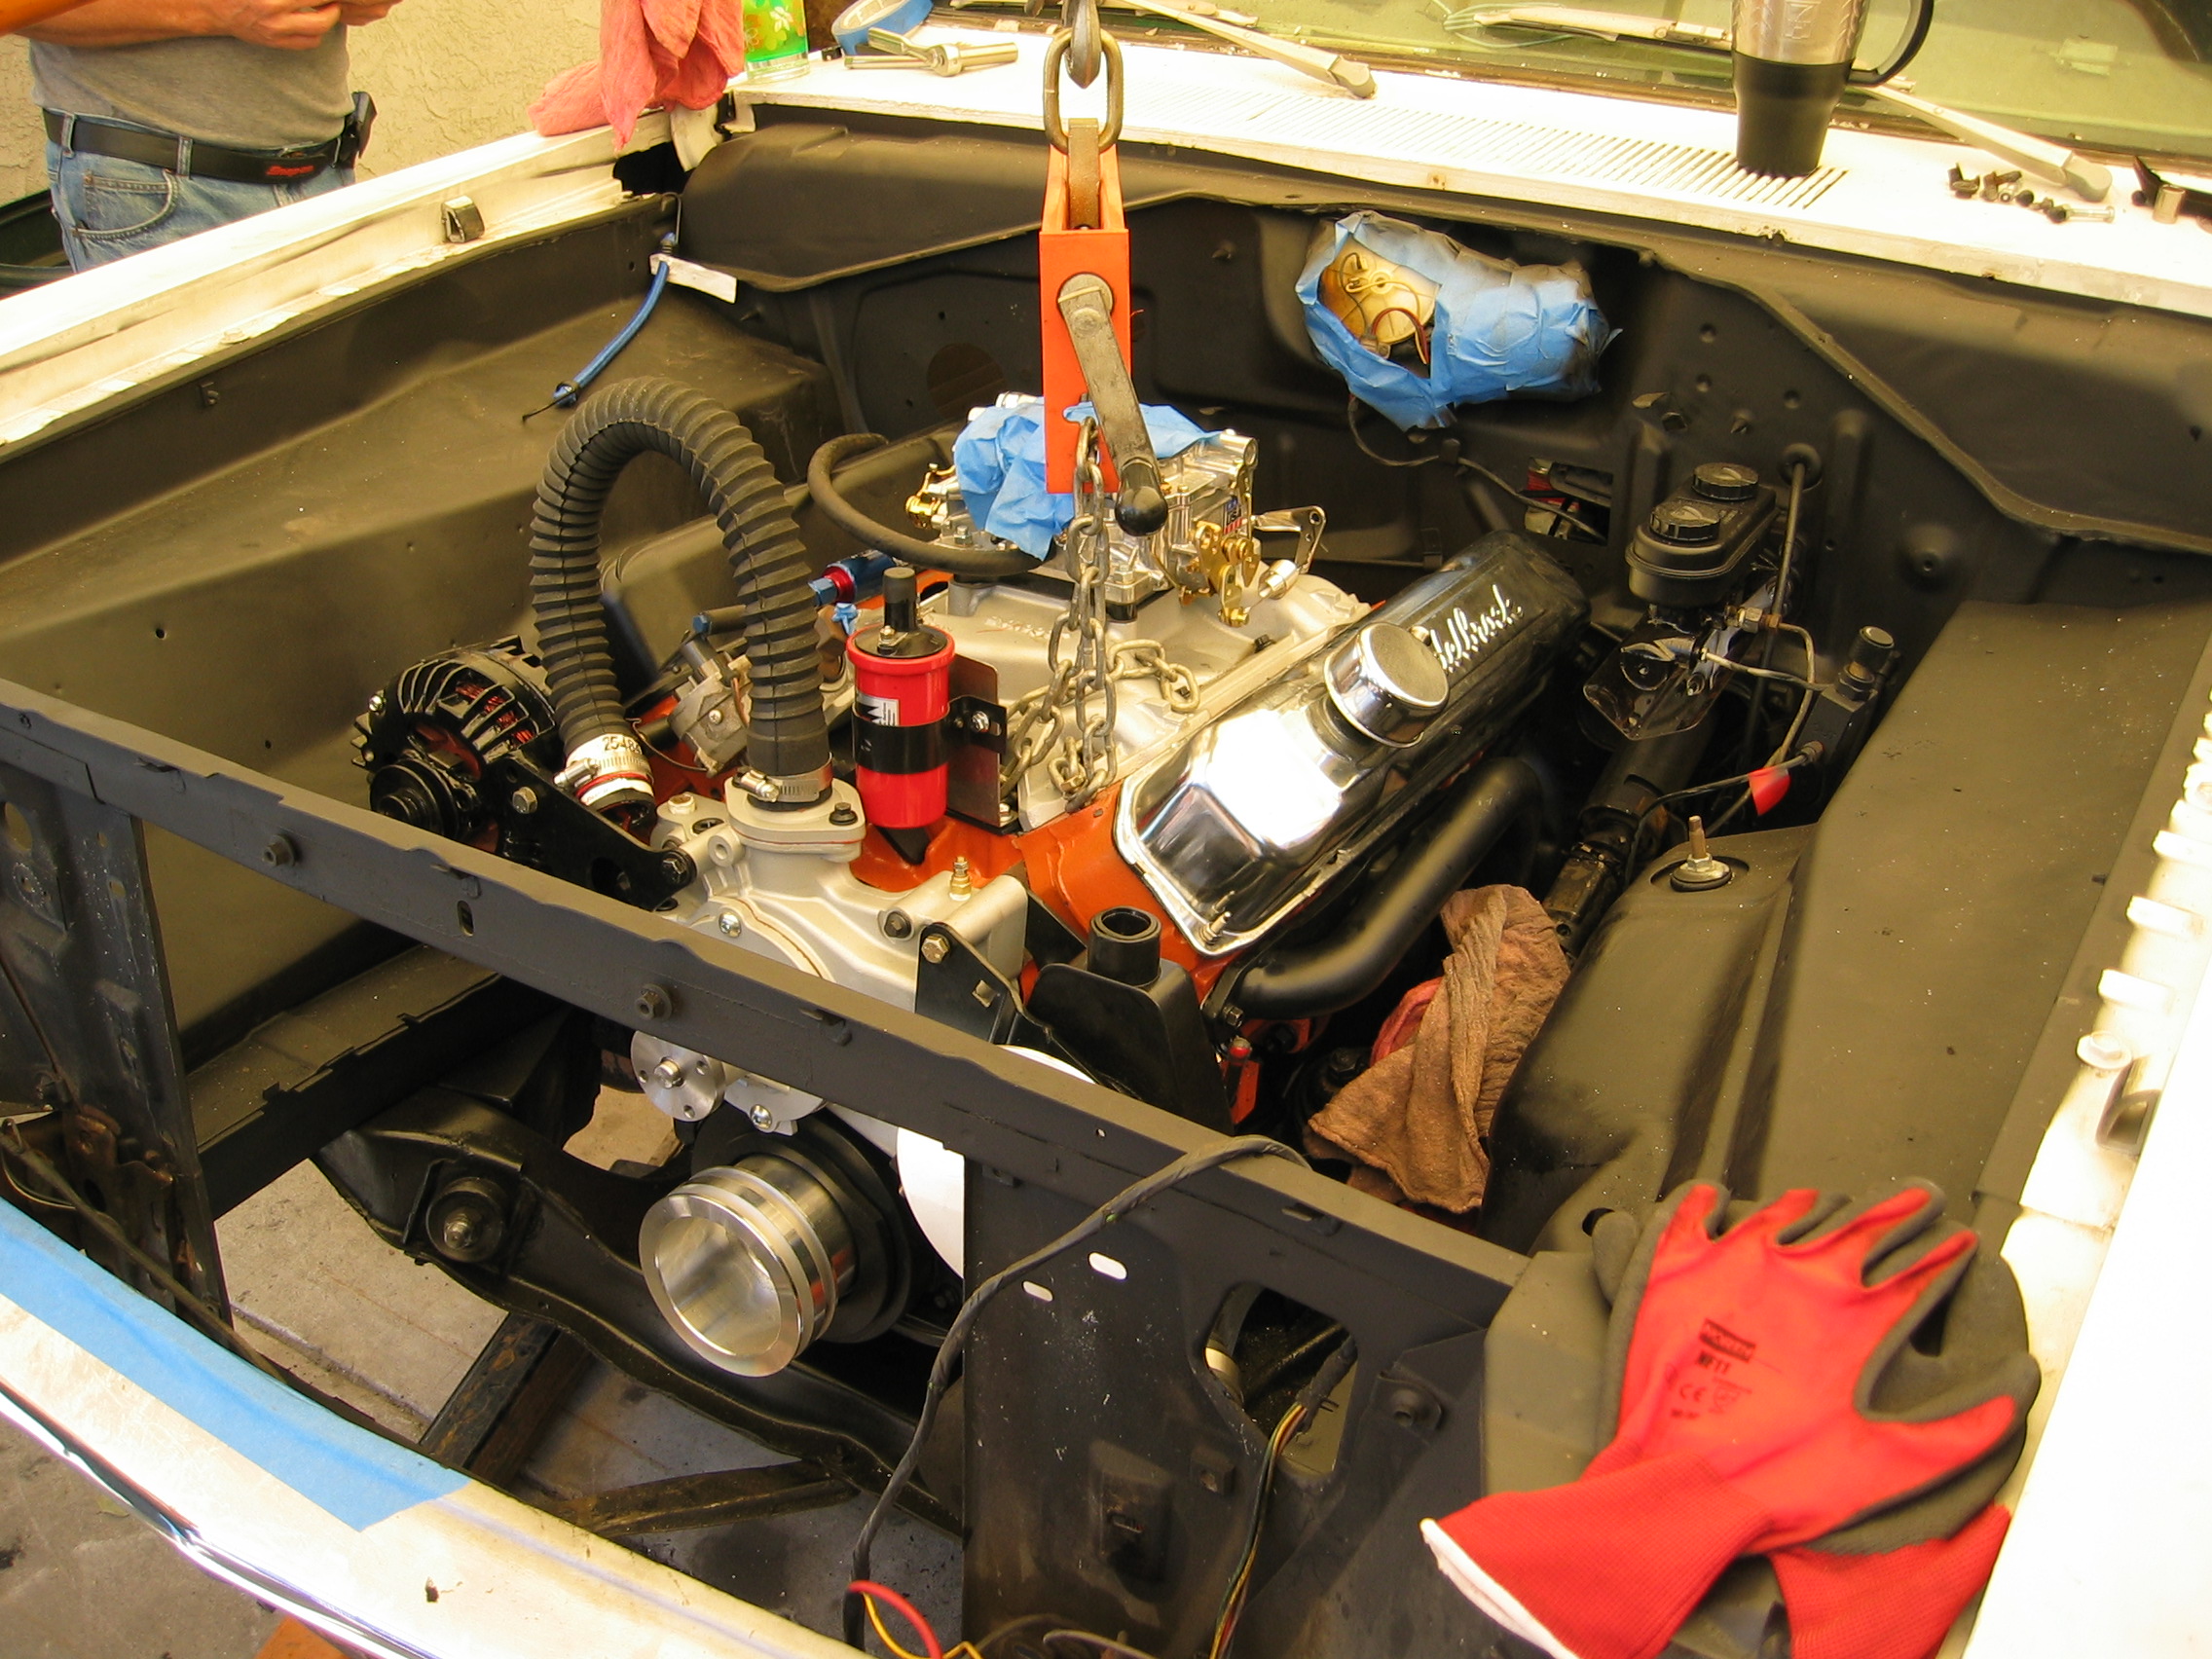
On a very early, very hot Saturday morning we assembled at Bill’s house. With Mr. Hal guiding us [and making sure we didn’t screw up] we inserted the engine and transmission [with the headers laying against the shock towers]. There was literally about 1 ½” on each side as it went in! To say it was a little tight would be an understatement! |
|||||||||||||||||||||||
 |
 |
 |
 |
 |
|||||||||||||||||||
Mr. Hal holding down his supervisor chair |
Big Jim, Marv, and Bill worked topside getting everything ready and guiding the setup in... |
||||||||||||||||||||||
 |
 |
 |
 |
 |
|||||||||||||||||||
 |
 |
 |
|||||||||||||||||||||
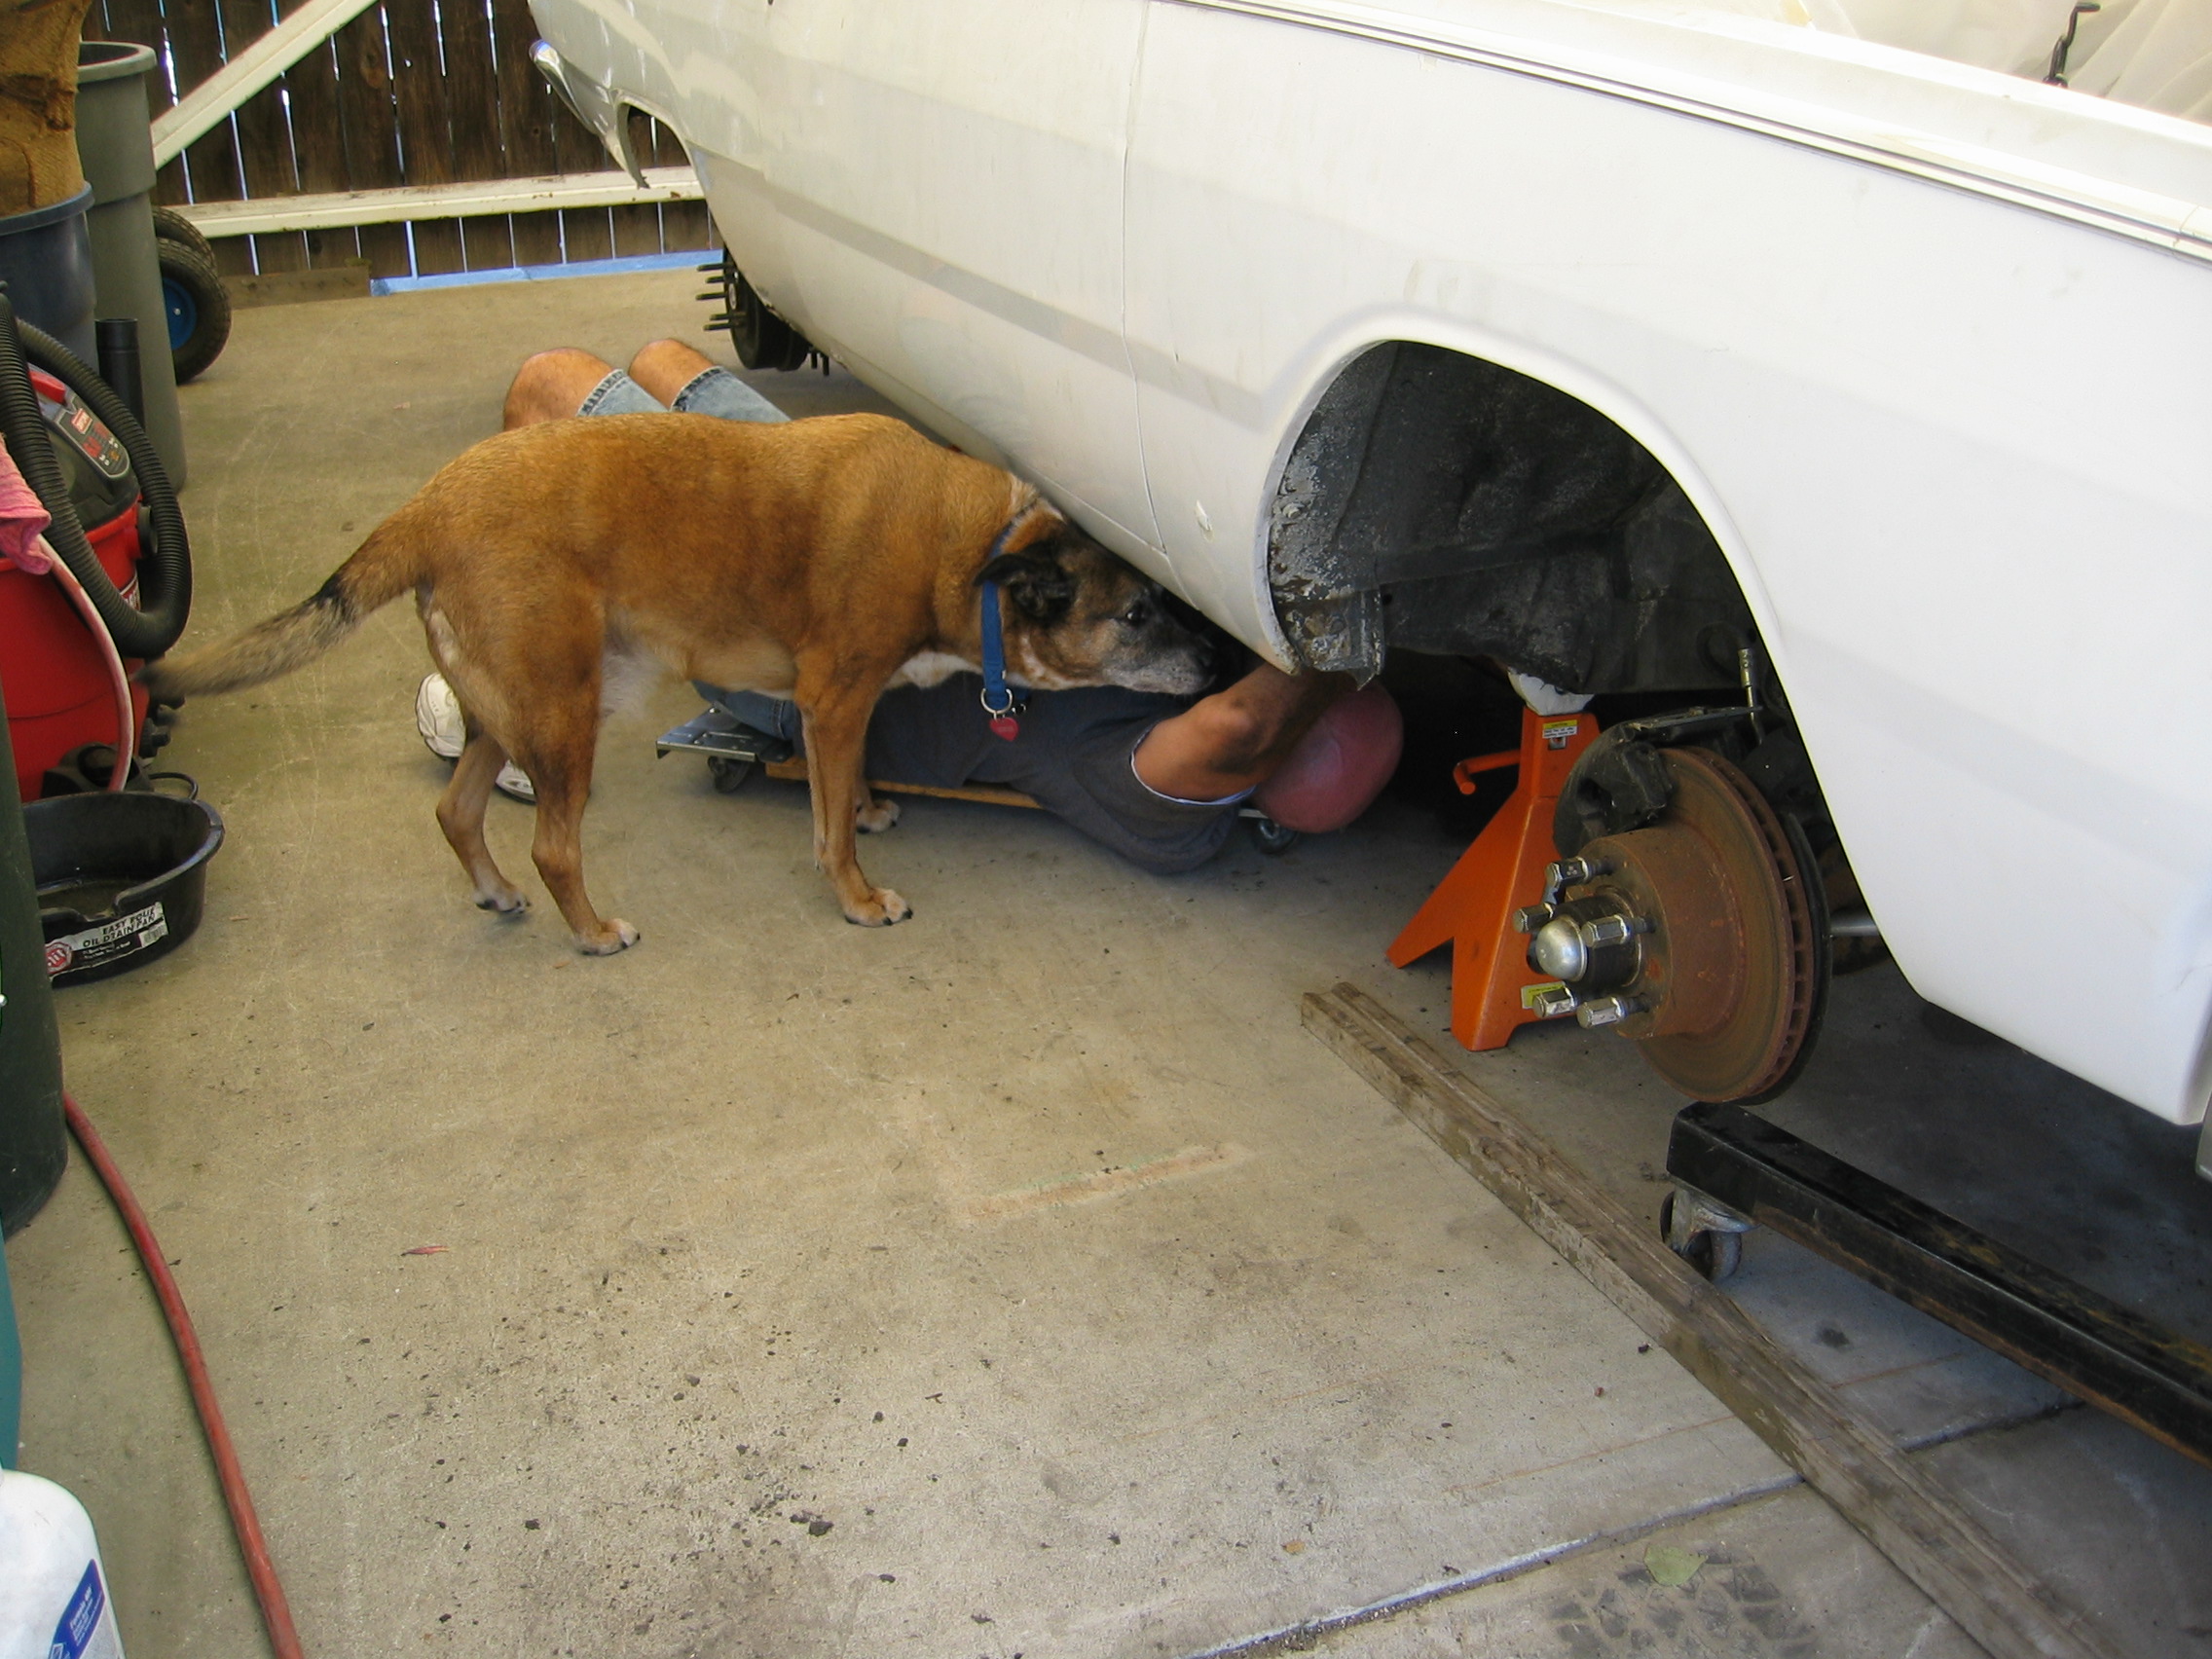
Meanwhile...Mikie, Matt, and the damn dawg with the very cold nose made sure everything went right underneath… |
|||||||||||||||||||||||
 |
|||||||||||||||||||||||
 |
 |
 |
 |
||||||||||||||||||||
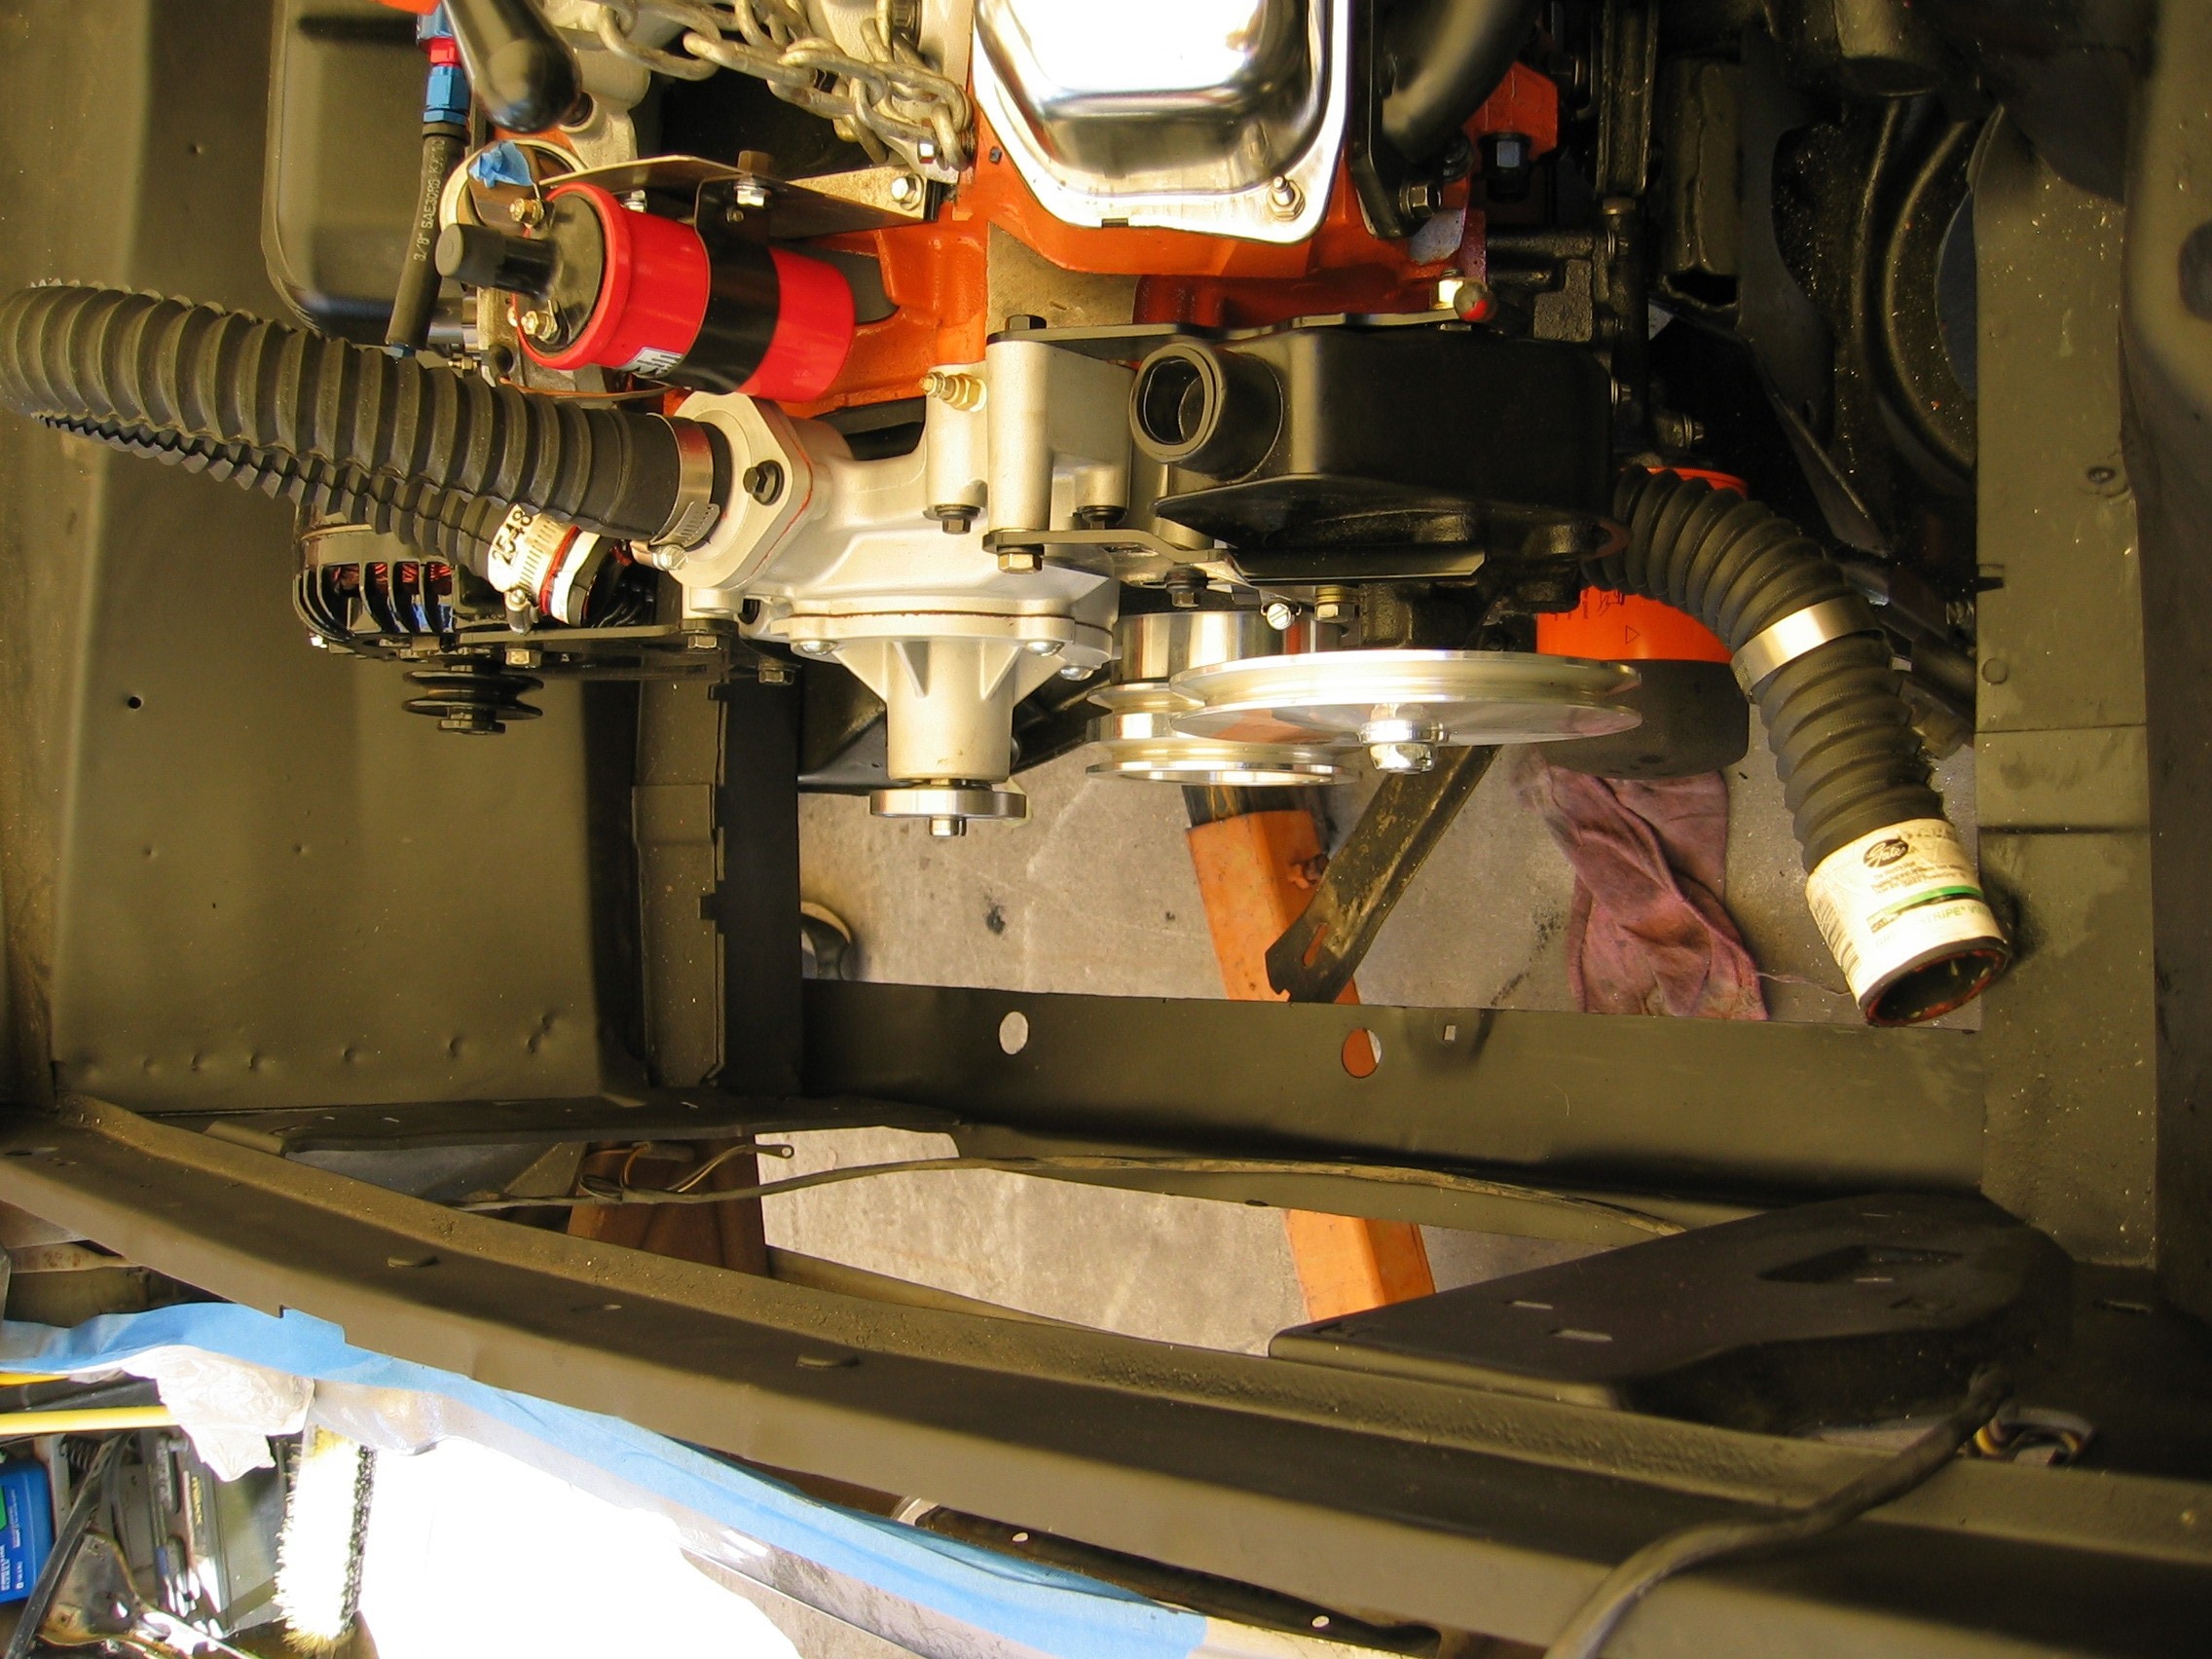
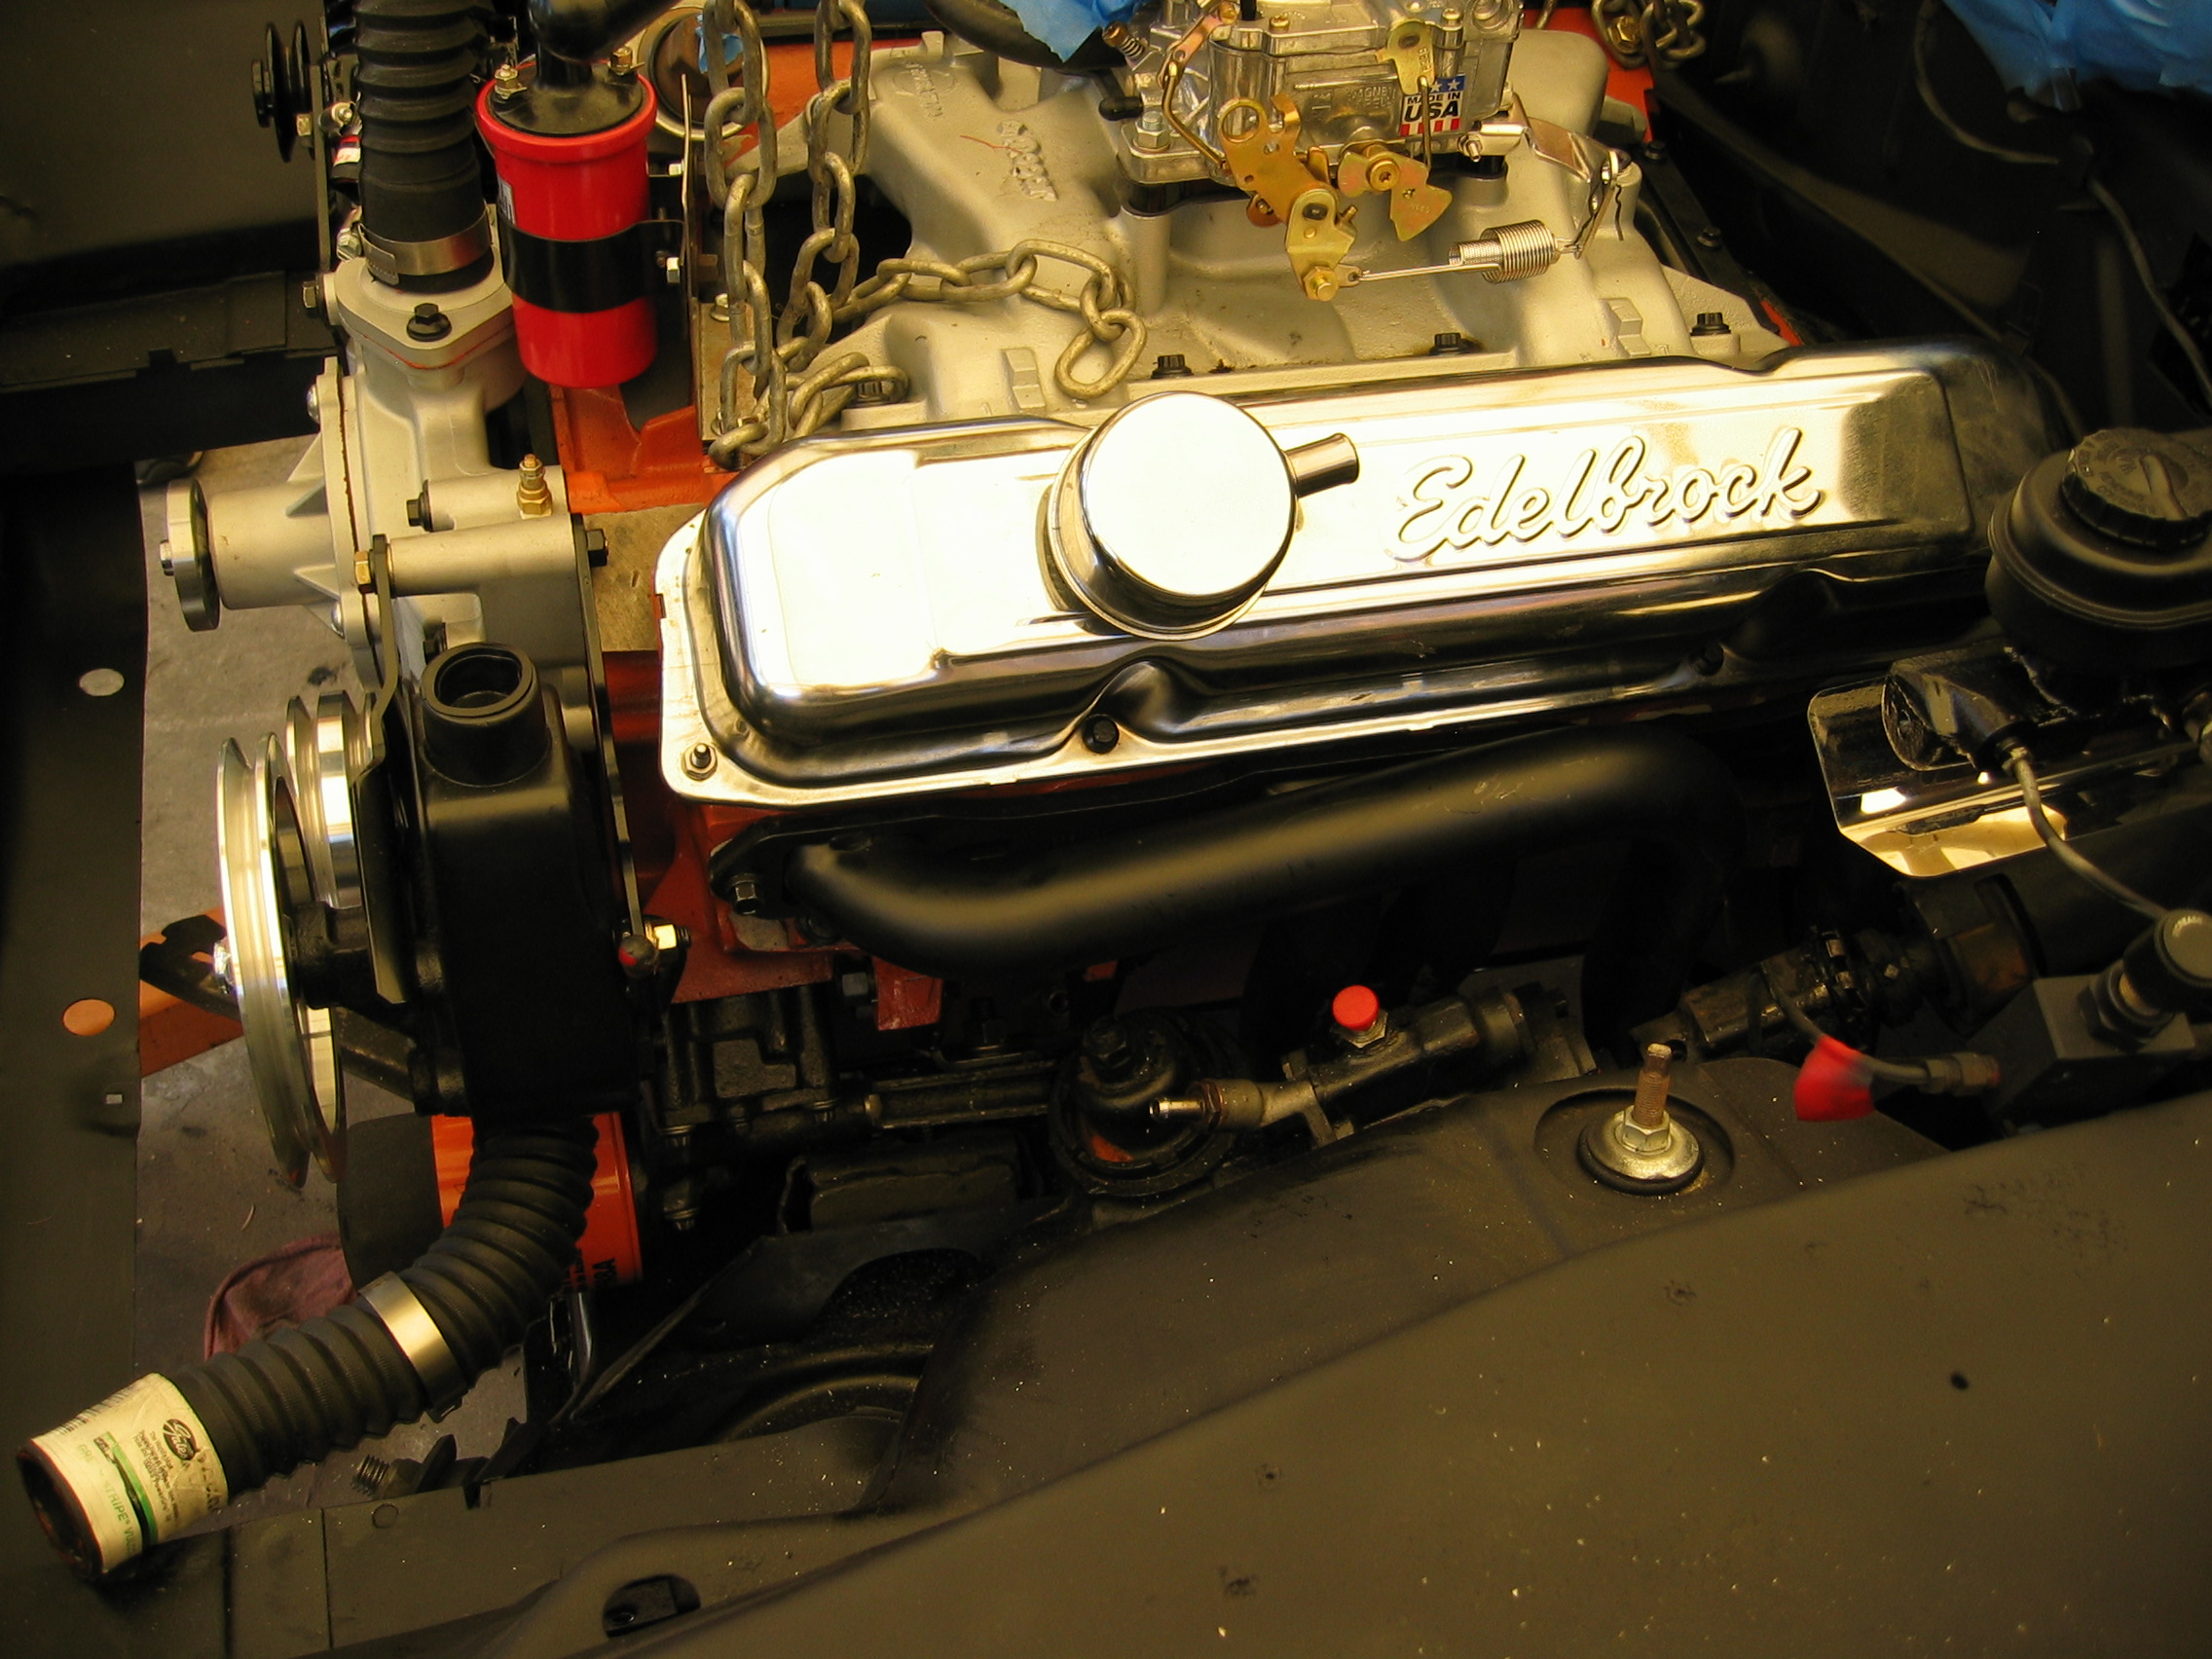
It went relatively quickly and easily, which is almost unheard of with this group! Ninety minutes later we were tightening the transmission and motor mounts... |
|||||||||||||||||||||||
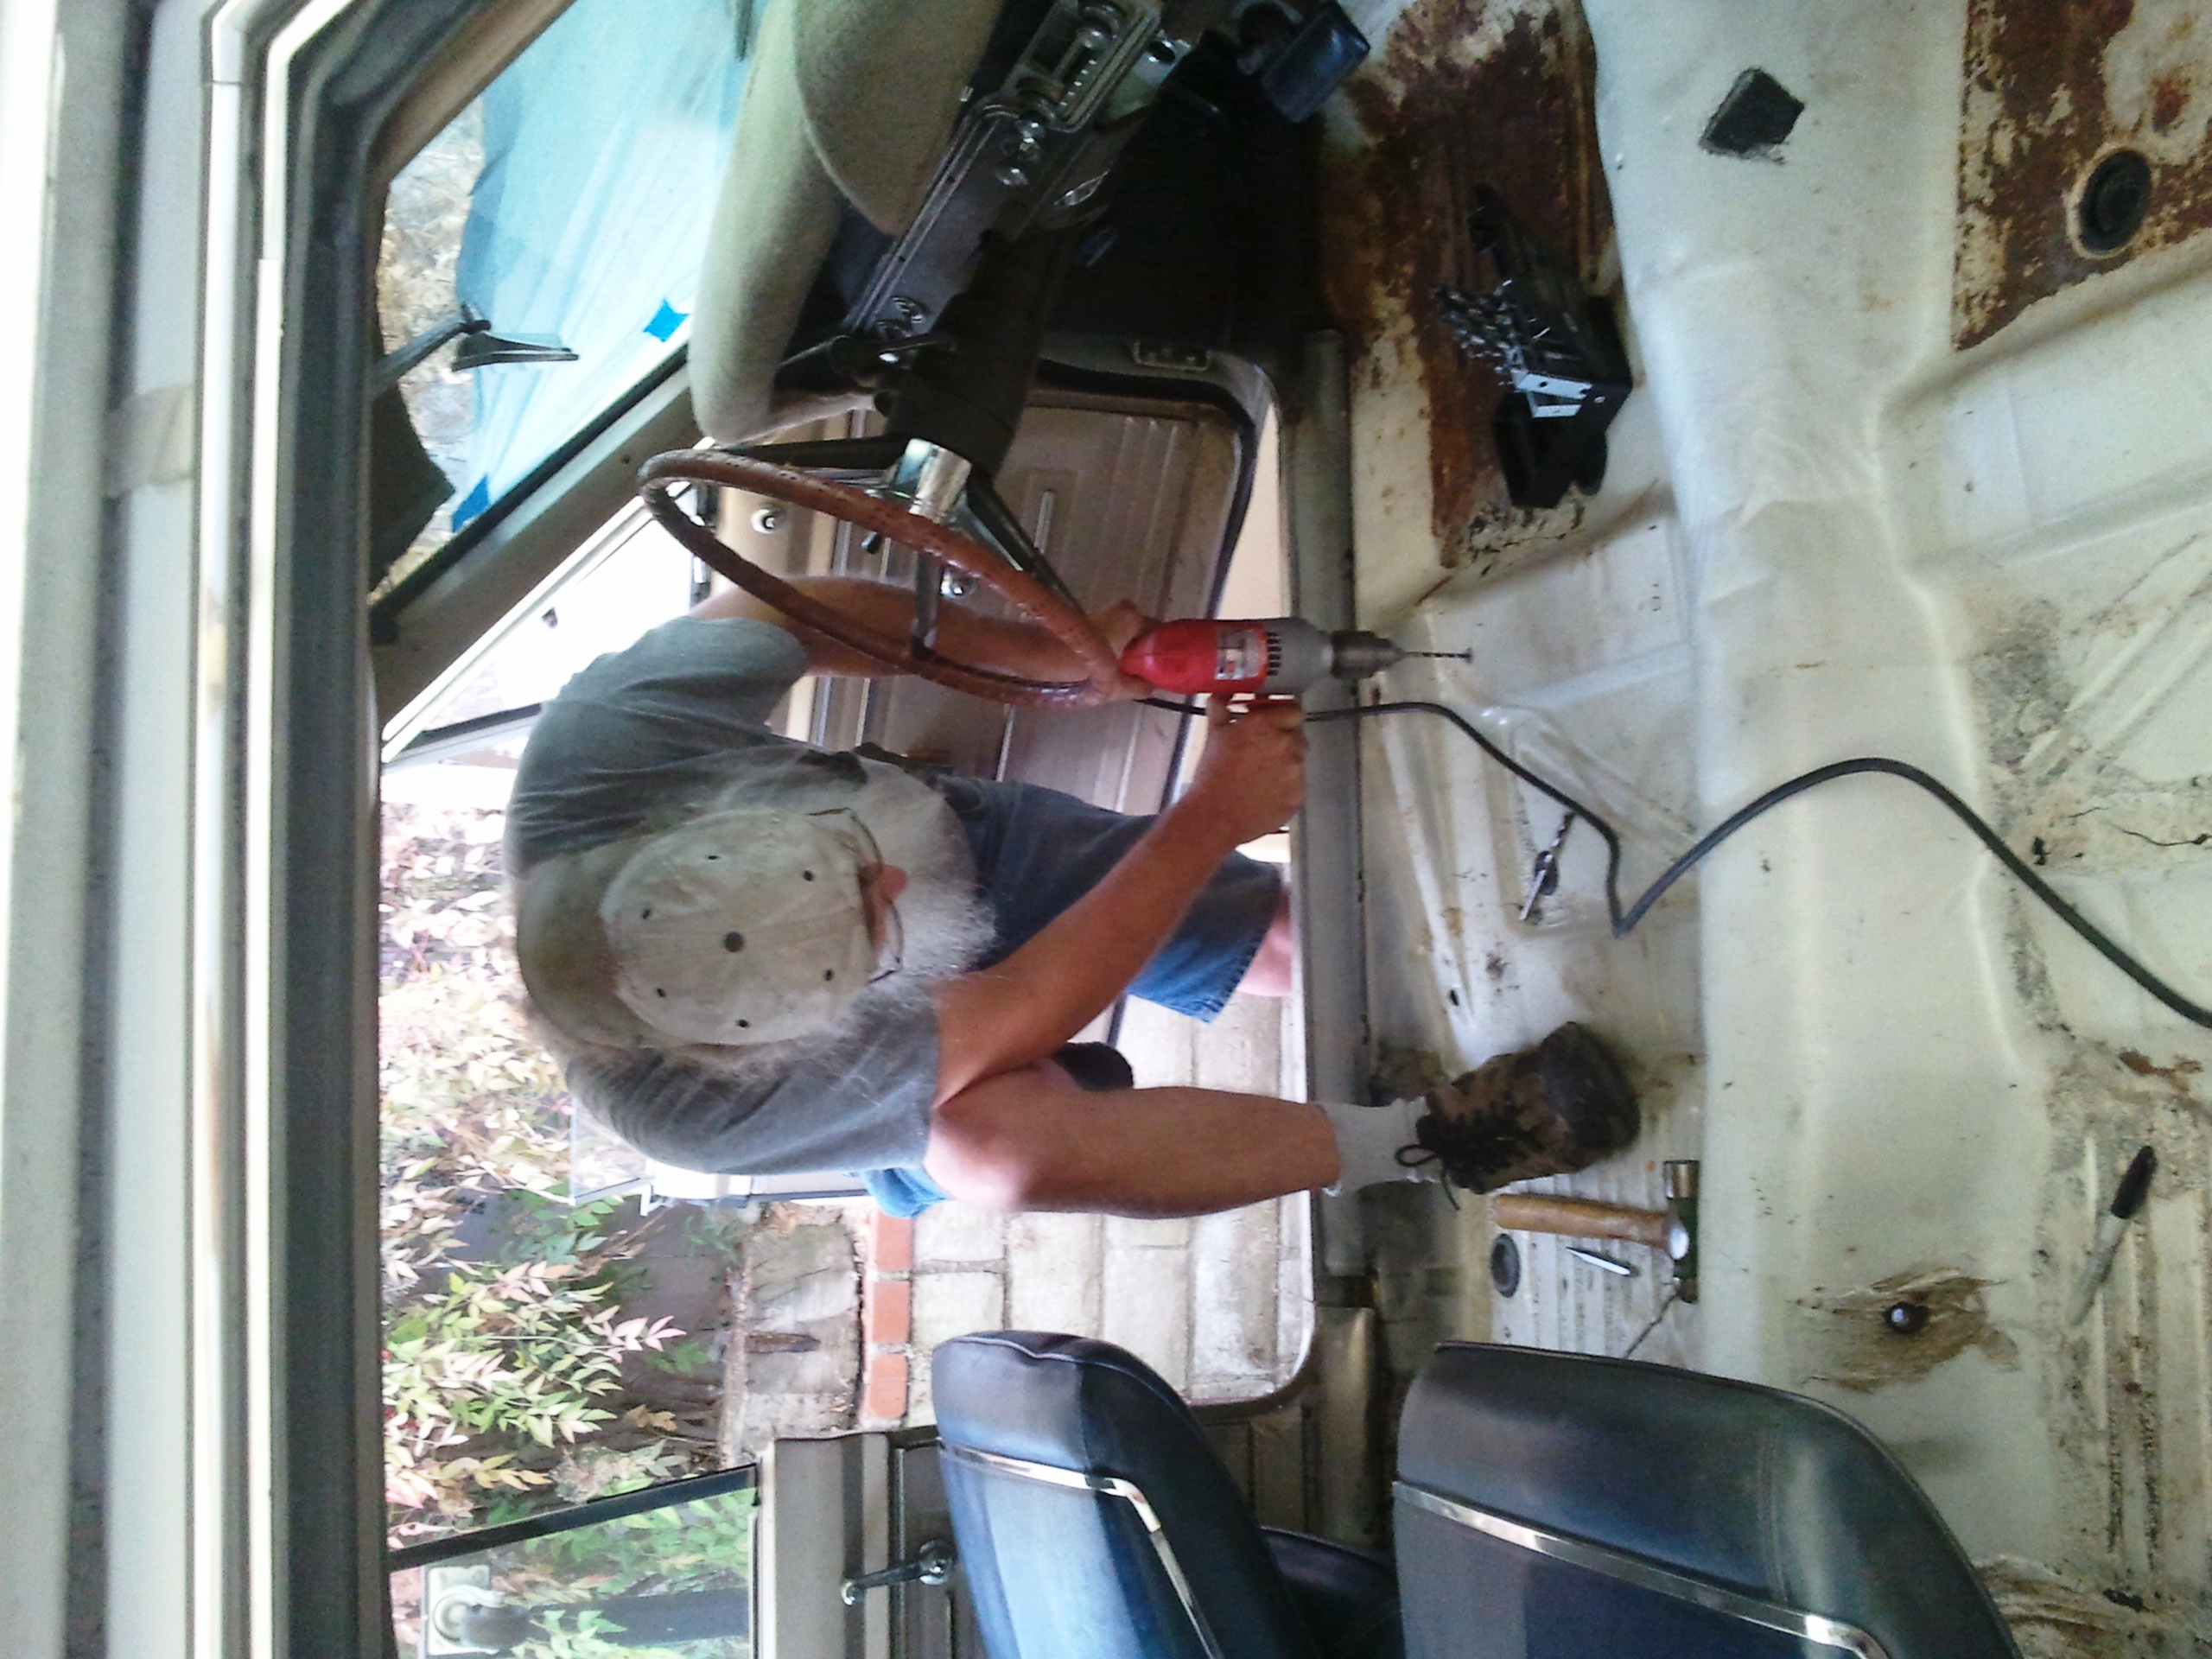
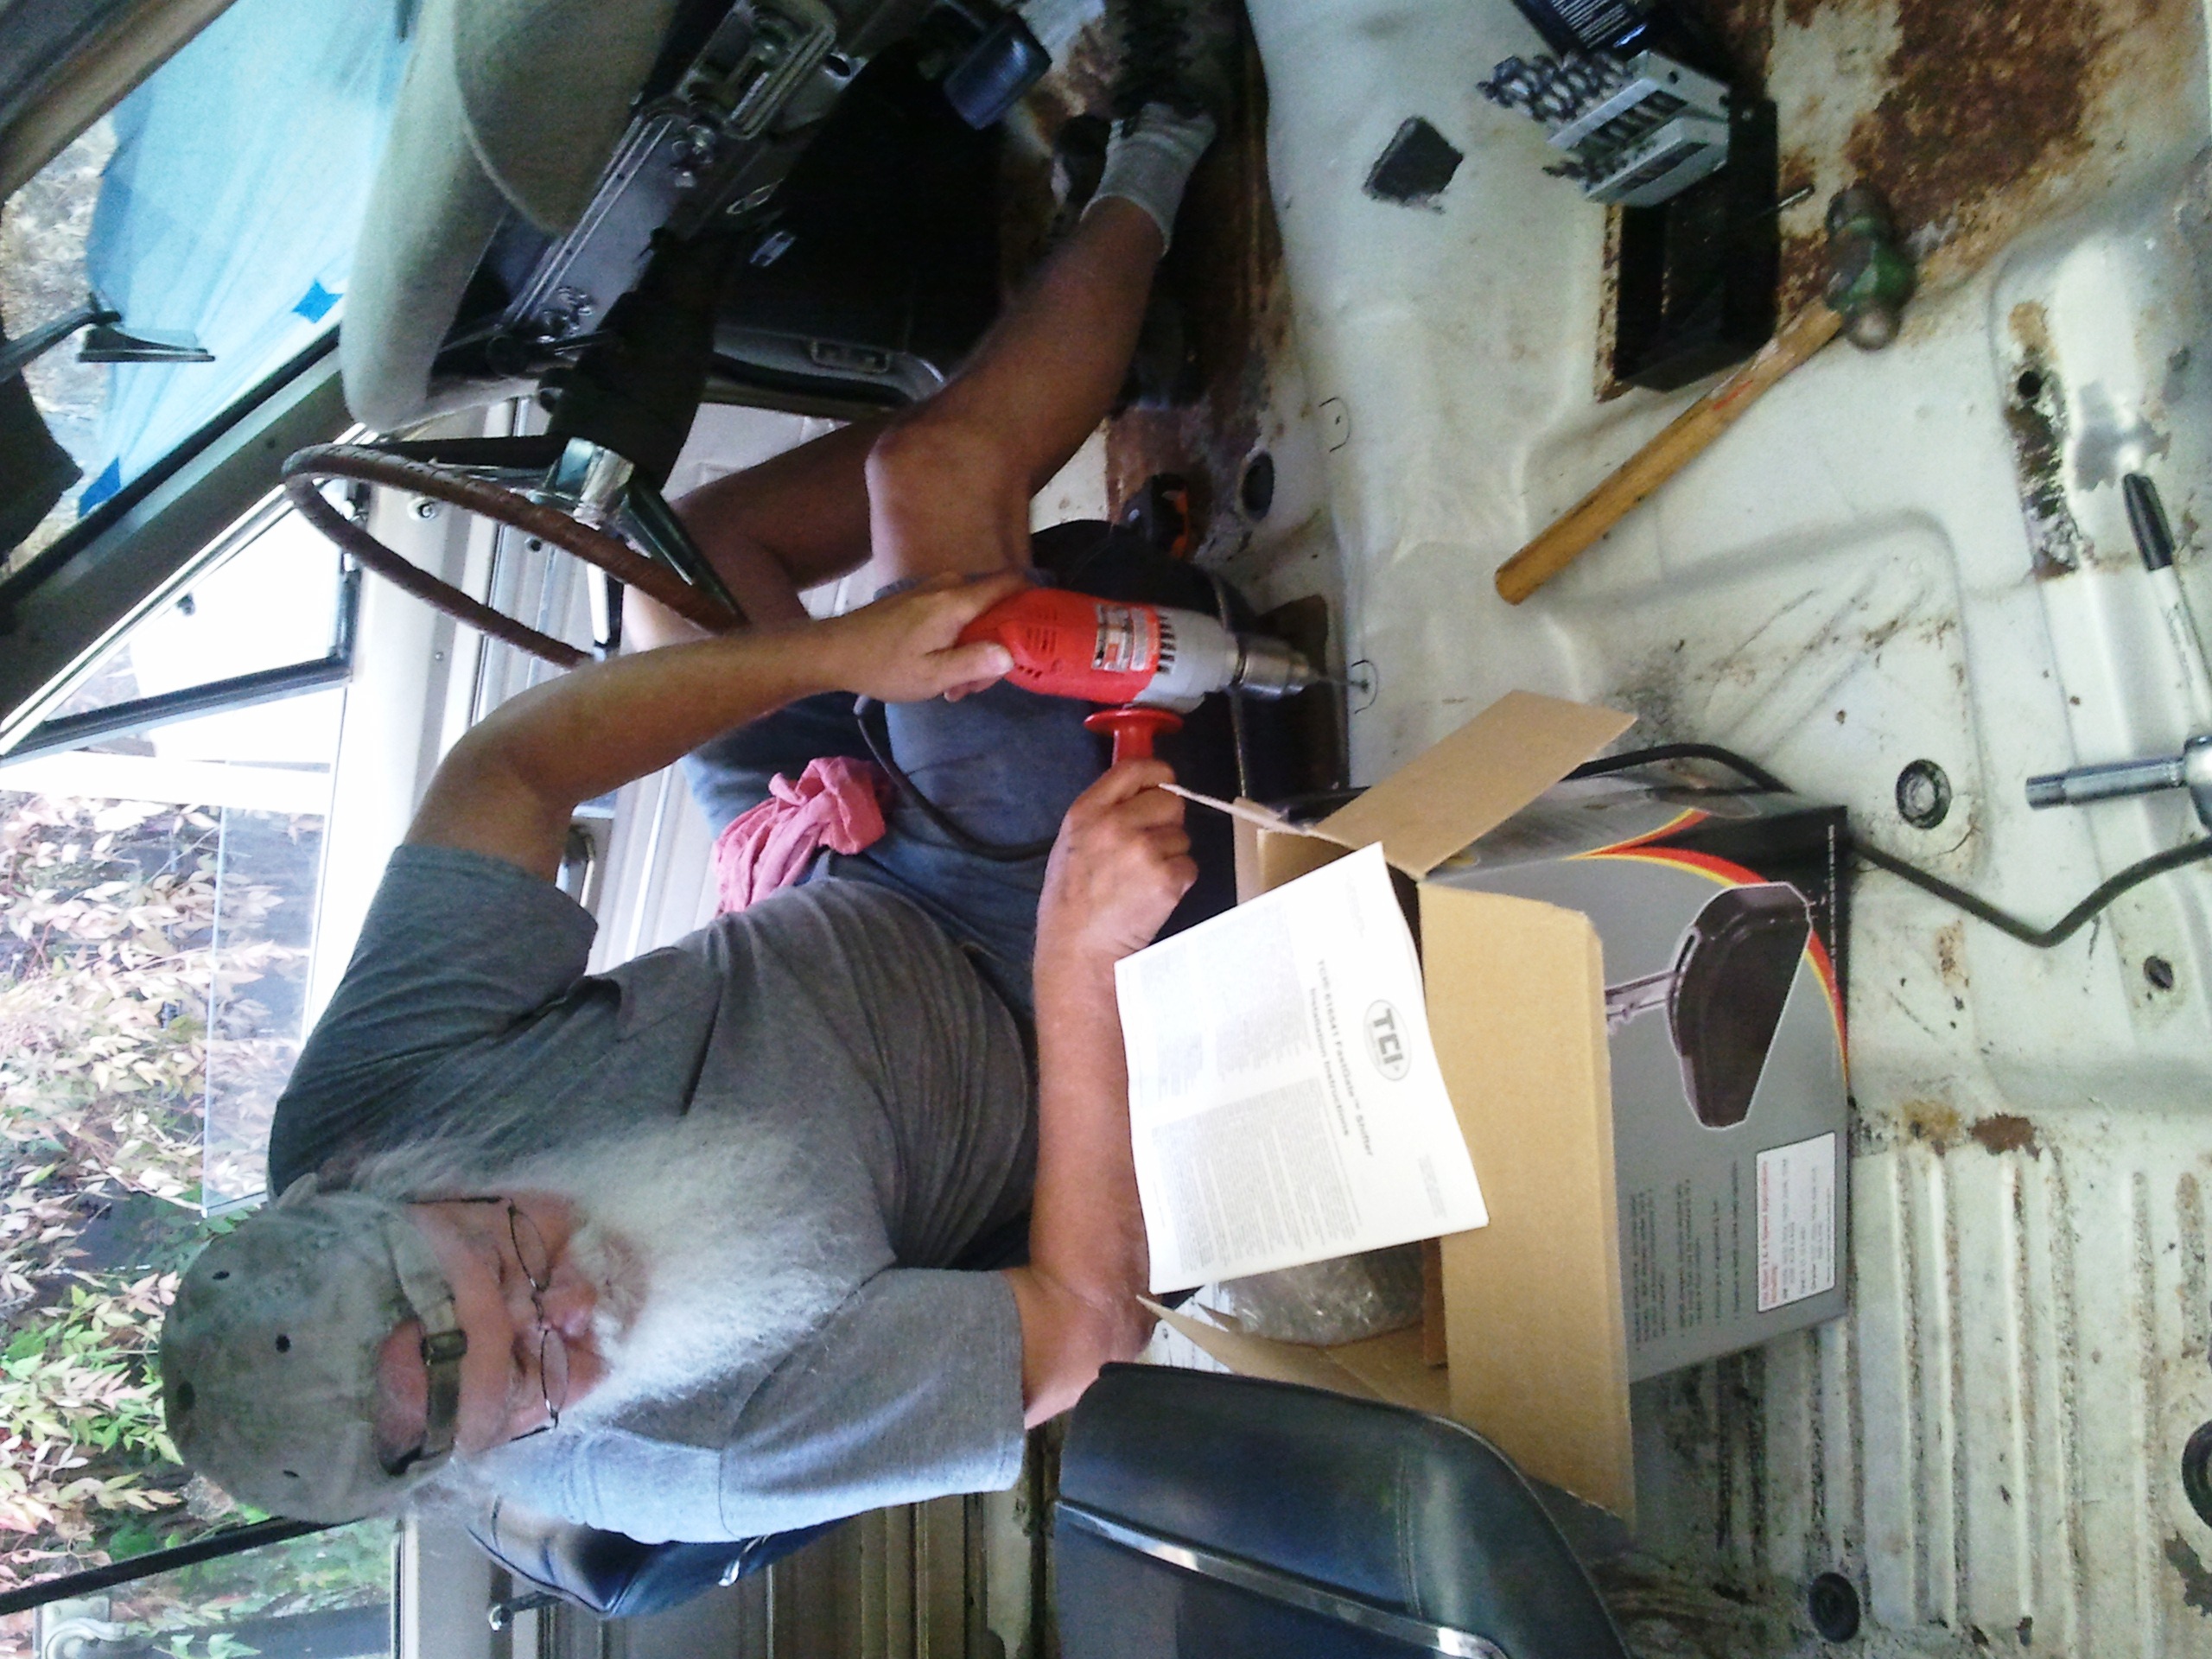
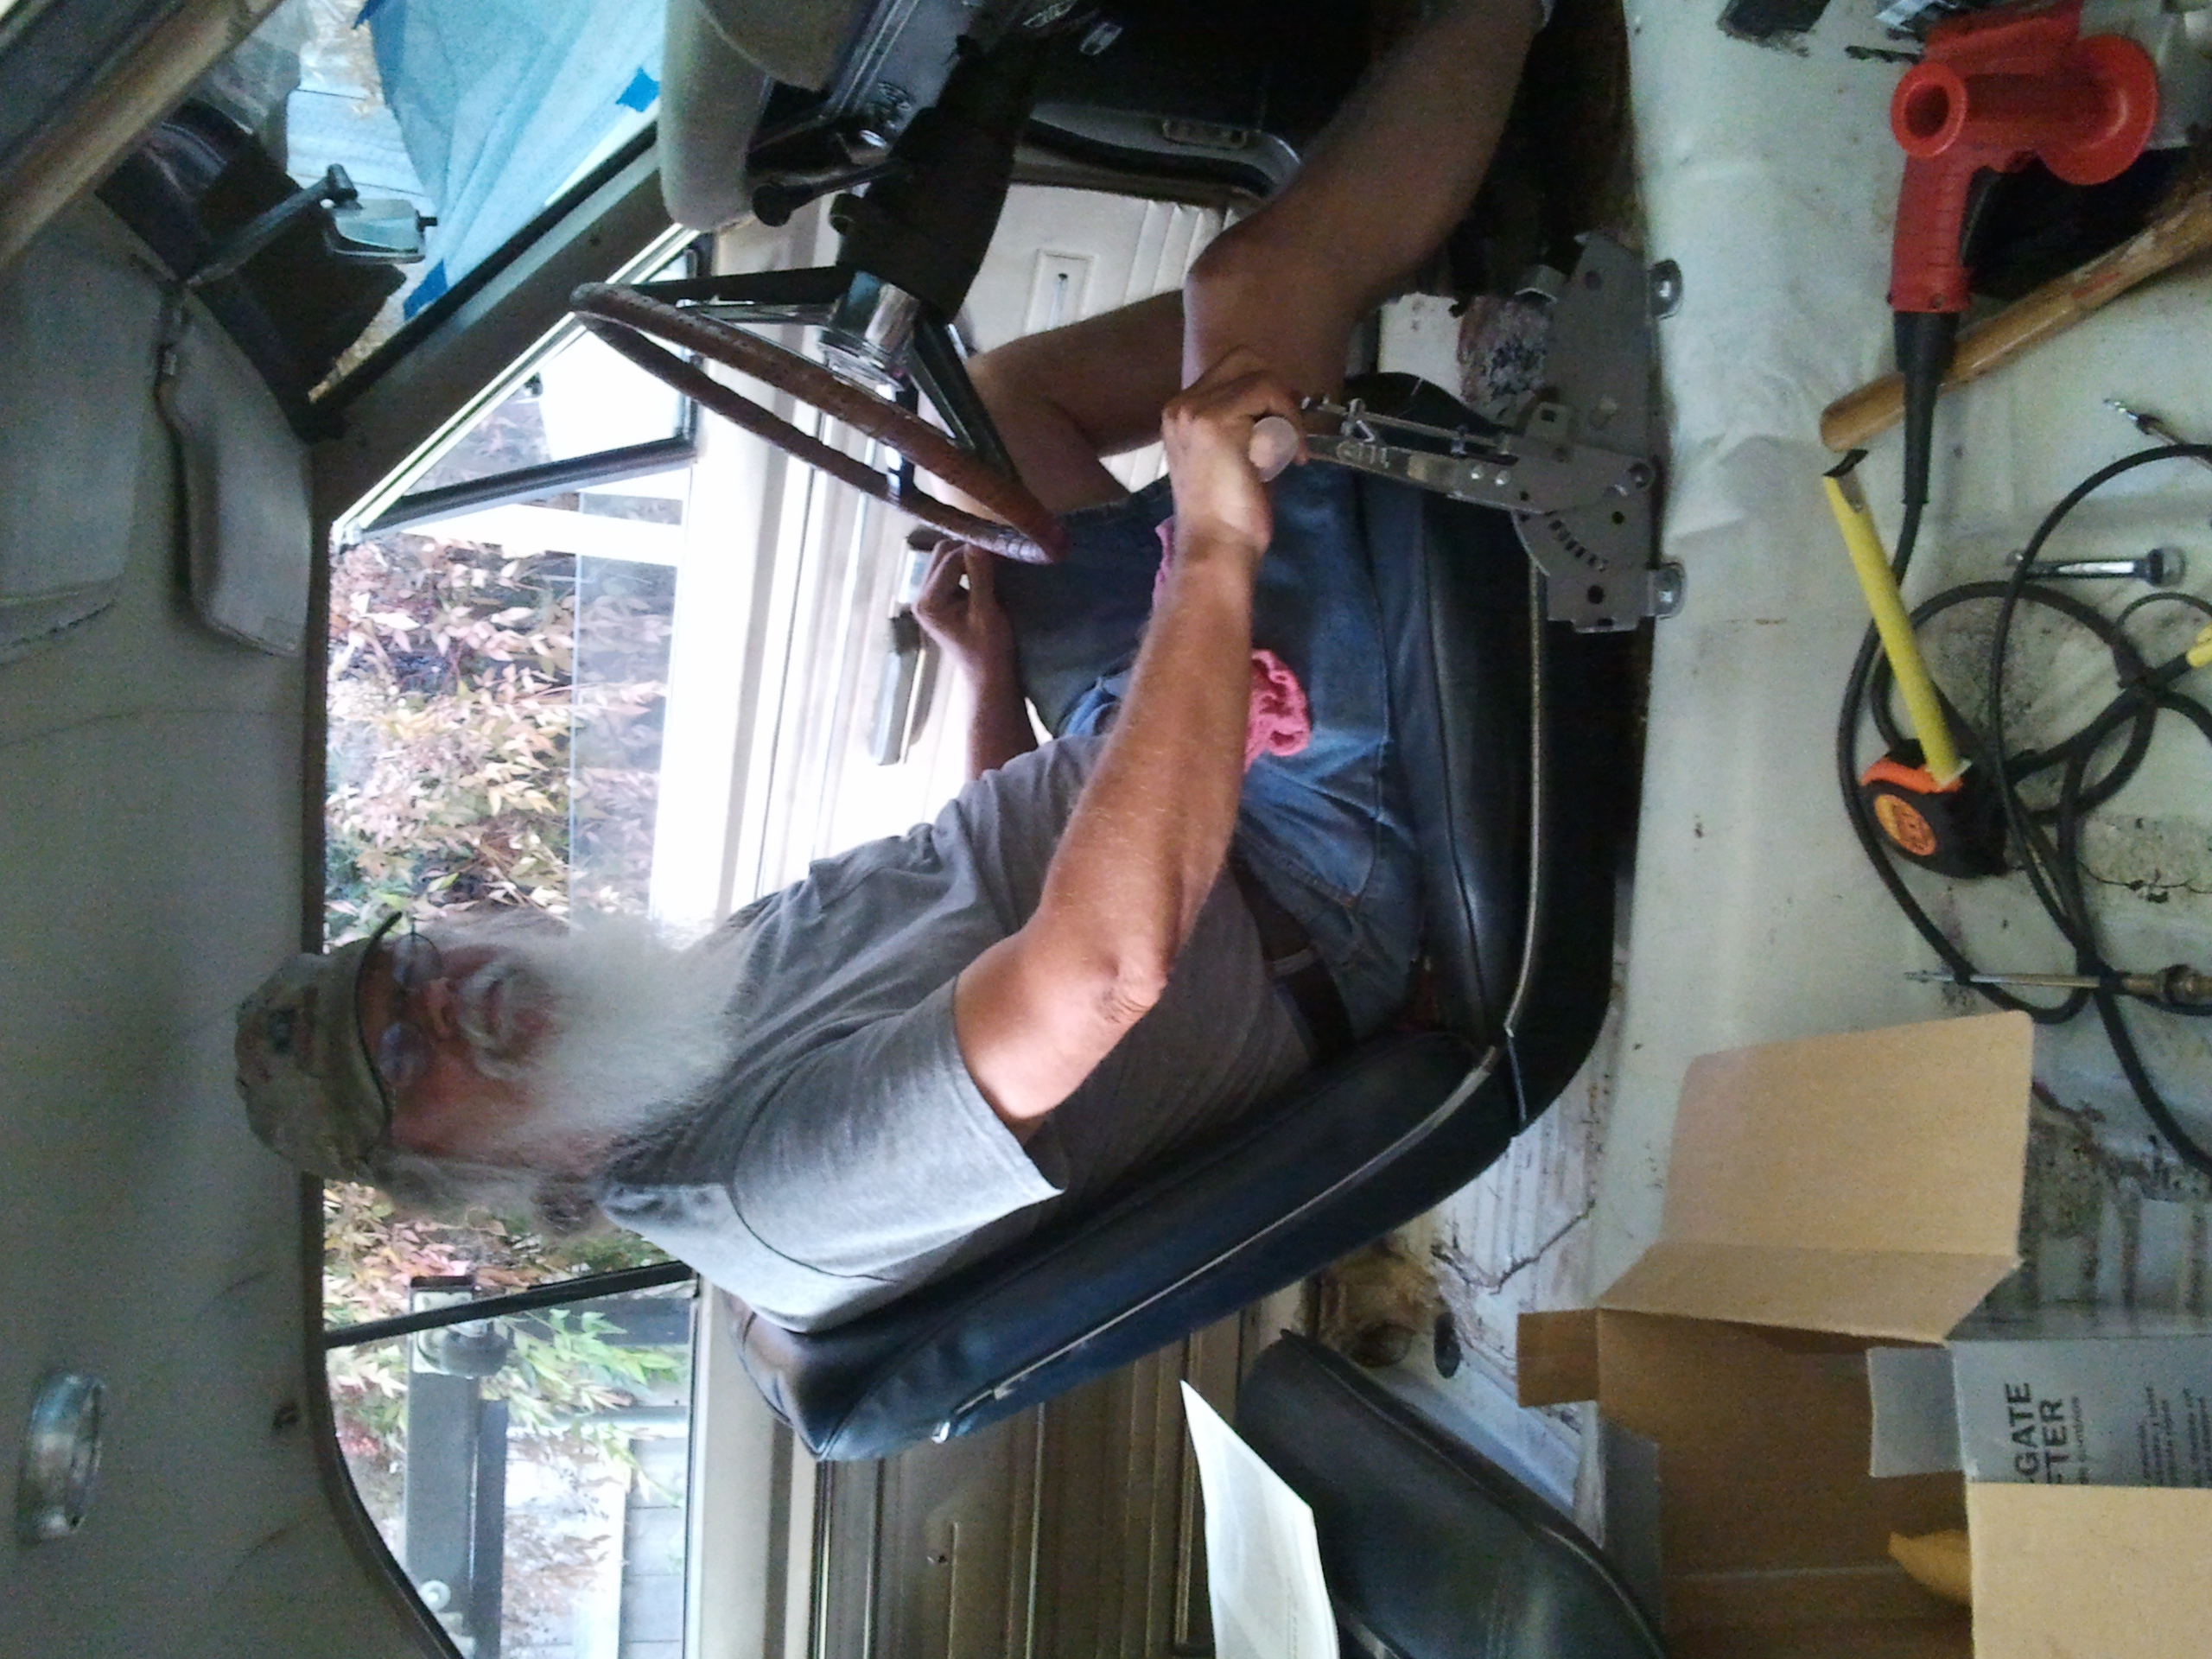
With the engine and transmission secured, Bill spent a couple weeks hooking everything up. There were soon much needed 'slight modifications' to make everything work, and some 'additions' Bill felt he needed to install. Here are a few pictures of hime installing the new shifter and bucket seats... |
|||||||||||||||||||||||
 |
 |
 |
|||||||||||||||||||||
Not long after he topped off the fluids, checked the air in the tires, and dumped a few gallons of gas in the tank…
it was maiden voyage time! [please forgive the low quality of these videos, all I had with me at the time was my cell phone] |
|||||||||||||||||||||||
Well, she's now able to move under her own power. If you happen to see a white flash go past you on the highway it's probably Bill cruisin' down the road with a big 'ol grin on his face! Stay tuned, there is definitely more to come! |
|||||||||||||||||||||||