TECH ARTICLES |
LINKS |
|||||||||||||||
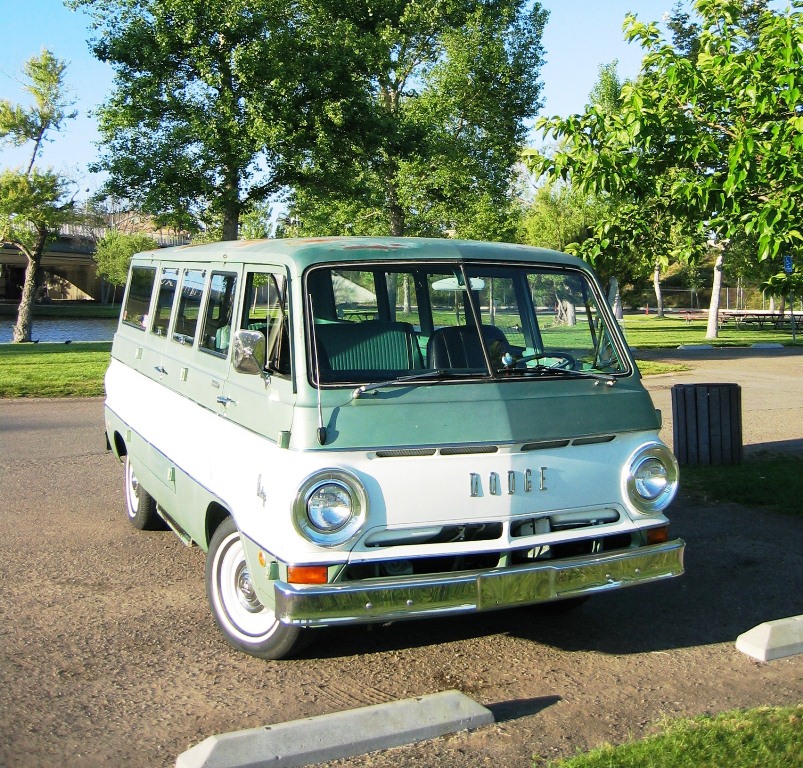
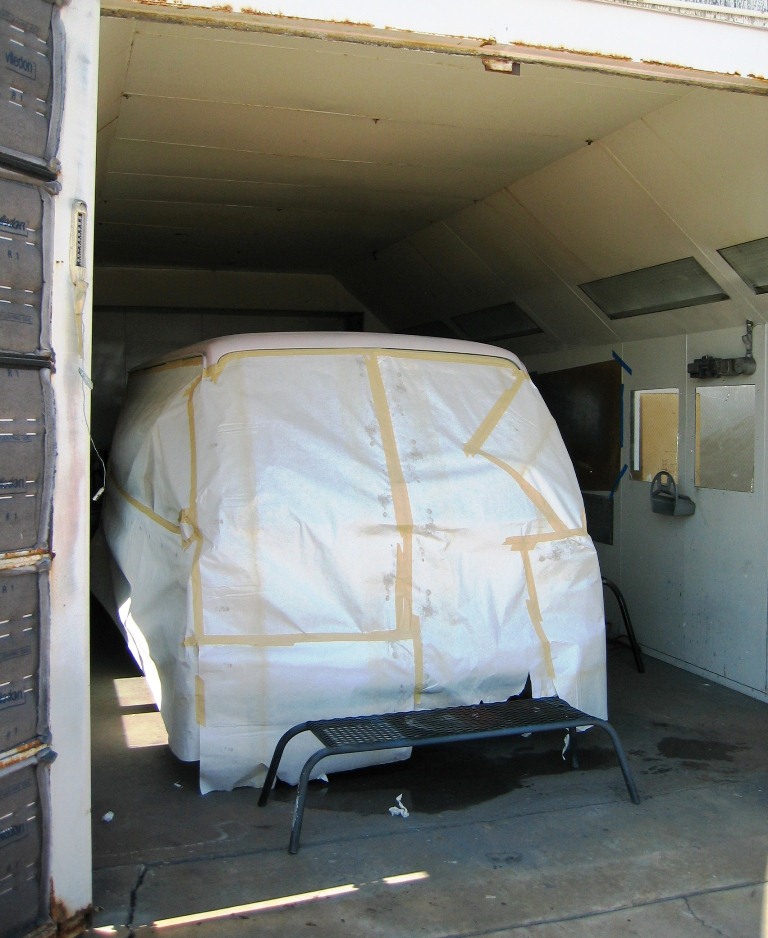
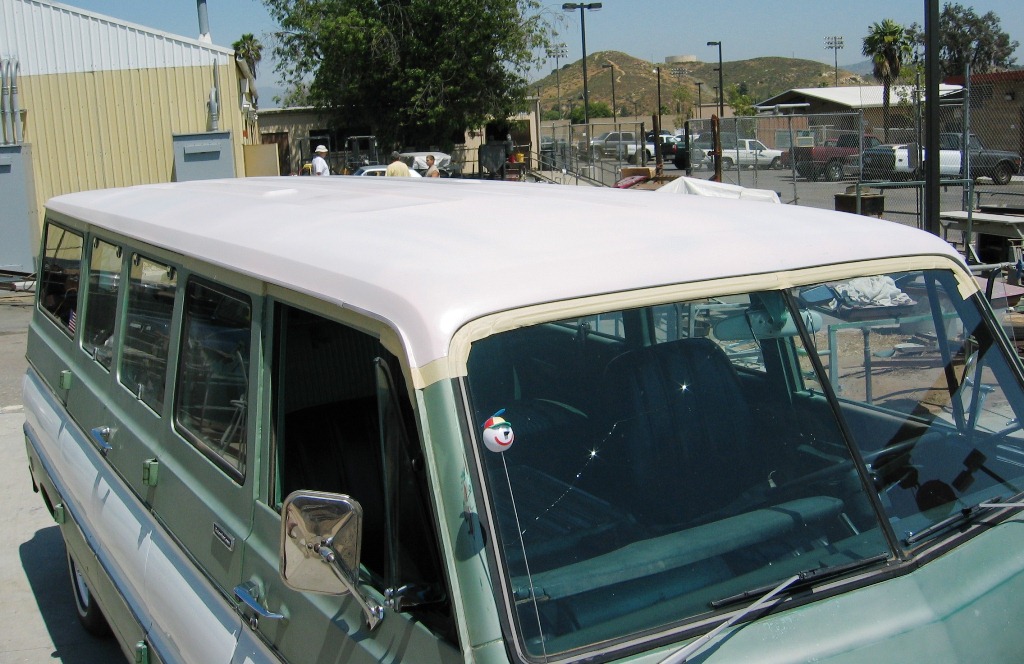
The first thing I decided to do to the van was fix the roof.
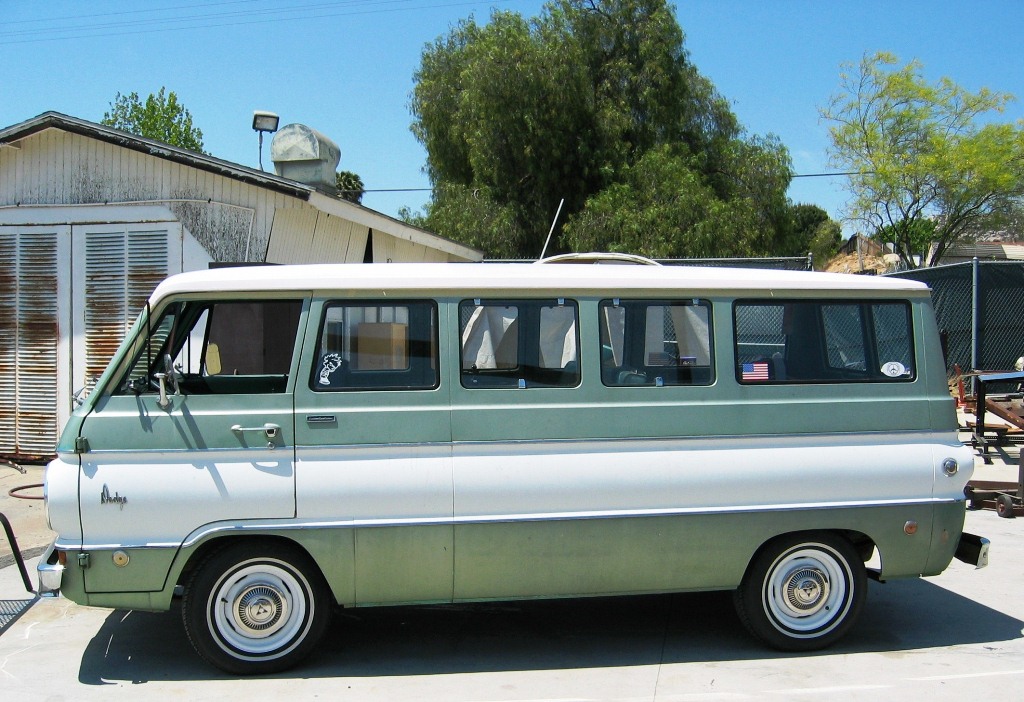
The original owners lived in San Luis Obispo, California and were avid surfers. They used the van as a “surfer van” for many years haulin’ their boards and bodies to beaches all over California. Haulin’ their boards on the roof made for constant soakings with salt water which ate away the paint and caused the roof to start to rust. While it was only surface rust I wanted to fix it quickly so I wouldn’t have to replace the roof in the future. Lucky for me I was enrolled in a local Adult Education Auto Body Repair class. So the van became my Here is a picture of the van before I started… |
||||||||||||||||
 |
||||||||||||||||
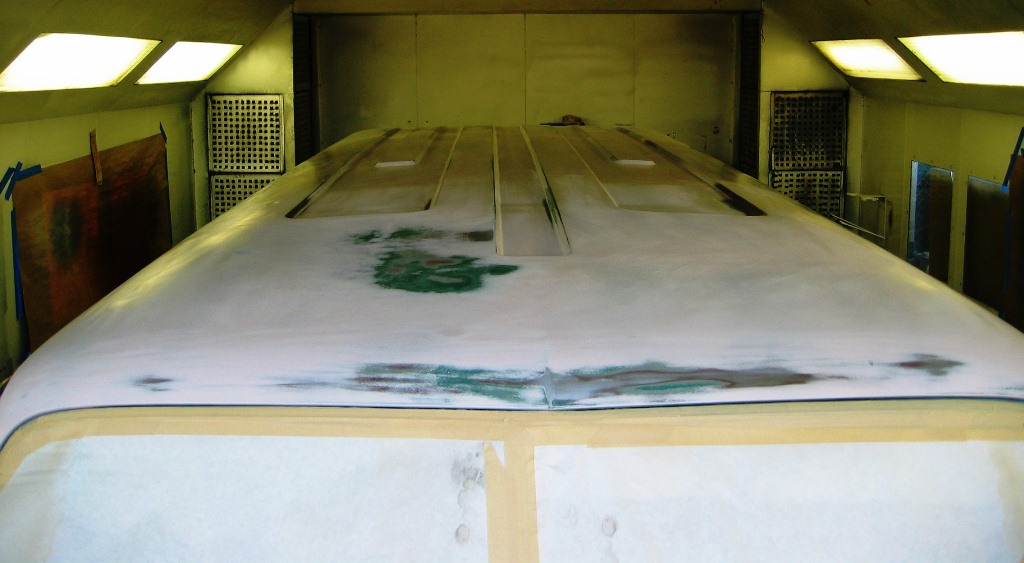
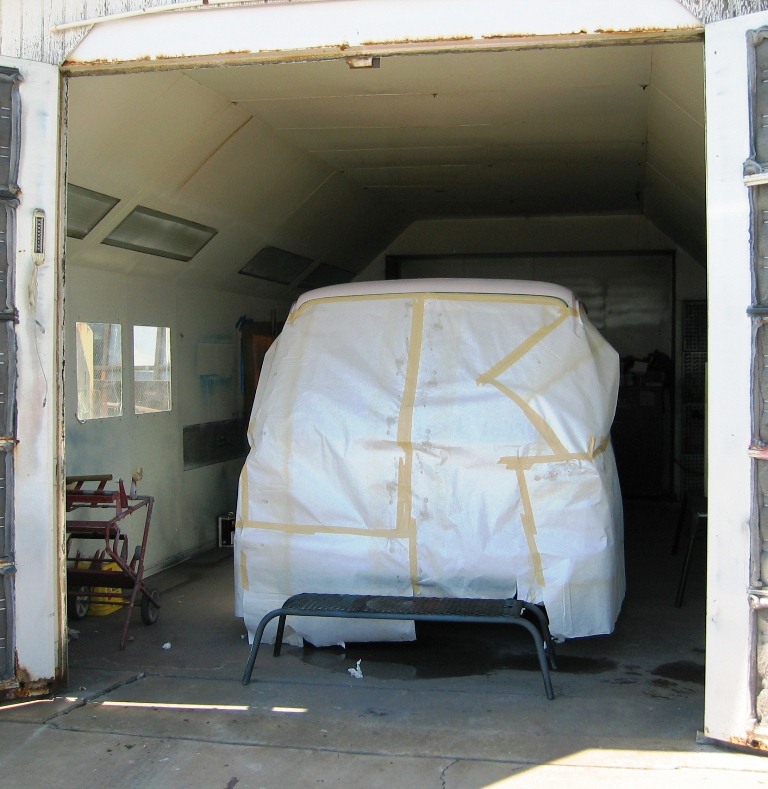
This part of the restoration was relatively simple, just time consuming. We, my friend, classmate, and car club buddy Robin, started by sanding the entire roof to bare metal. Since there wasn’t any rust all the way through, or dents, we didn’t have to do any major repairs.
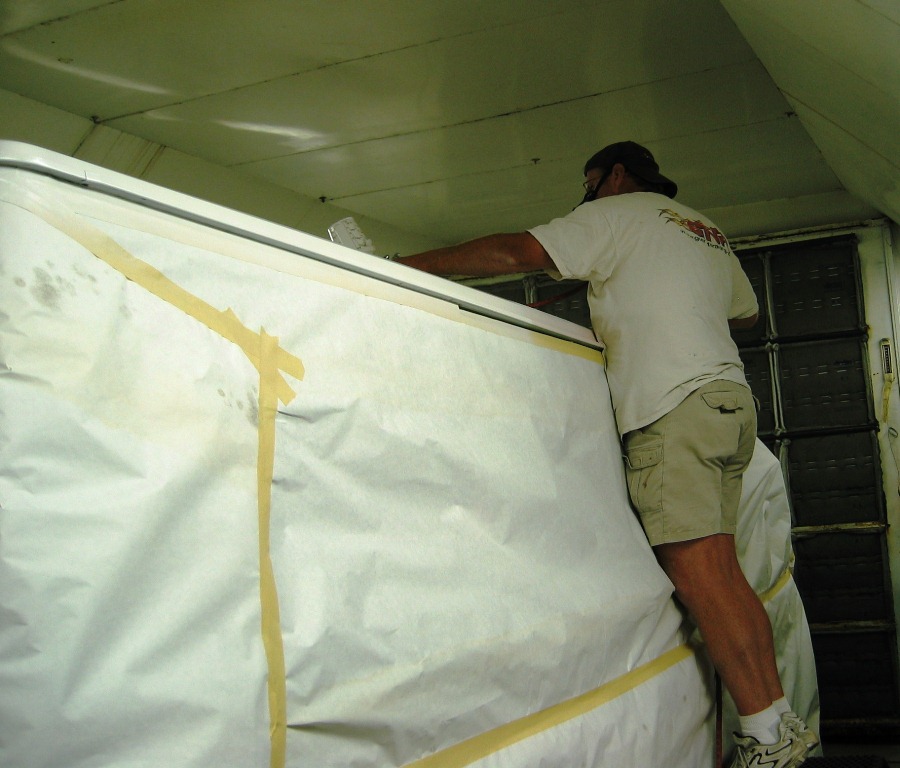
We then treated the entire roof to a coat of rust converter. When this dried we sanded the entire roof one more time, then cleaned the entire roof with pre-cleaner. Once this was done the van went into the paint booth to be wrapped and prepared for primer, sealer and paint. |
||||||||||||||||
 |
 |
 |
 |
 |
||||||||||||
 |
 |
 |
||||||||||||||
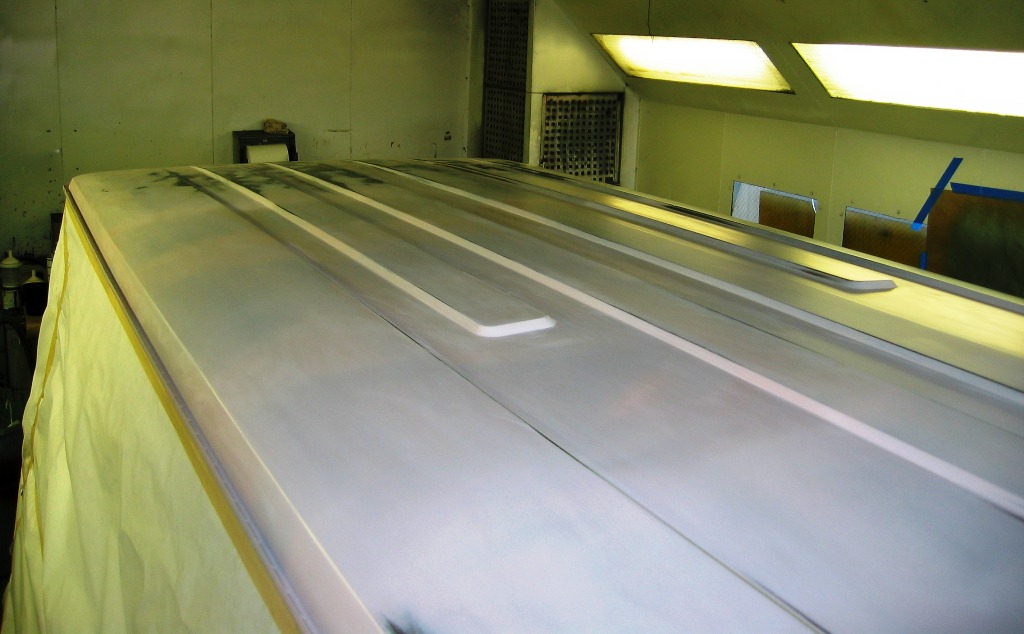
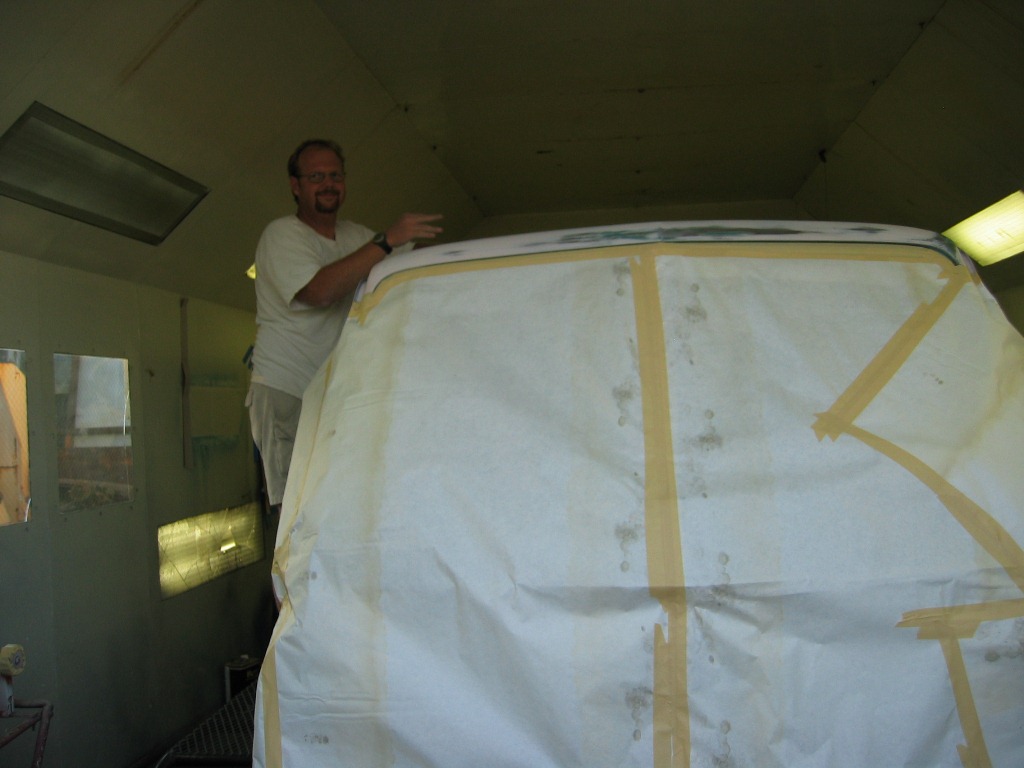
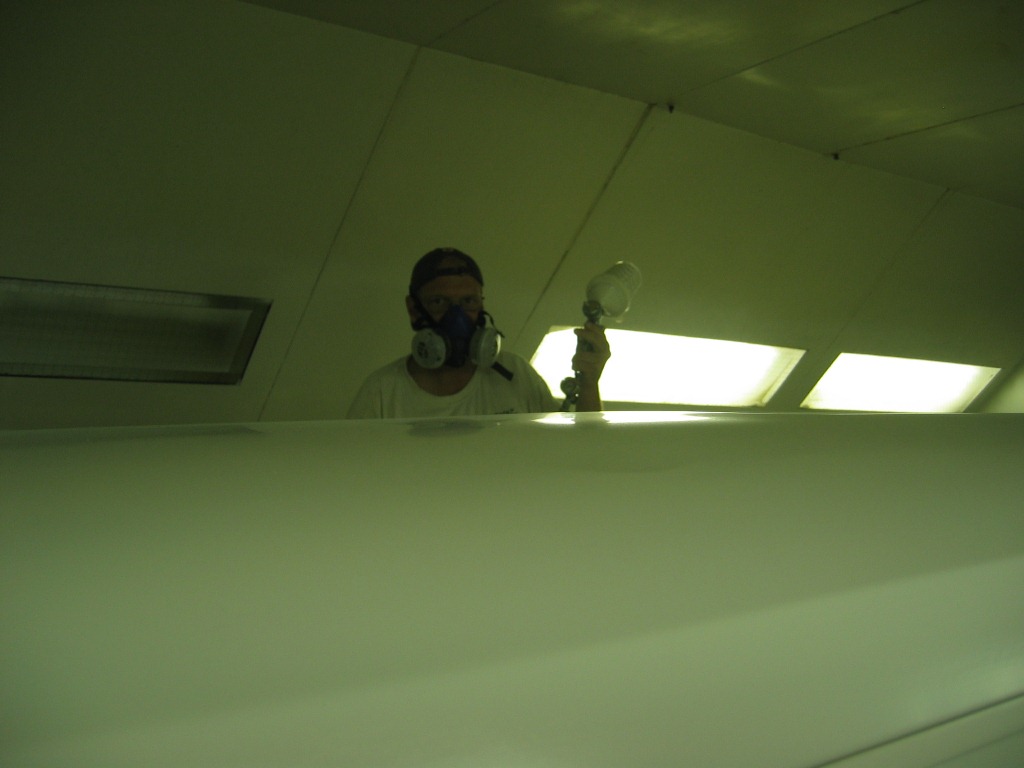
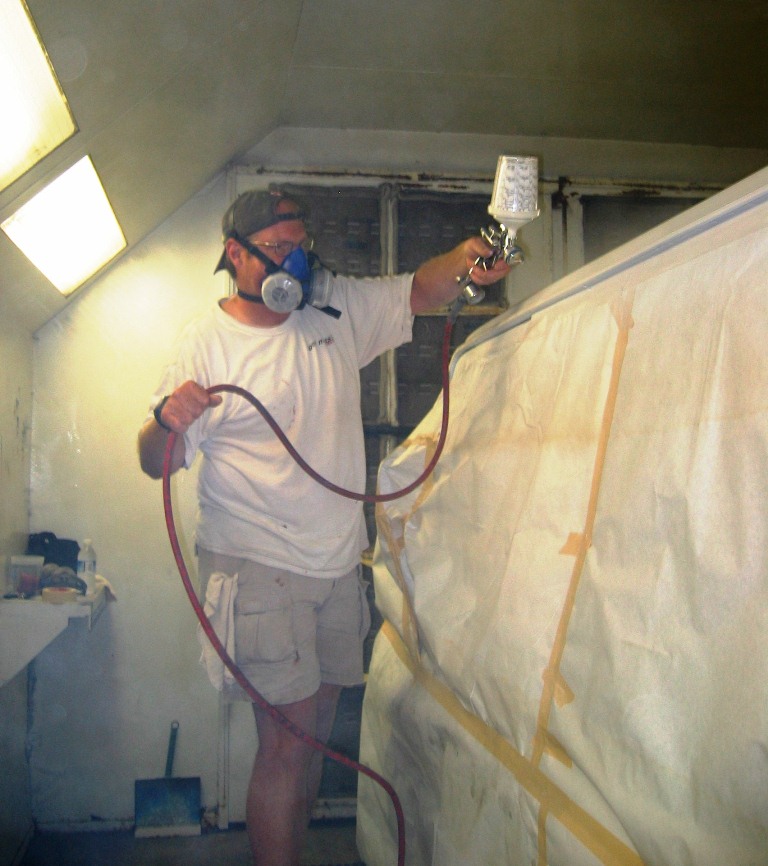
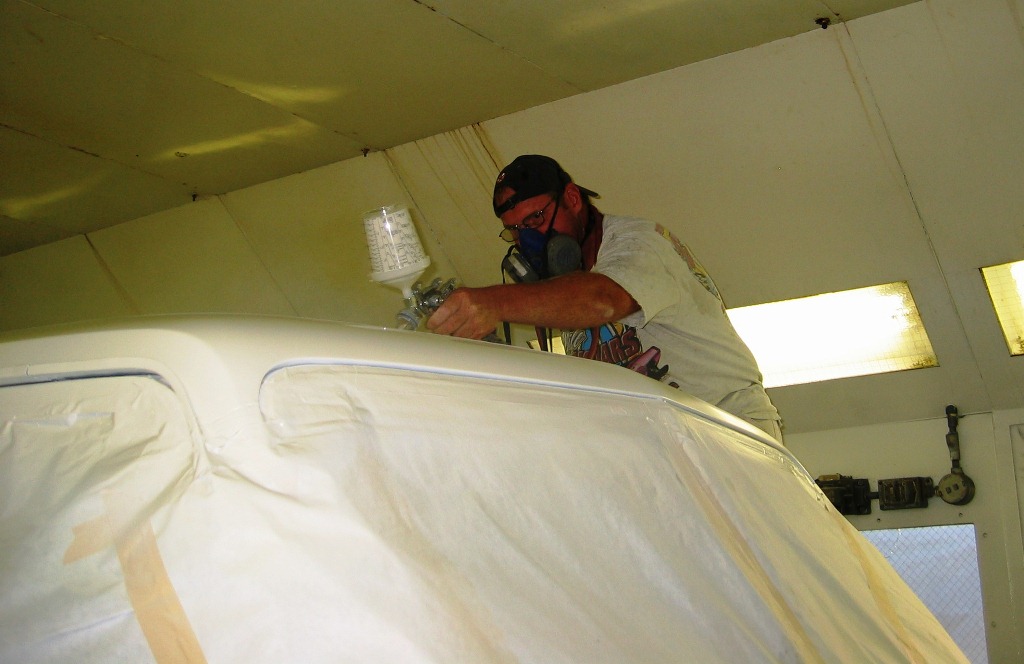
With help from Robin and classmate Jim [he teaches all first timers how to handle a paint gun] I primed the entire roof in one class, then painted it in the next. Here are some pictures of it being painted … |
||||||||||||||||
 |
 |
 |
 |
 |
||||||||||||
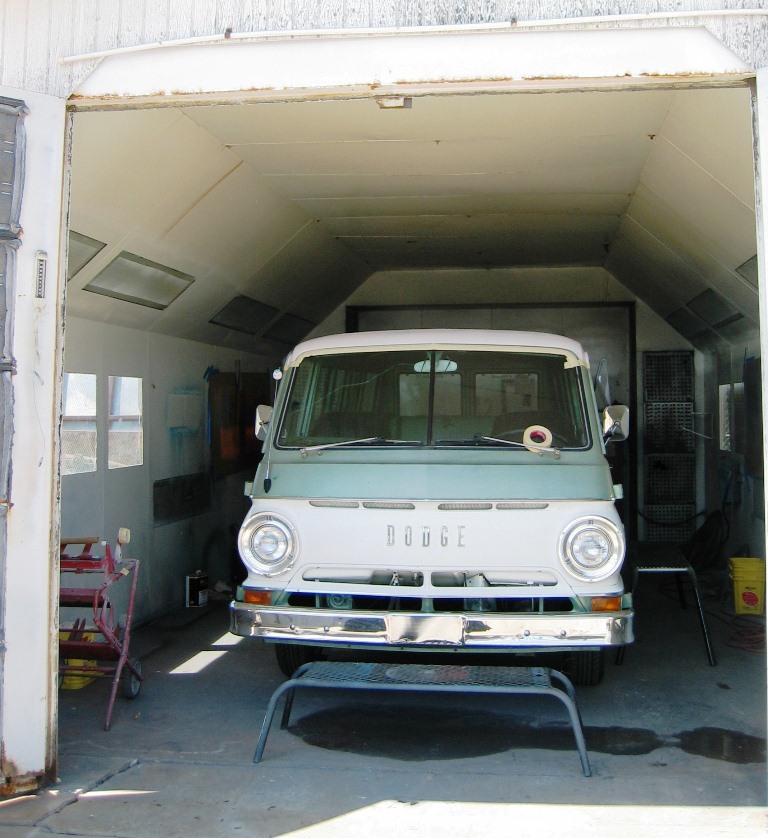
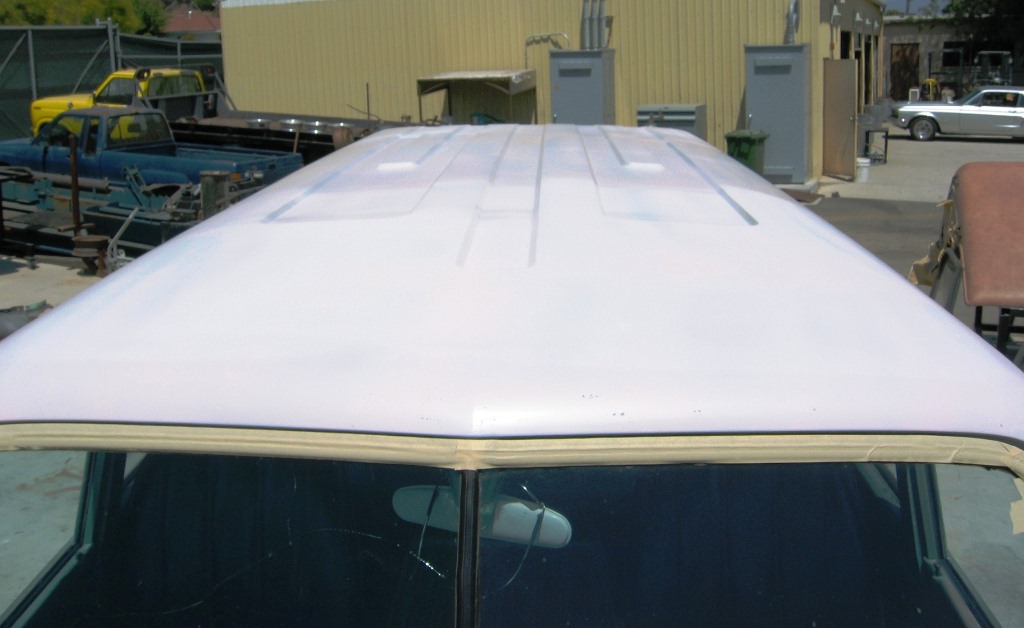
After letting the paint cure a couple of days, we unwrapped her and the top was done. I decided to paint the top the Ivory White instead of the original Sea Foam Green to help reflect heat and keep the interior a little cooler.
Here’s the final result… |
||||||||||||||||
 |
||||||||||||||||