TECH ARTICLES |
LINKS |
|||||||||||||||
When
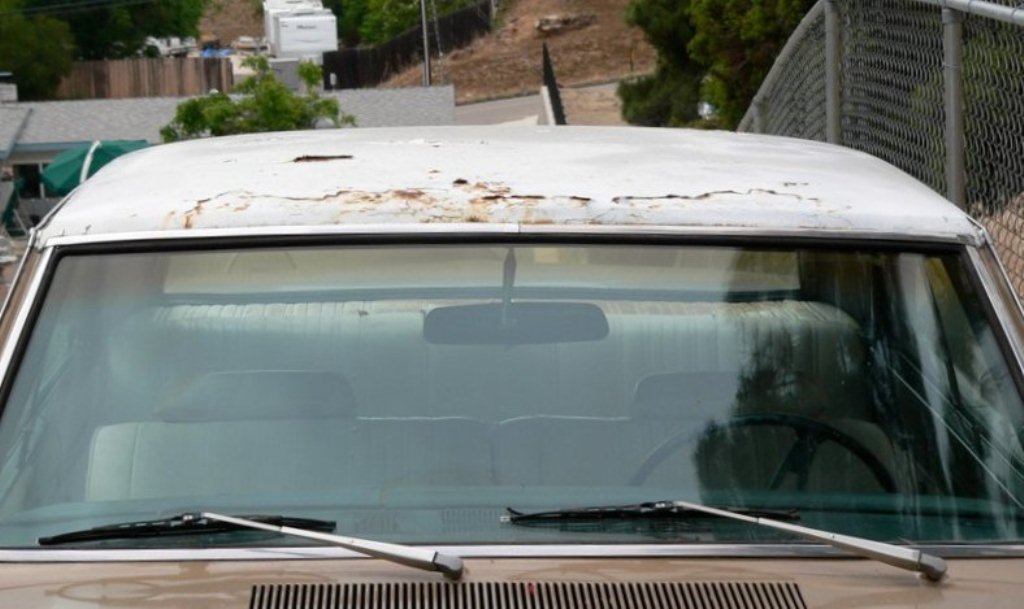
Bill bought this Dart the first priority was stopping the rust that
was taking over the roof.
The car came from Dodge with a factory vinyl top which looks great when new, but ends up being a nightmare as the car ages. Sun light, heat, and car wash chemicals all lend to the breakdown of the vinyl which then lets moisture collect underneath. In the old days most manufacturers never treated the metal under the vinyl before gluing the vinyl to it; they all simply glued the vinyl directly to bare metal and moved the car down the assembly line. So when the vinyl breaks down the moisture immediately attacks the bare metal like a Sumo wrestler attacks a buffet…not a pretty sight! Matt, who at the time was taking an auto body repair class at a local adult education center, and Bill started by stripping trim and the old vinyl. Once this was done Matt started taking the car to class to learn how to repair the roof. Follow along through the stages as the rood went from an ugly, rusty mess to being ready for paint. We'll start with a few pictures of what the roof looked like when Bill picked up the car... |
||||||||||||||||
 |
 |
 |
 |
 |
||||||||||||
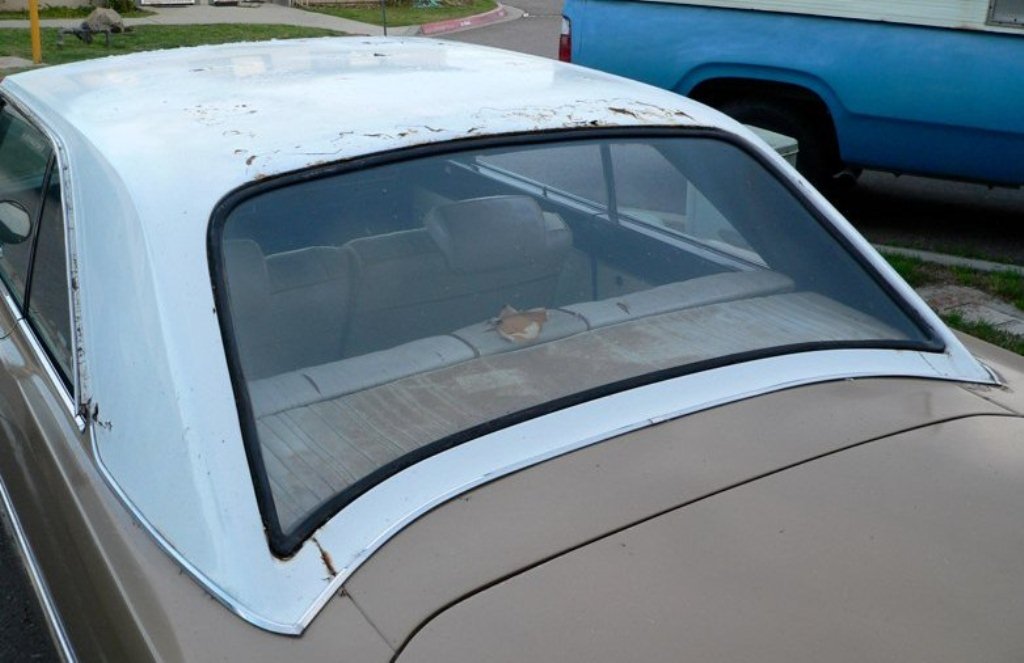
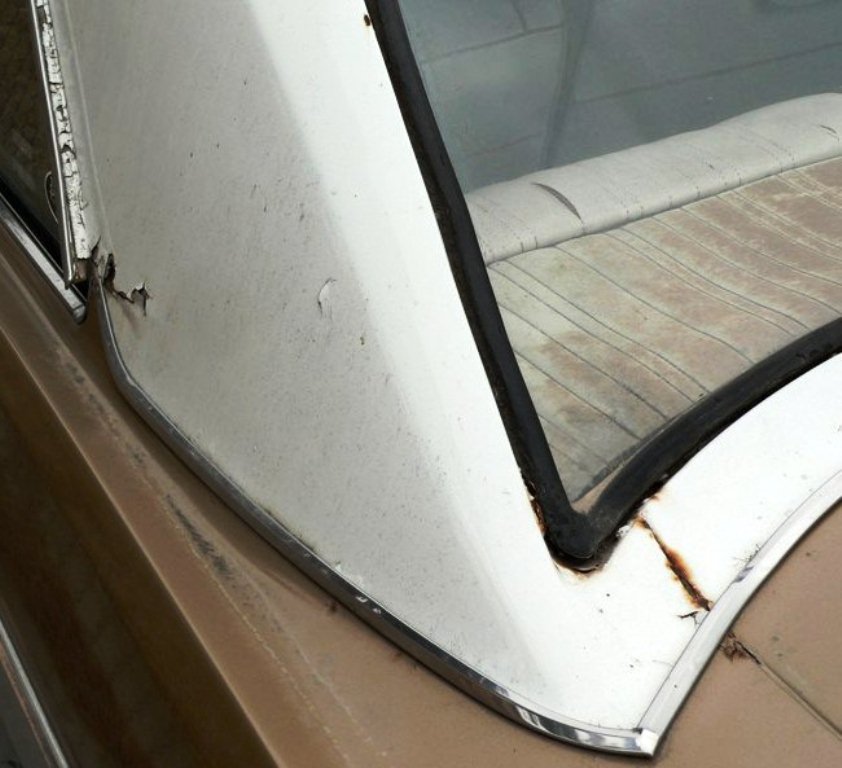
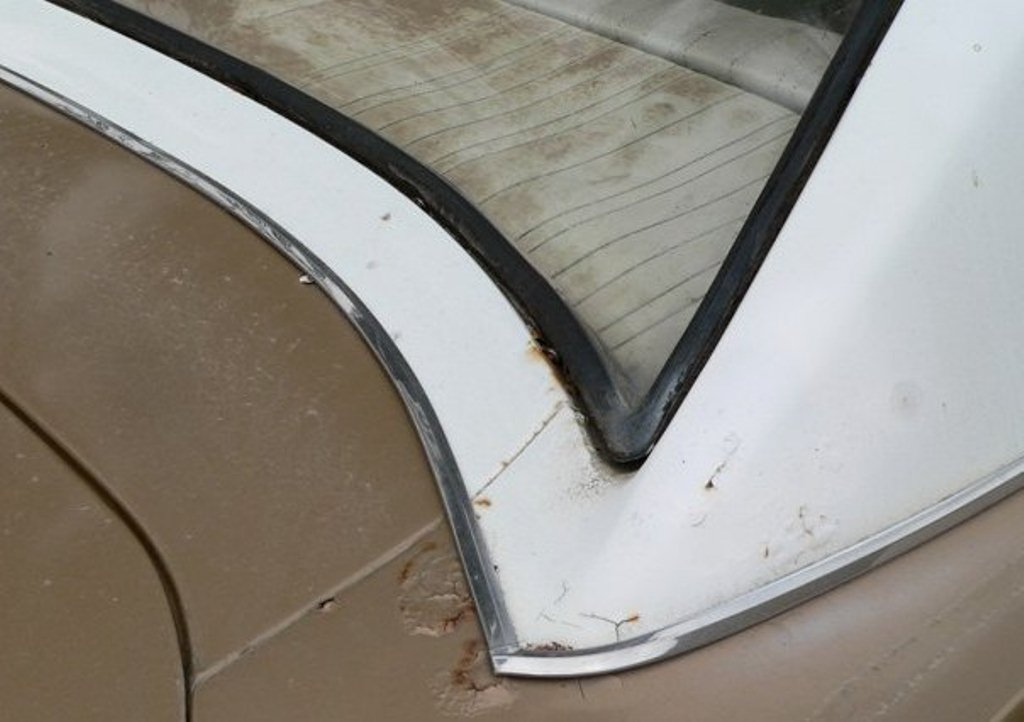
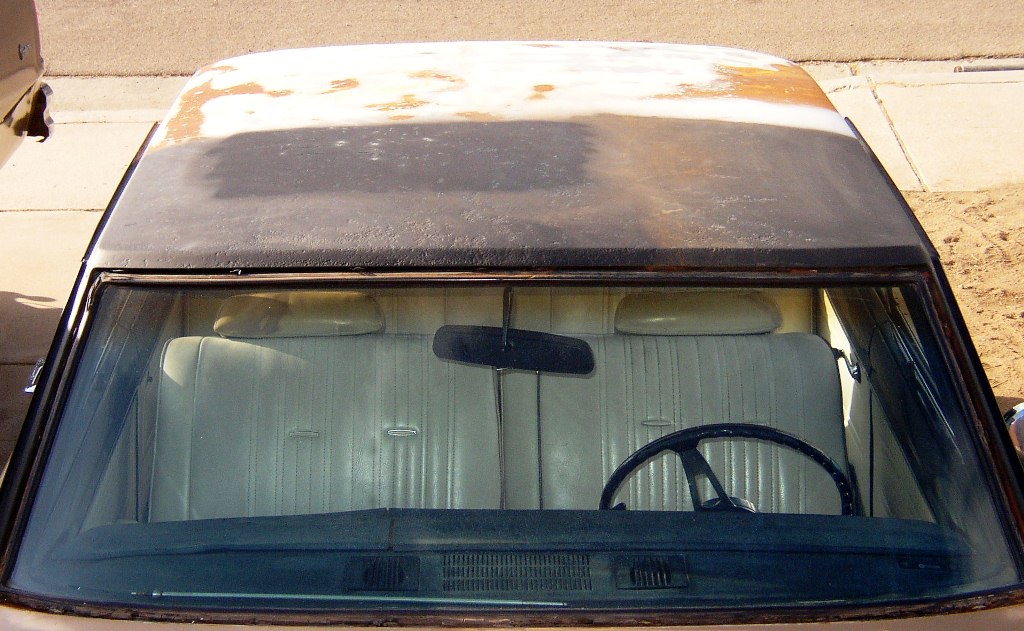
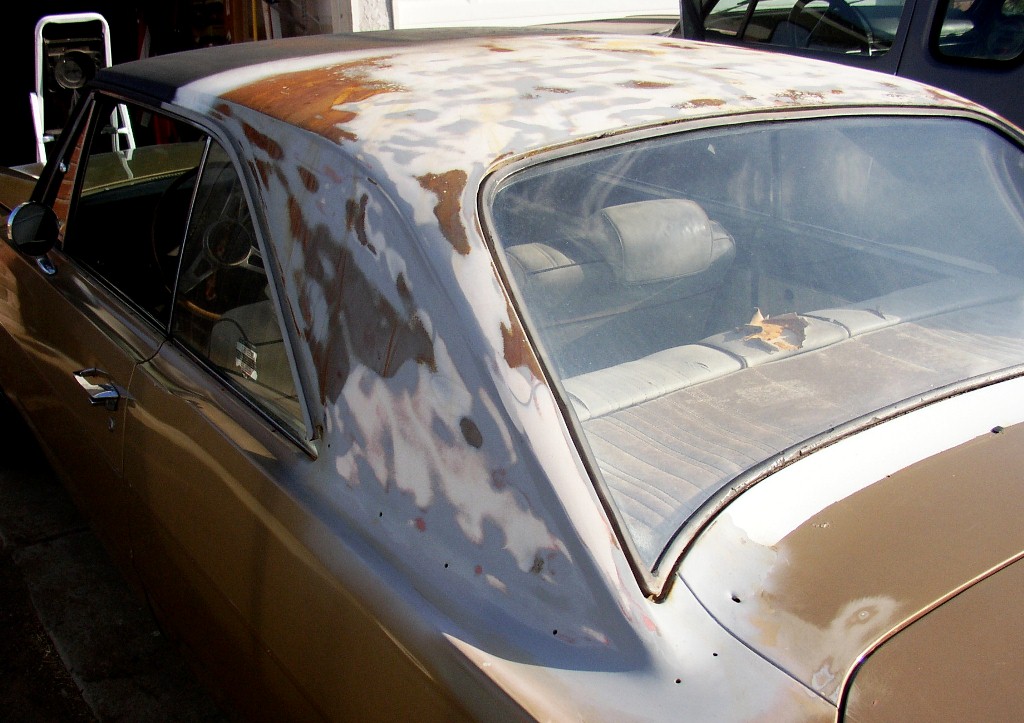
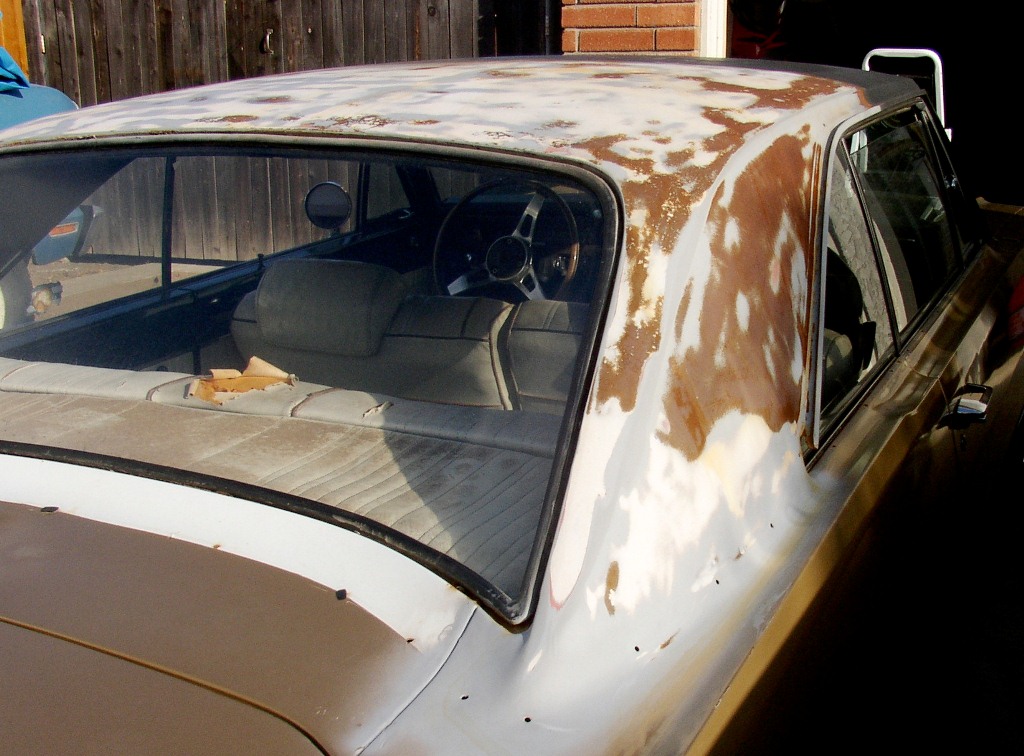
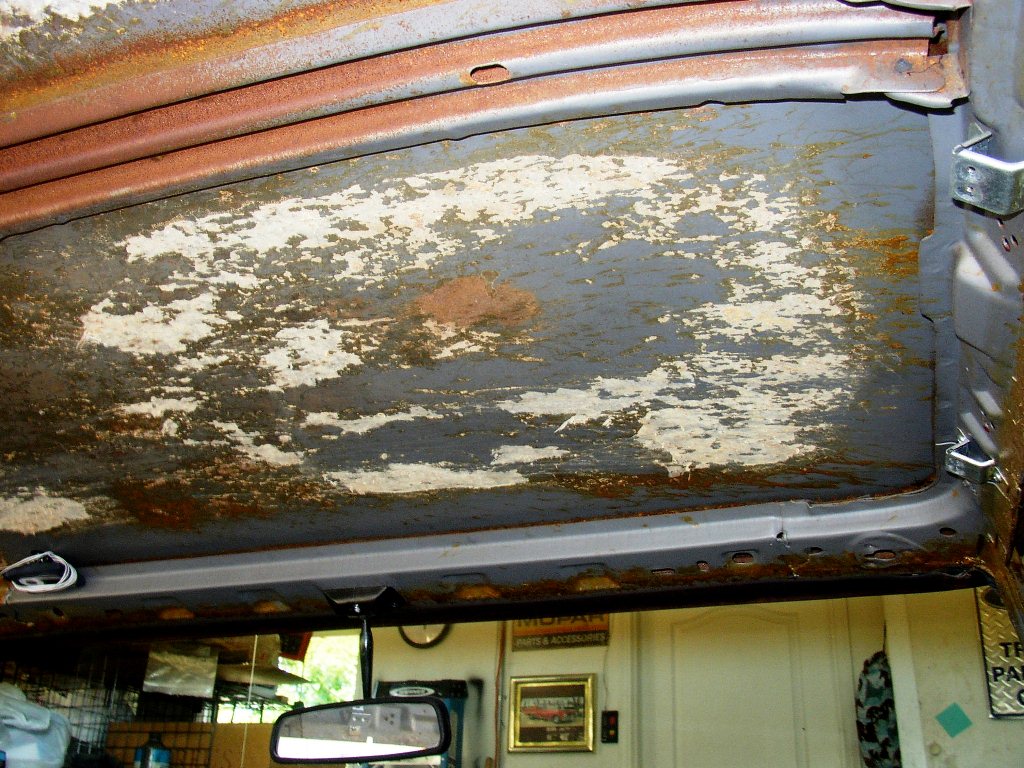
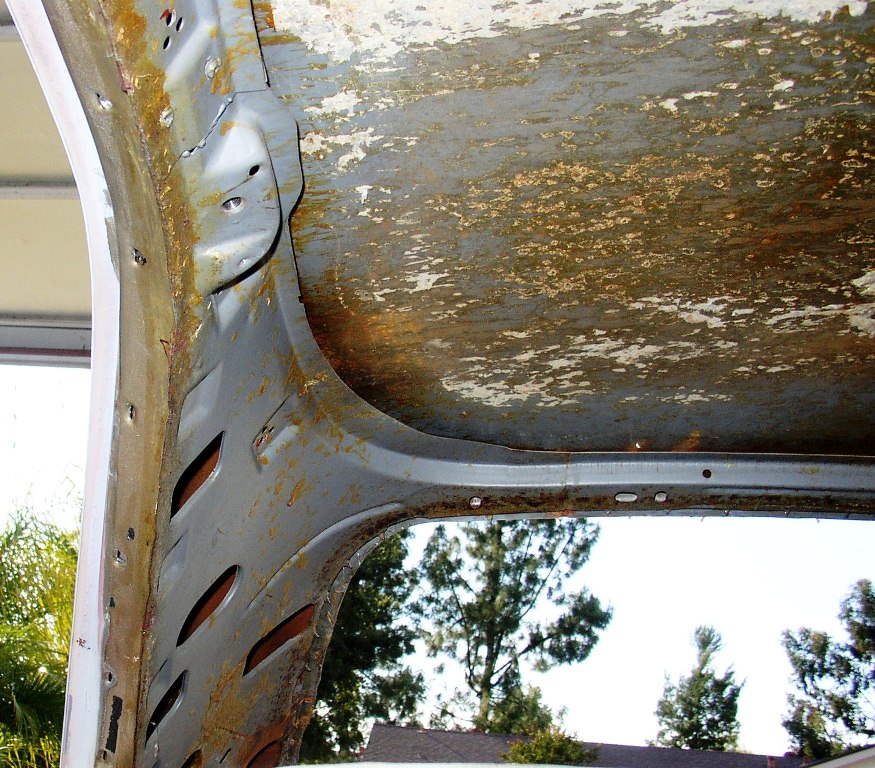
As
you can see the damage was pretty severe. The vinyl top had pretty much
disintegrated years before and had allowed moisture access to the bare
metal beneath. |
||||||||||||||||
Stopping
the rust was a very long, tedious project. When they [Bill & Matt]
started working the roof they thought all that needed to be done was
run a wire wheel over the metal, remove as much rust as possible, then
shoot primer and voila, they were done.
Tony, the instructor at the auto body class
had to ‘educate’ them… They ended up doing the roof
in small sections. First they would indeed run the wire wheel over
the section to take off all the loose shtuff. Then they would apply
acid to the section letting it dissolve the rust. After about twenty
minutes the acid was washed off, the section was air dried, then they
would inspect the section seeing if they could see any rust left in
any of the divots. The acid would dissolve the rust leaving the metal
shiny like new, but the rust in the divots was stubborn and often
needed several acid treatments and some heavy wire brushing. Once
all the rust was dissolved/removed the next step was to neutralize
any acid residue by scrubbing the section with sodium bicarbonate
and water. Then the section was again air dried and checked to see
if any rust was missed. Once it was clear that no rust remained the
section was primed. Here are some pictures… |
||||||||||||||||
 |
 |
 |
 |
 |
||||||||||||
 |
||||||||||||||||
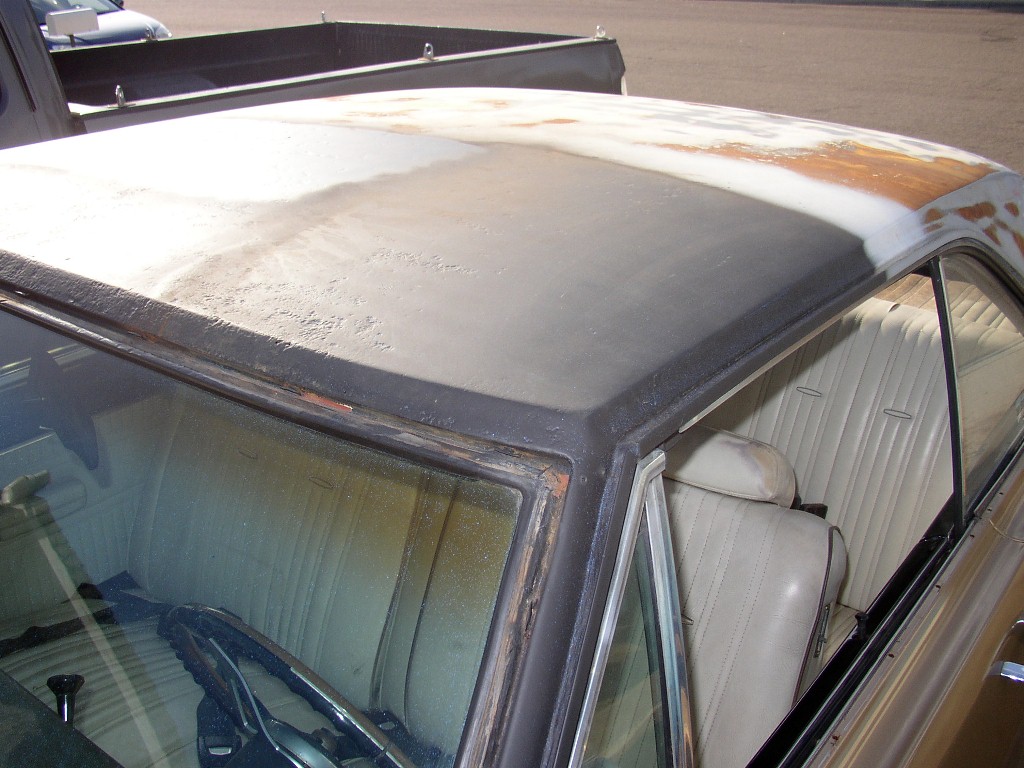
You
can see the size of the sections by the different shades of the primer.
You can also see how bad the rust was by the size and depth of the divots. |
||||||||||||||||
 |
 |
 |
||||||||||||||
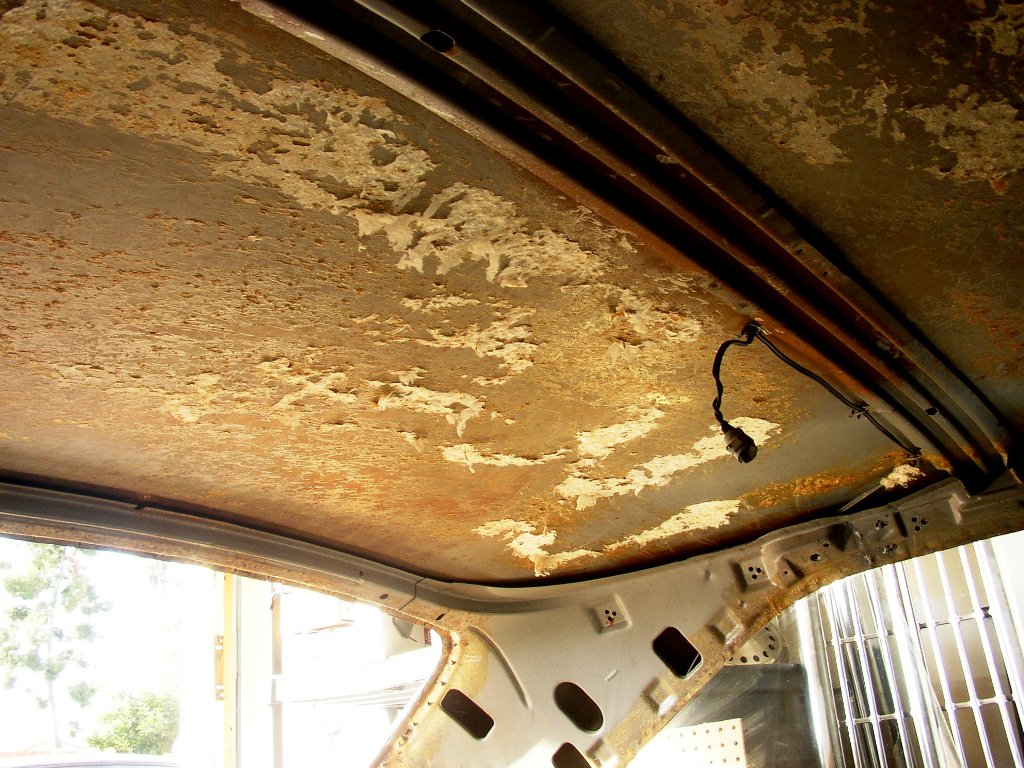
These
are pictures of the inside of the roof. Overall the roof was in pretty
good shape. There were a few pinholes where the rust had eaten all the
way through, but they were easily fixed. |
||||||||||||||||
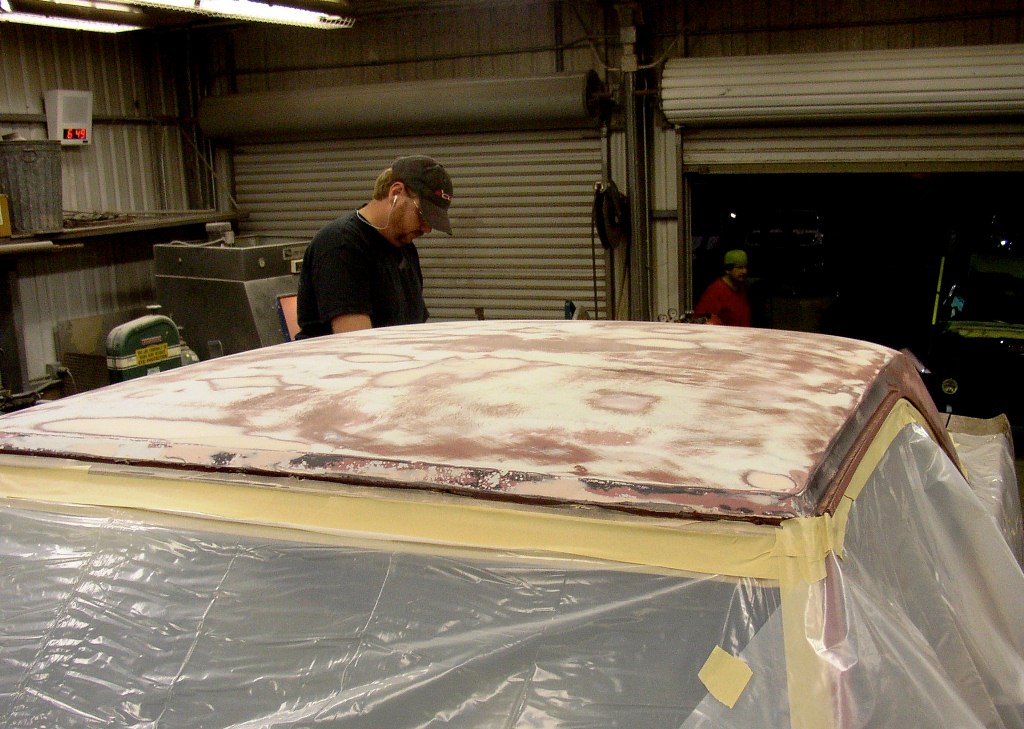
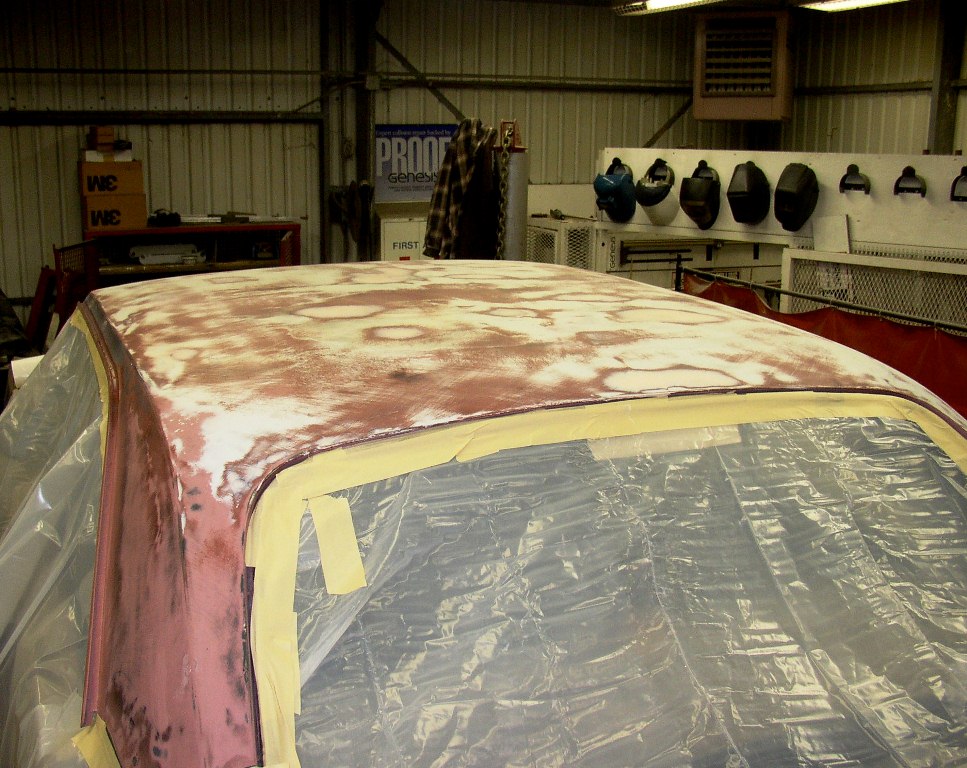
Once
the rust was removed the entire roof was light sanded. Matt then shot
the roof with sealer in Bill’s favorite color, hot pink [Bill
HATES pink!]. Matt justified the color by calling it ‘salmon’
and telling Bill it was the only shade of sealer available at the time.
Truthfully, Matt is colorblind and thought he was mixing red. Bill had
to drive the car around with a hot pink roof for a while. You would
have thought the world was about to come to an end the way Bill cried
about that color.
The next step was to apply a very thin layer
of skim coat to fill in the divots and small dents. Hours of sanding,
guide coating, sanding, guide coating, sandi…you get the point,
ended with a very clean, straight roof that was ready for primer. |
||||||||||||||||
 |
 |
 |
 |
 |
||||||||||||
 |
 |
 |
 |
 |
||||||||||||
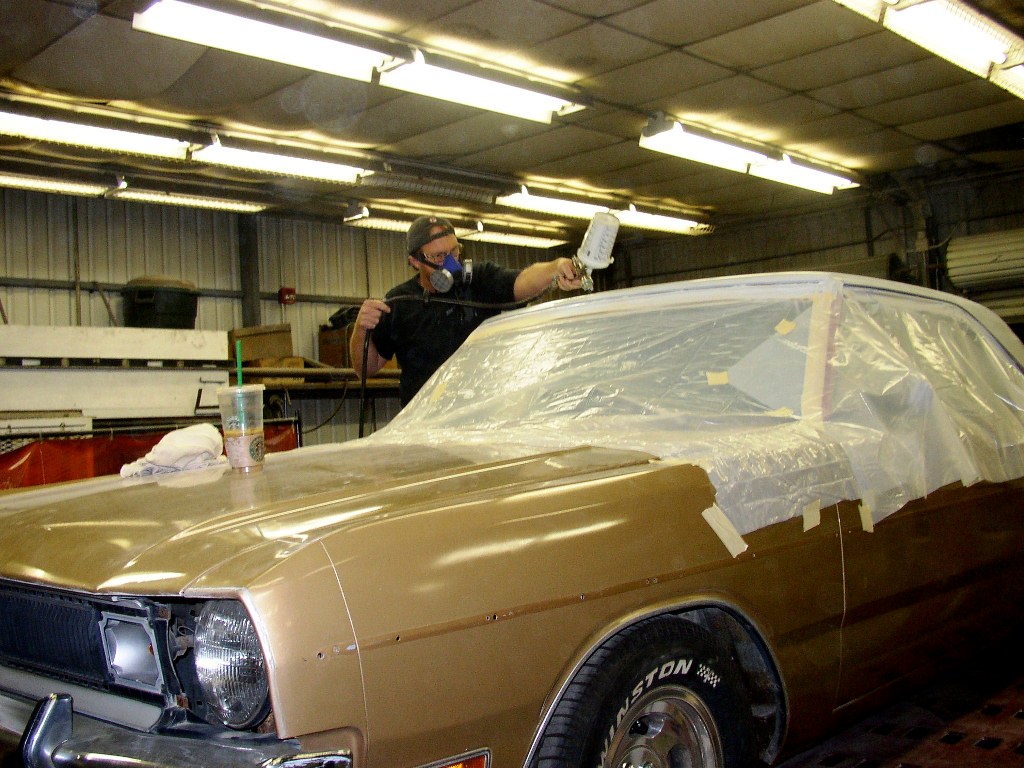
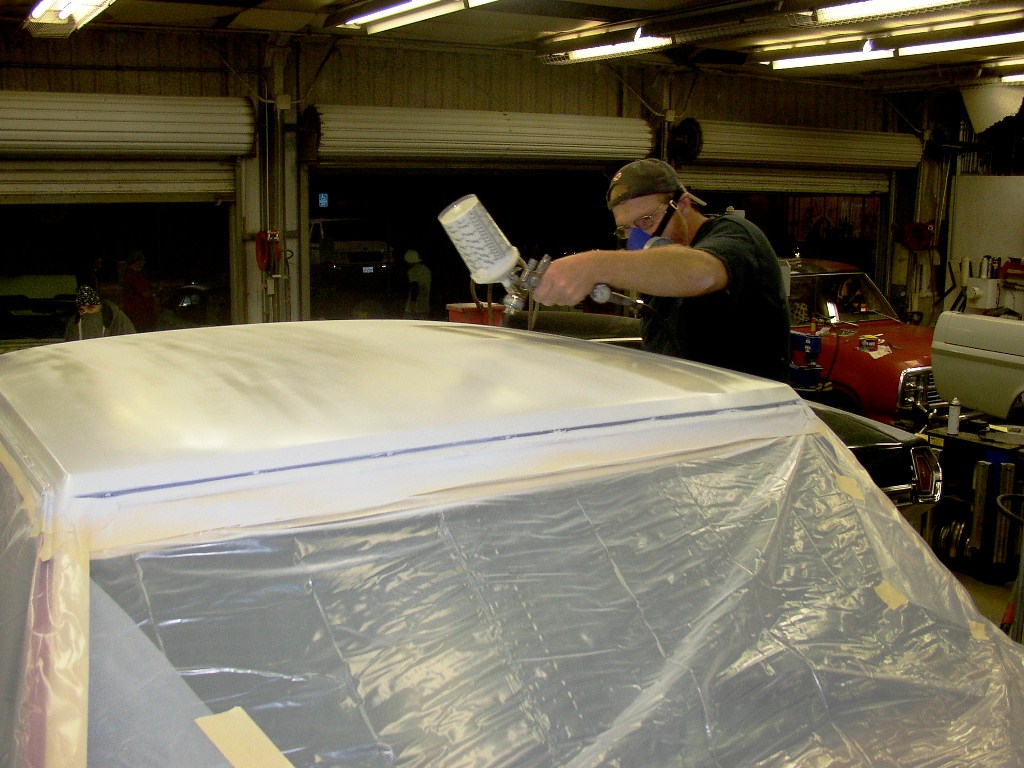
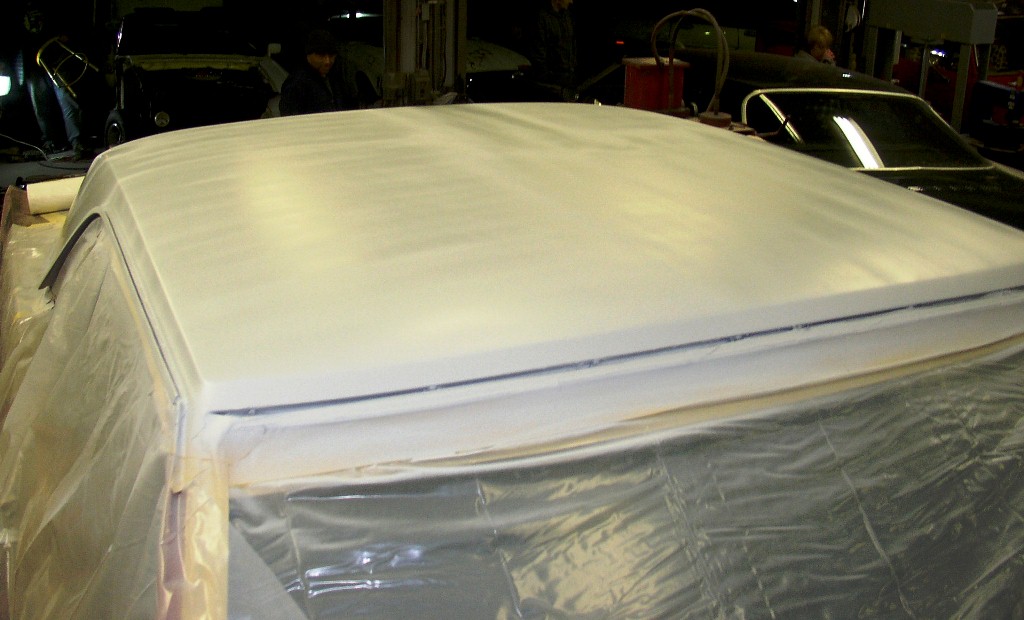
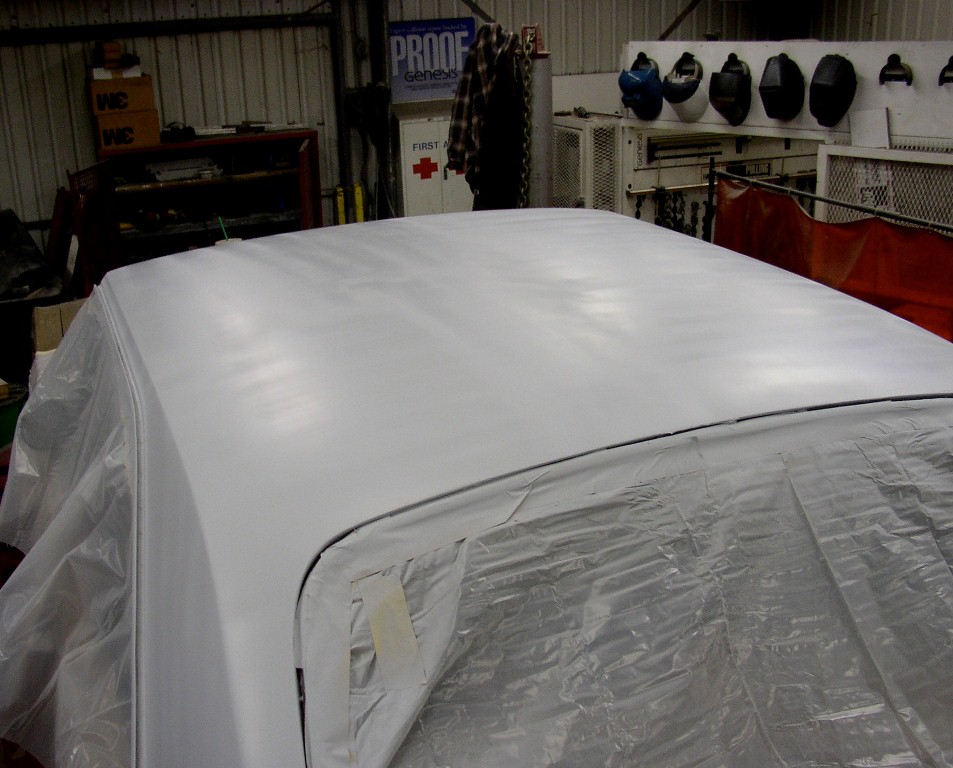
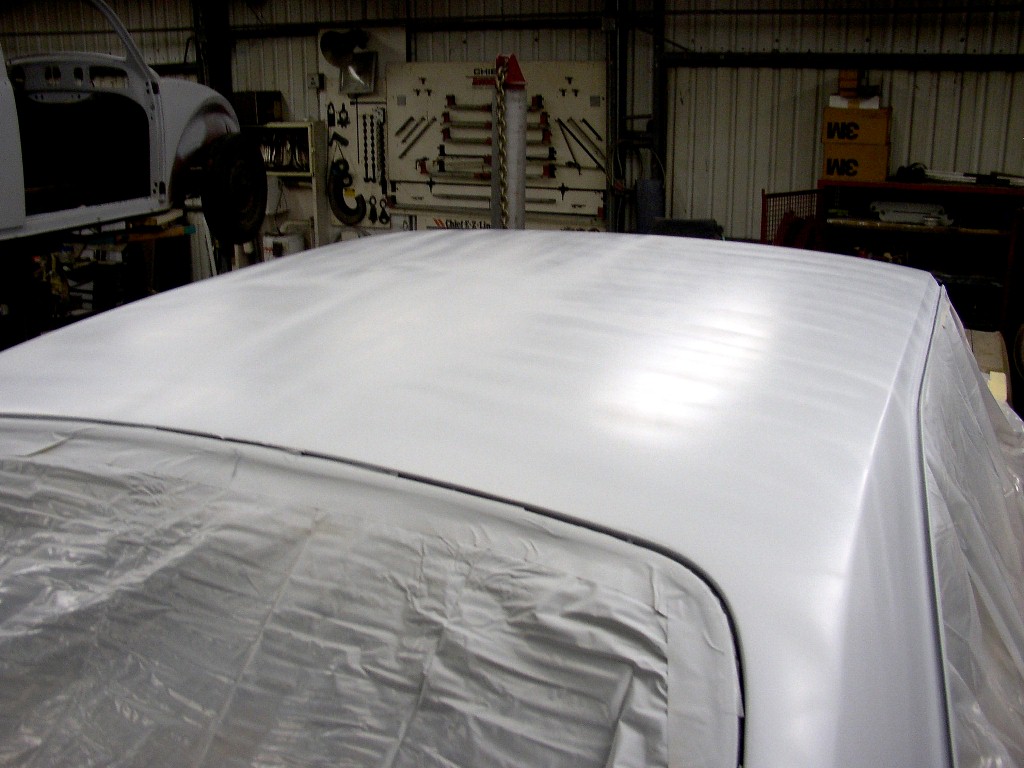
With
the top sealed and primed Bill felt comfortable moving to the ‘drive
train upgrade’…he, he, he. Remember, Bill is an old school drag racer. His favorite statement is ‘There is not replacement for displacement!’ Stay tuned, there’s a lot more to come! |
||||||||||||||||